Crazy Cat Companion – A Colorful Patterned Stuffed Animal with a Special Twist
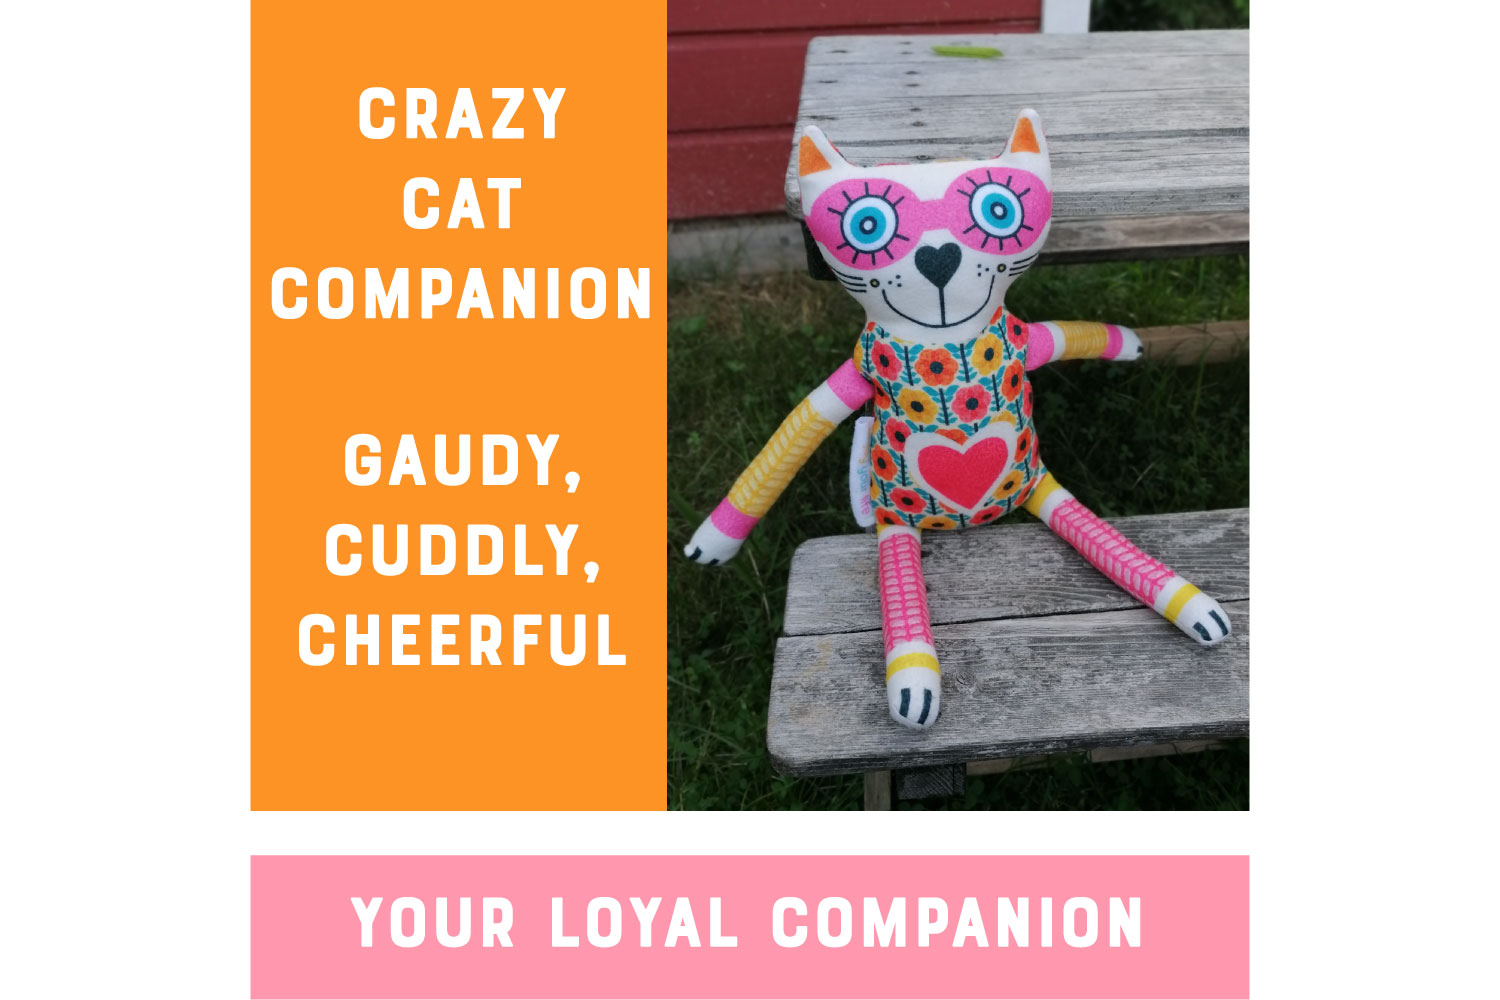
Would you like a cuddly buddy to snuggle with when you’re feeling down? A reliable companion to take with you to daycare or kindergarten? A colorful, cheerful friend to celebrate festivities with?
Then this extravagant cuddly cat is just right for you. The “Crazy Cat Companion” – the crazy cat buddy – is a companion for all situations.
Sew your own faithful friend from the fabric panel. Make a child happy with a self-sewn faithful companion! Or give it to a cat lover who collects unique stuffed animals.
Please note:
I have sewn the “Crazy Cat Companion” many times.
To continuously improve the sewing pattern, I’ve made some changes.
In the newer patterns, the seam allowance is no longer solid-colored; the pattern extends to the edge.
This change prevents visible solid pieces when turning the cat, but it also makes the markings for attaching the tail, arms, and legs harder to see.
Additionally, the newer cats no longer have labels with sayings.
Simply skip the corresponding steps in the instructions.
Instructions for the Cut & Sew Crazy Cat Here’s what you’ll need:
Essentials:
- Fabric panel “Cut & Sew: Crazy Cat Companion”
- Sewing needle
- Pins
- Thread
- Scissors
- Stuffing, for example, from a 40 x 40 cm pillow
These things will make your life much easier!
- Sewing machine
- 2 sheets of A4 or US letter paper
- Adhesive tape
- Wooden spoon
- Chopsticks
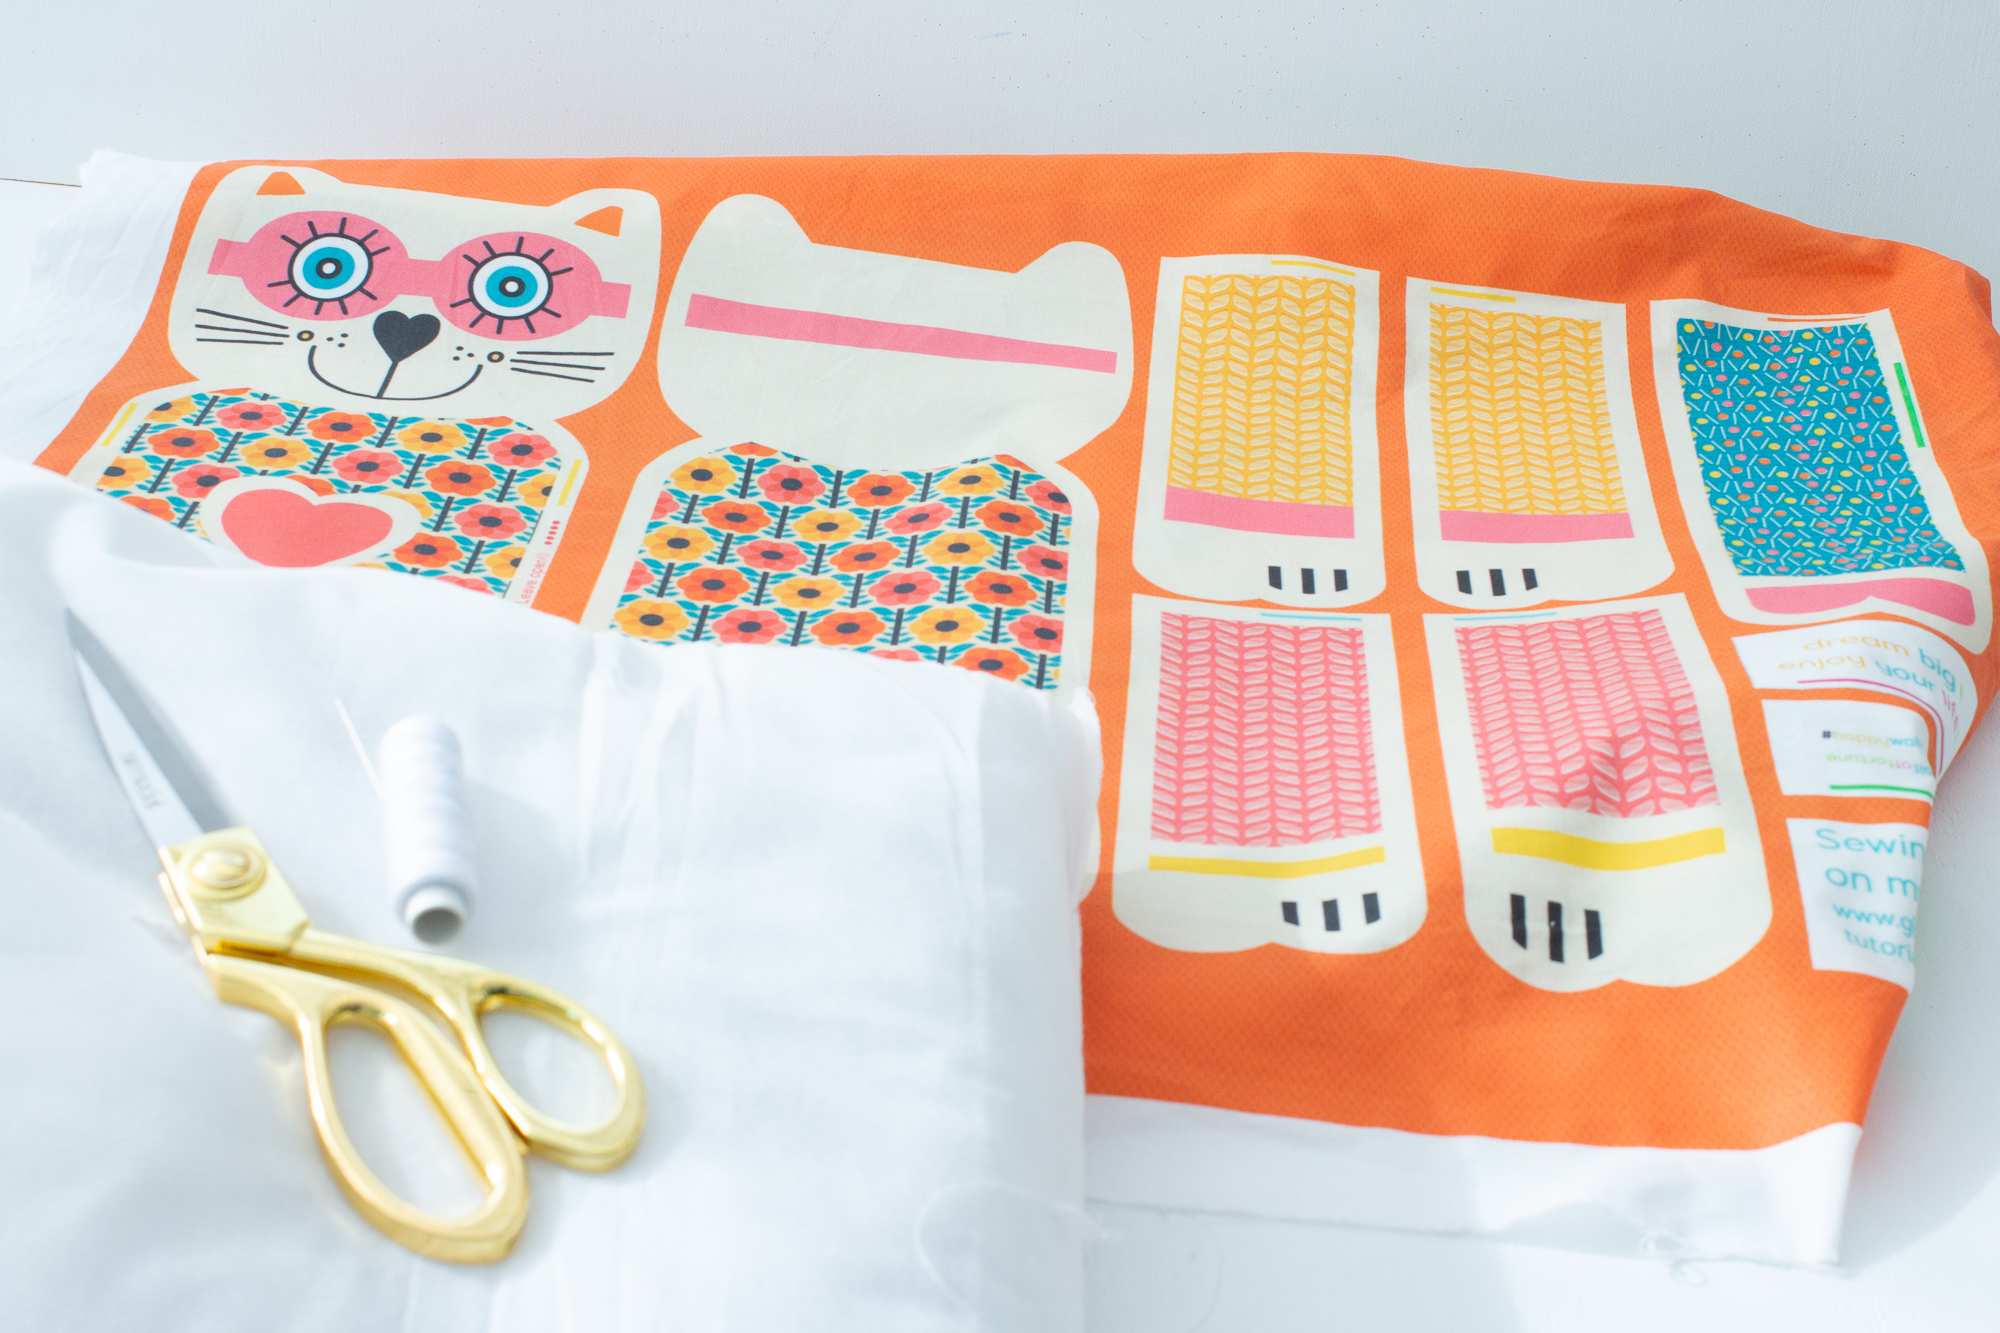
Here’s how you do it: Sew yourself your cuddly toy cat.
Washing
Wash the fabric according to the instructions.
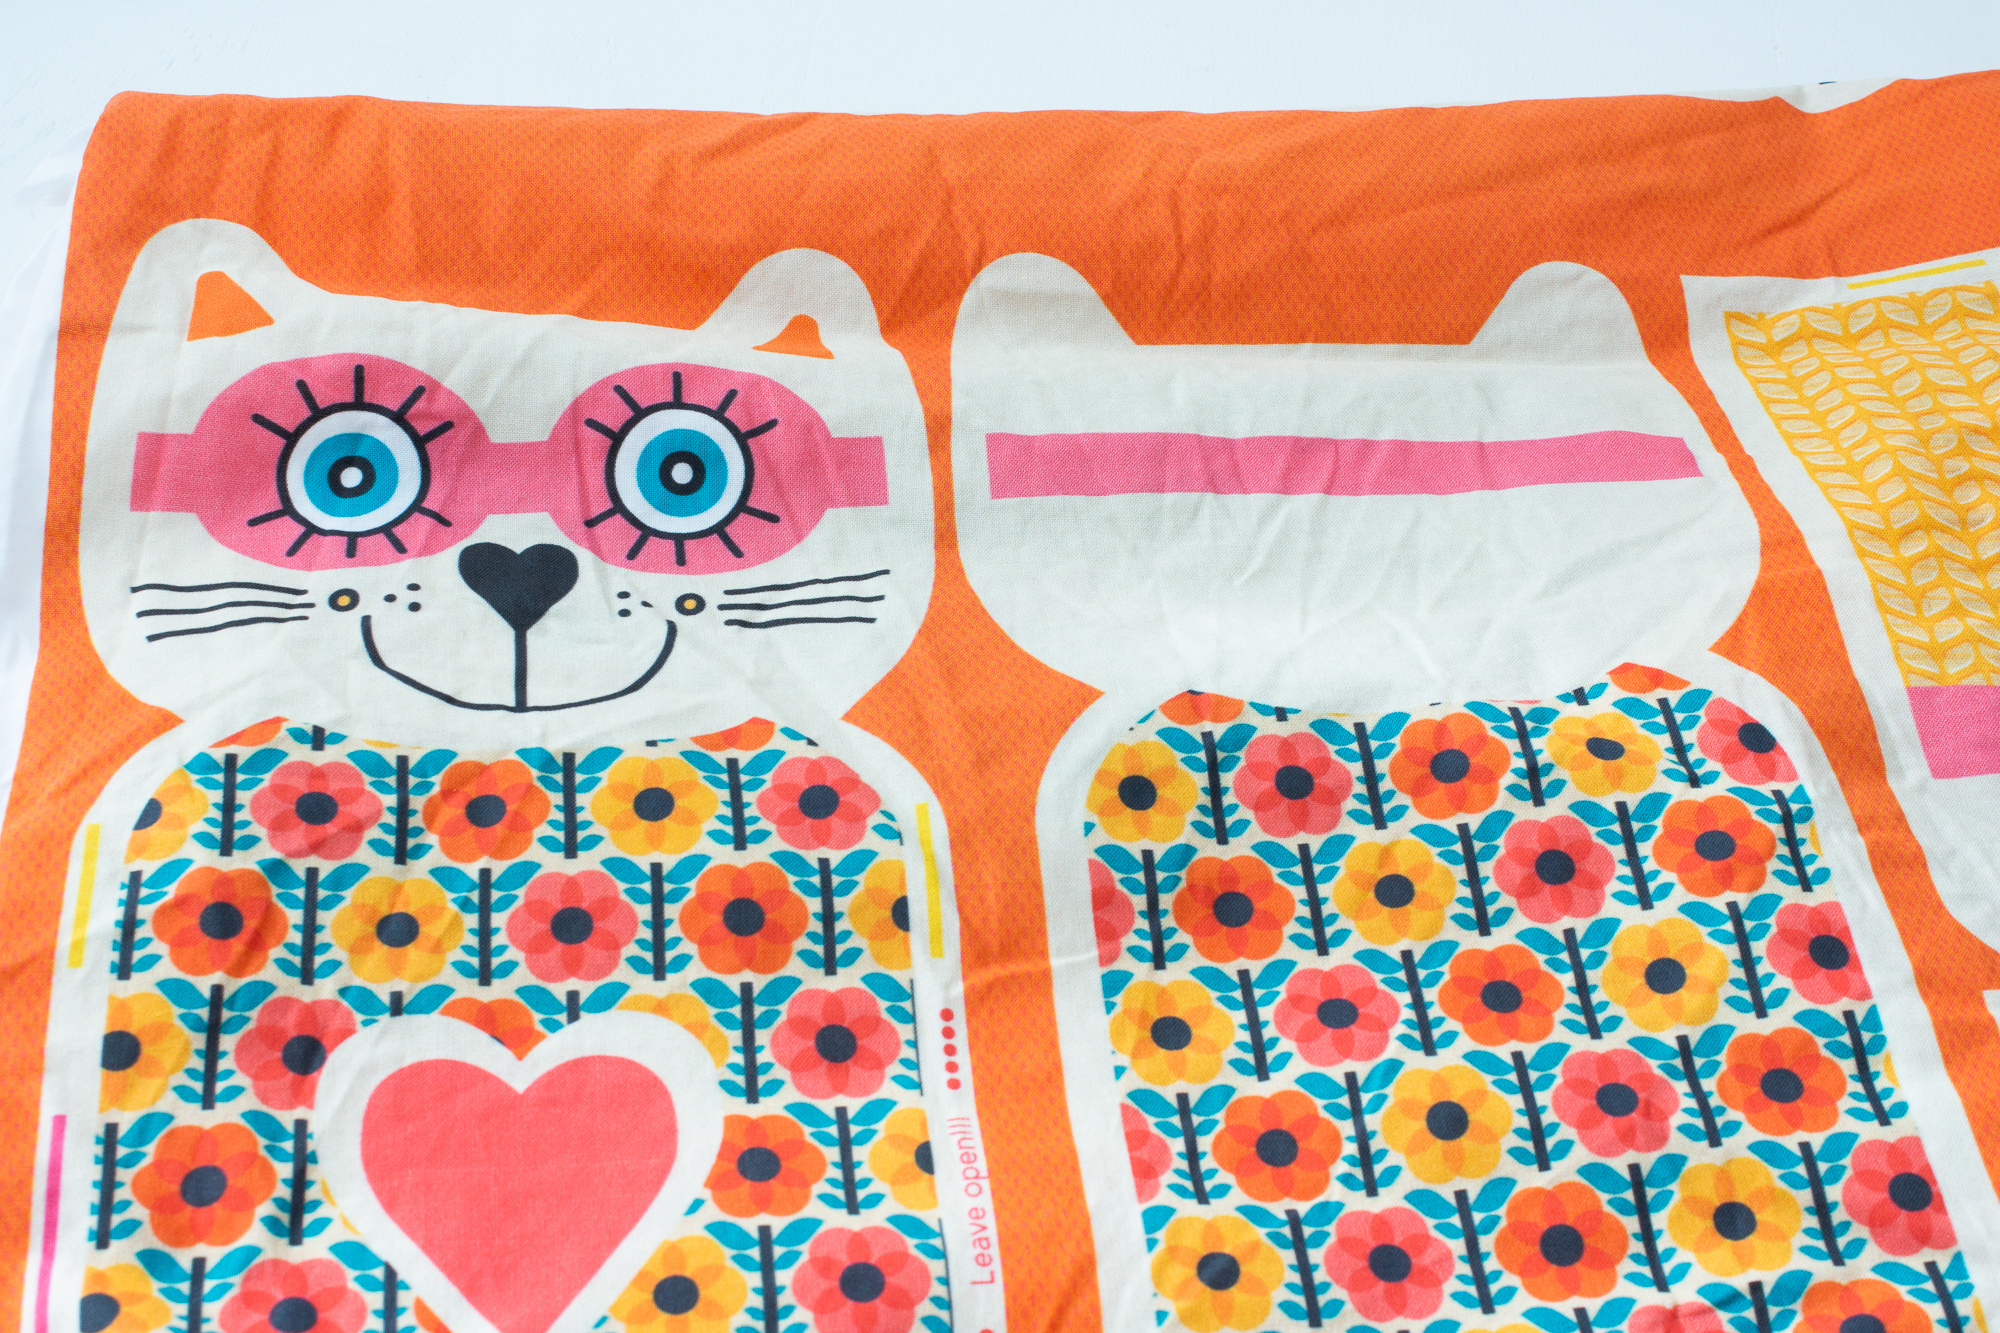
Ironing
Iron the fabric according to the instructions.
Embroidery
If you want to embroider the facial features with the sewing machine or by hand, now is the right time. Be sure to place a (water-soluble) stabilizer underneath for embroidery and stretch the fabric into a frame.
Iron the fabric again if necessary.
Cutting
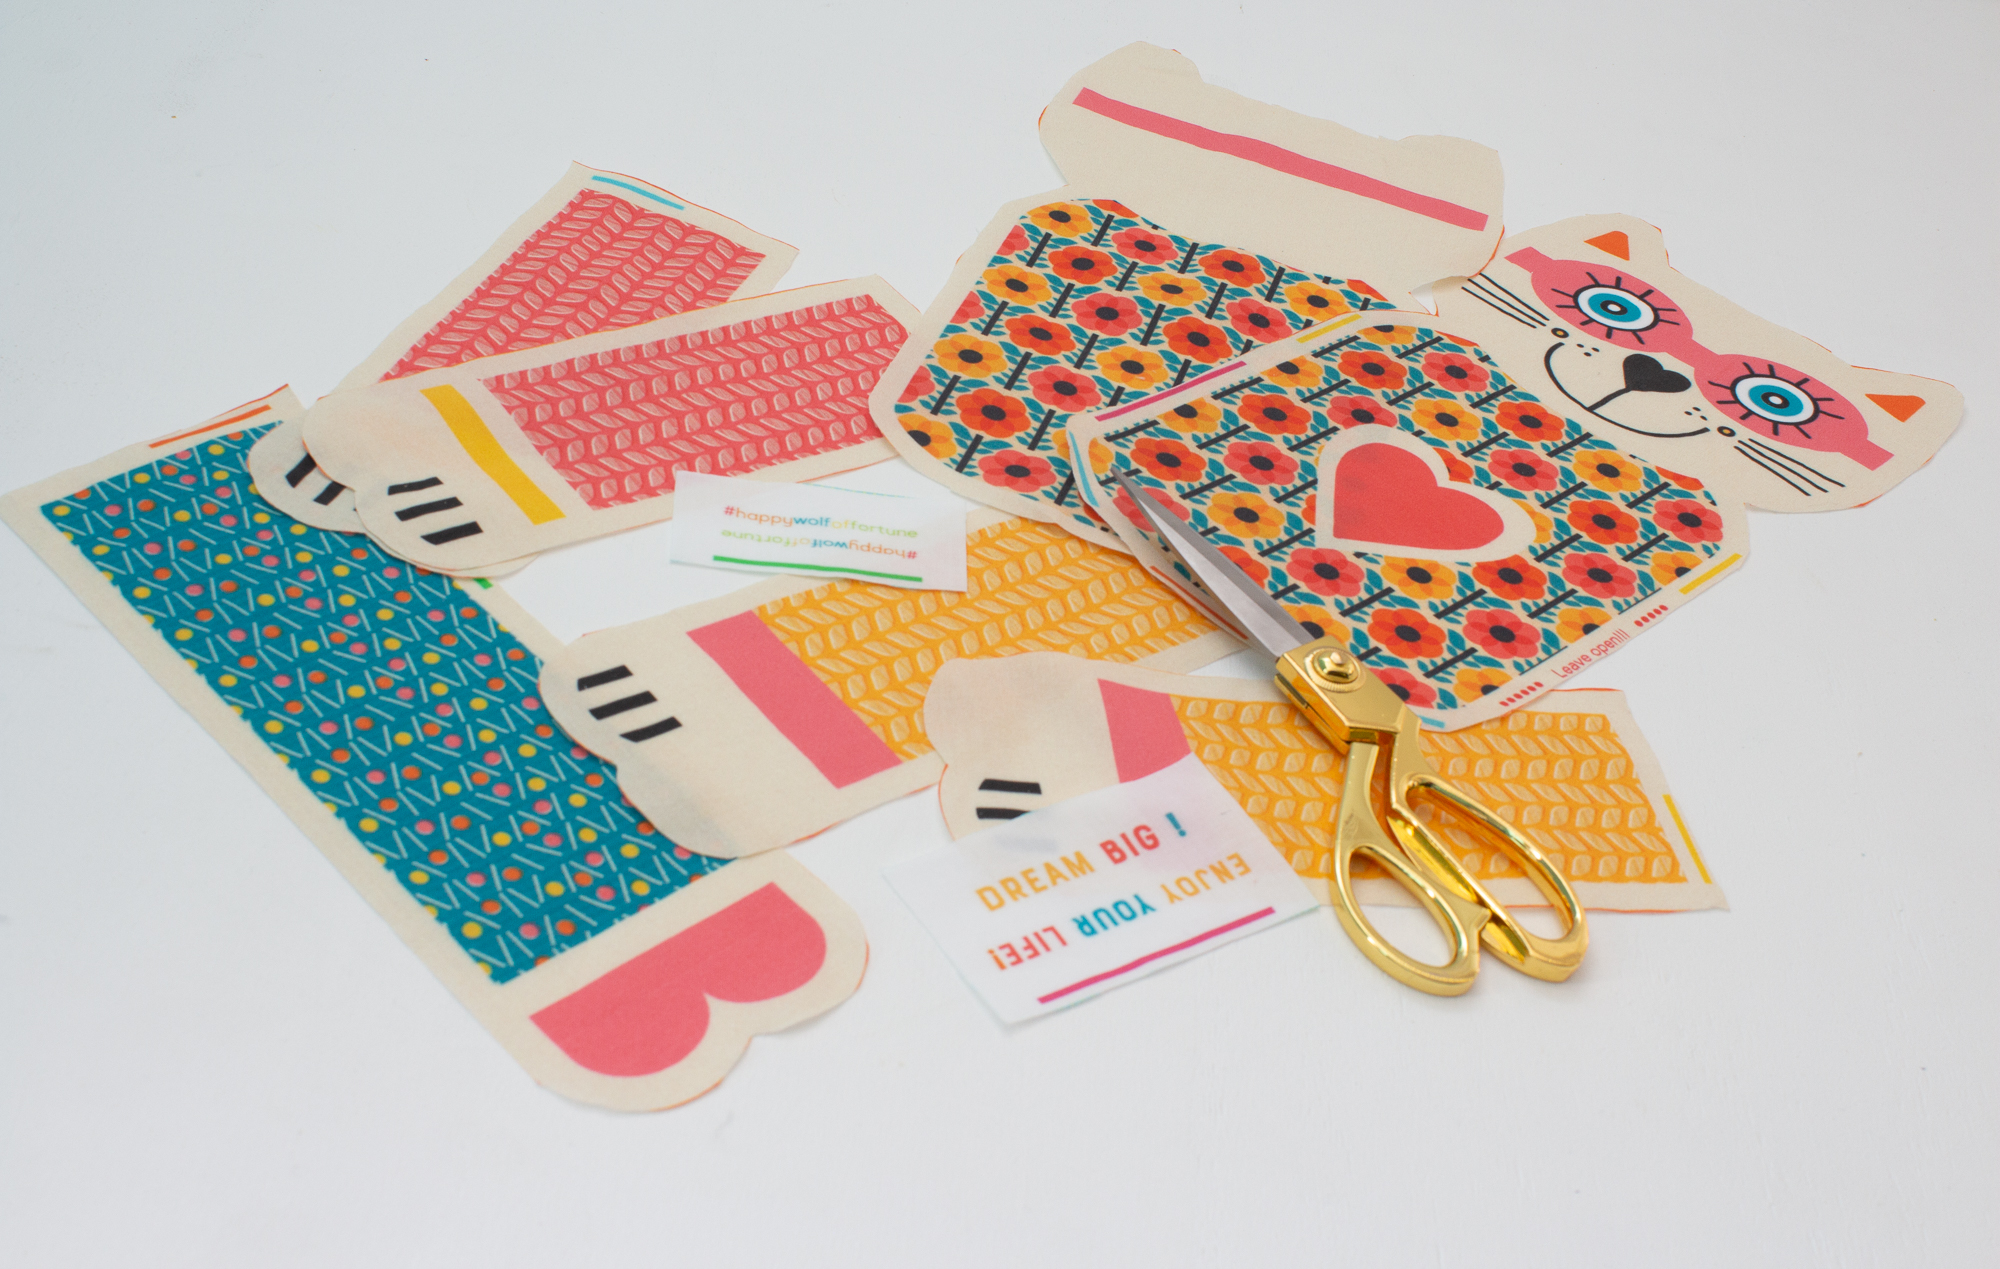
Cut out all the pieces. The white border around the pieces must remain, as it is the seam allowance!
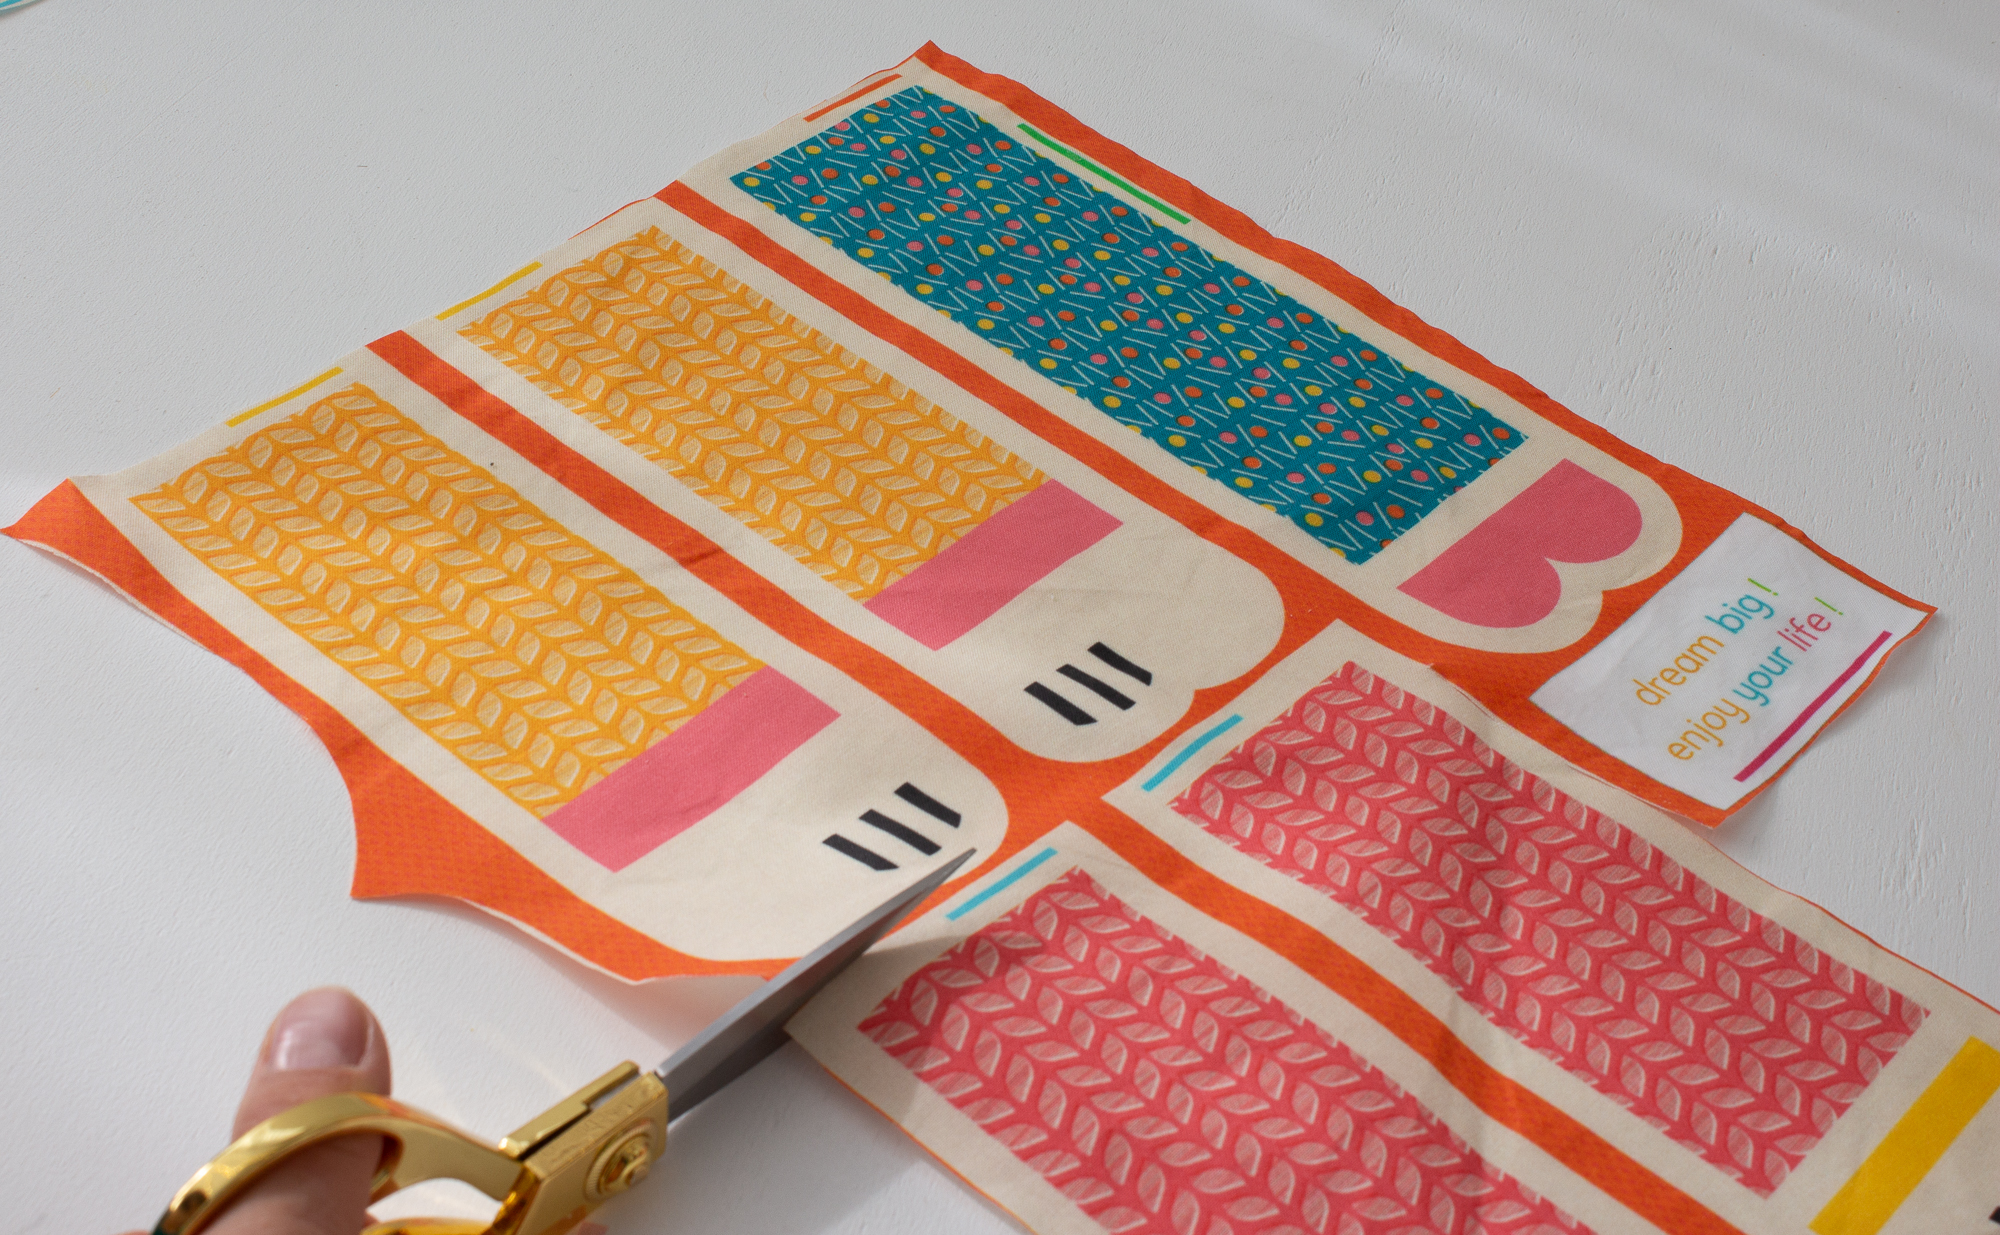
Sewing labels together
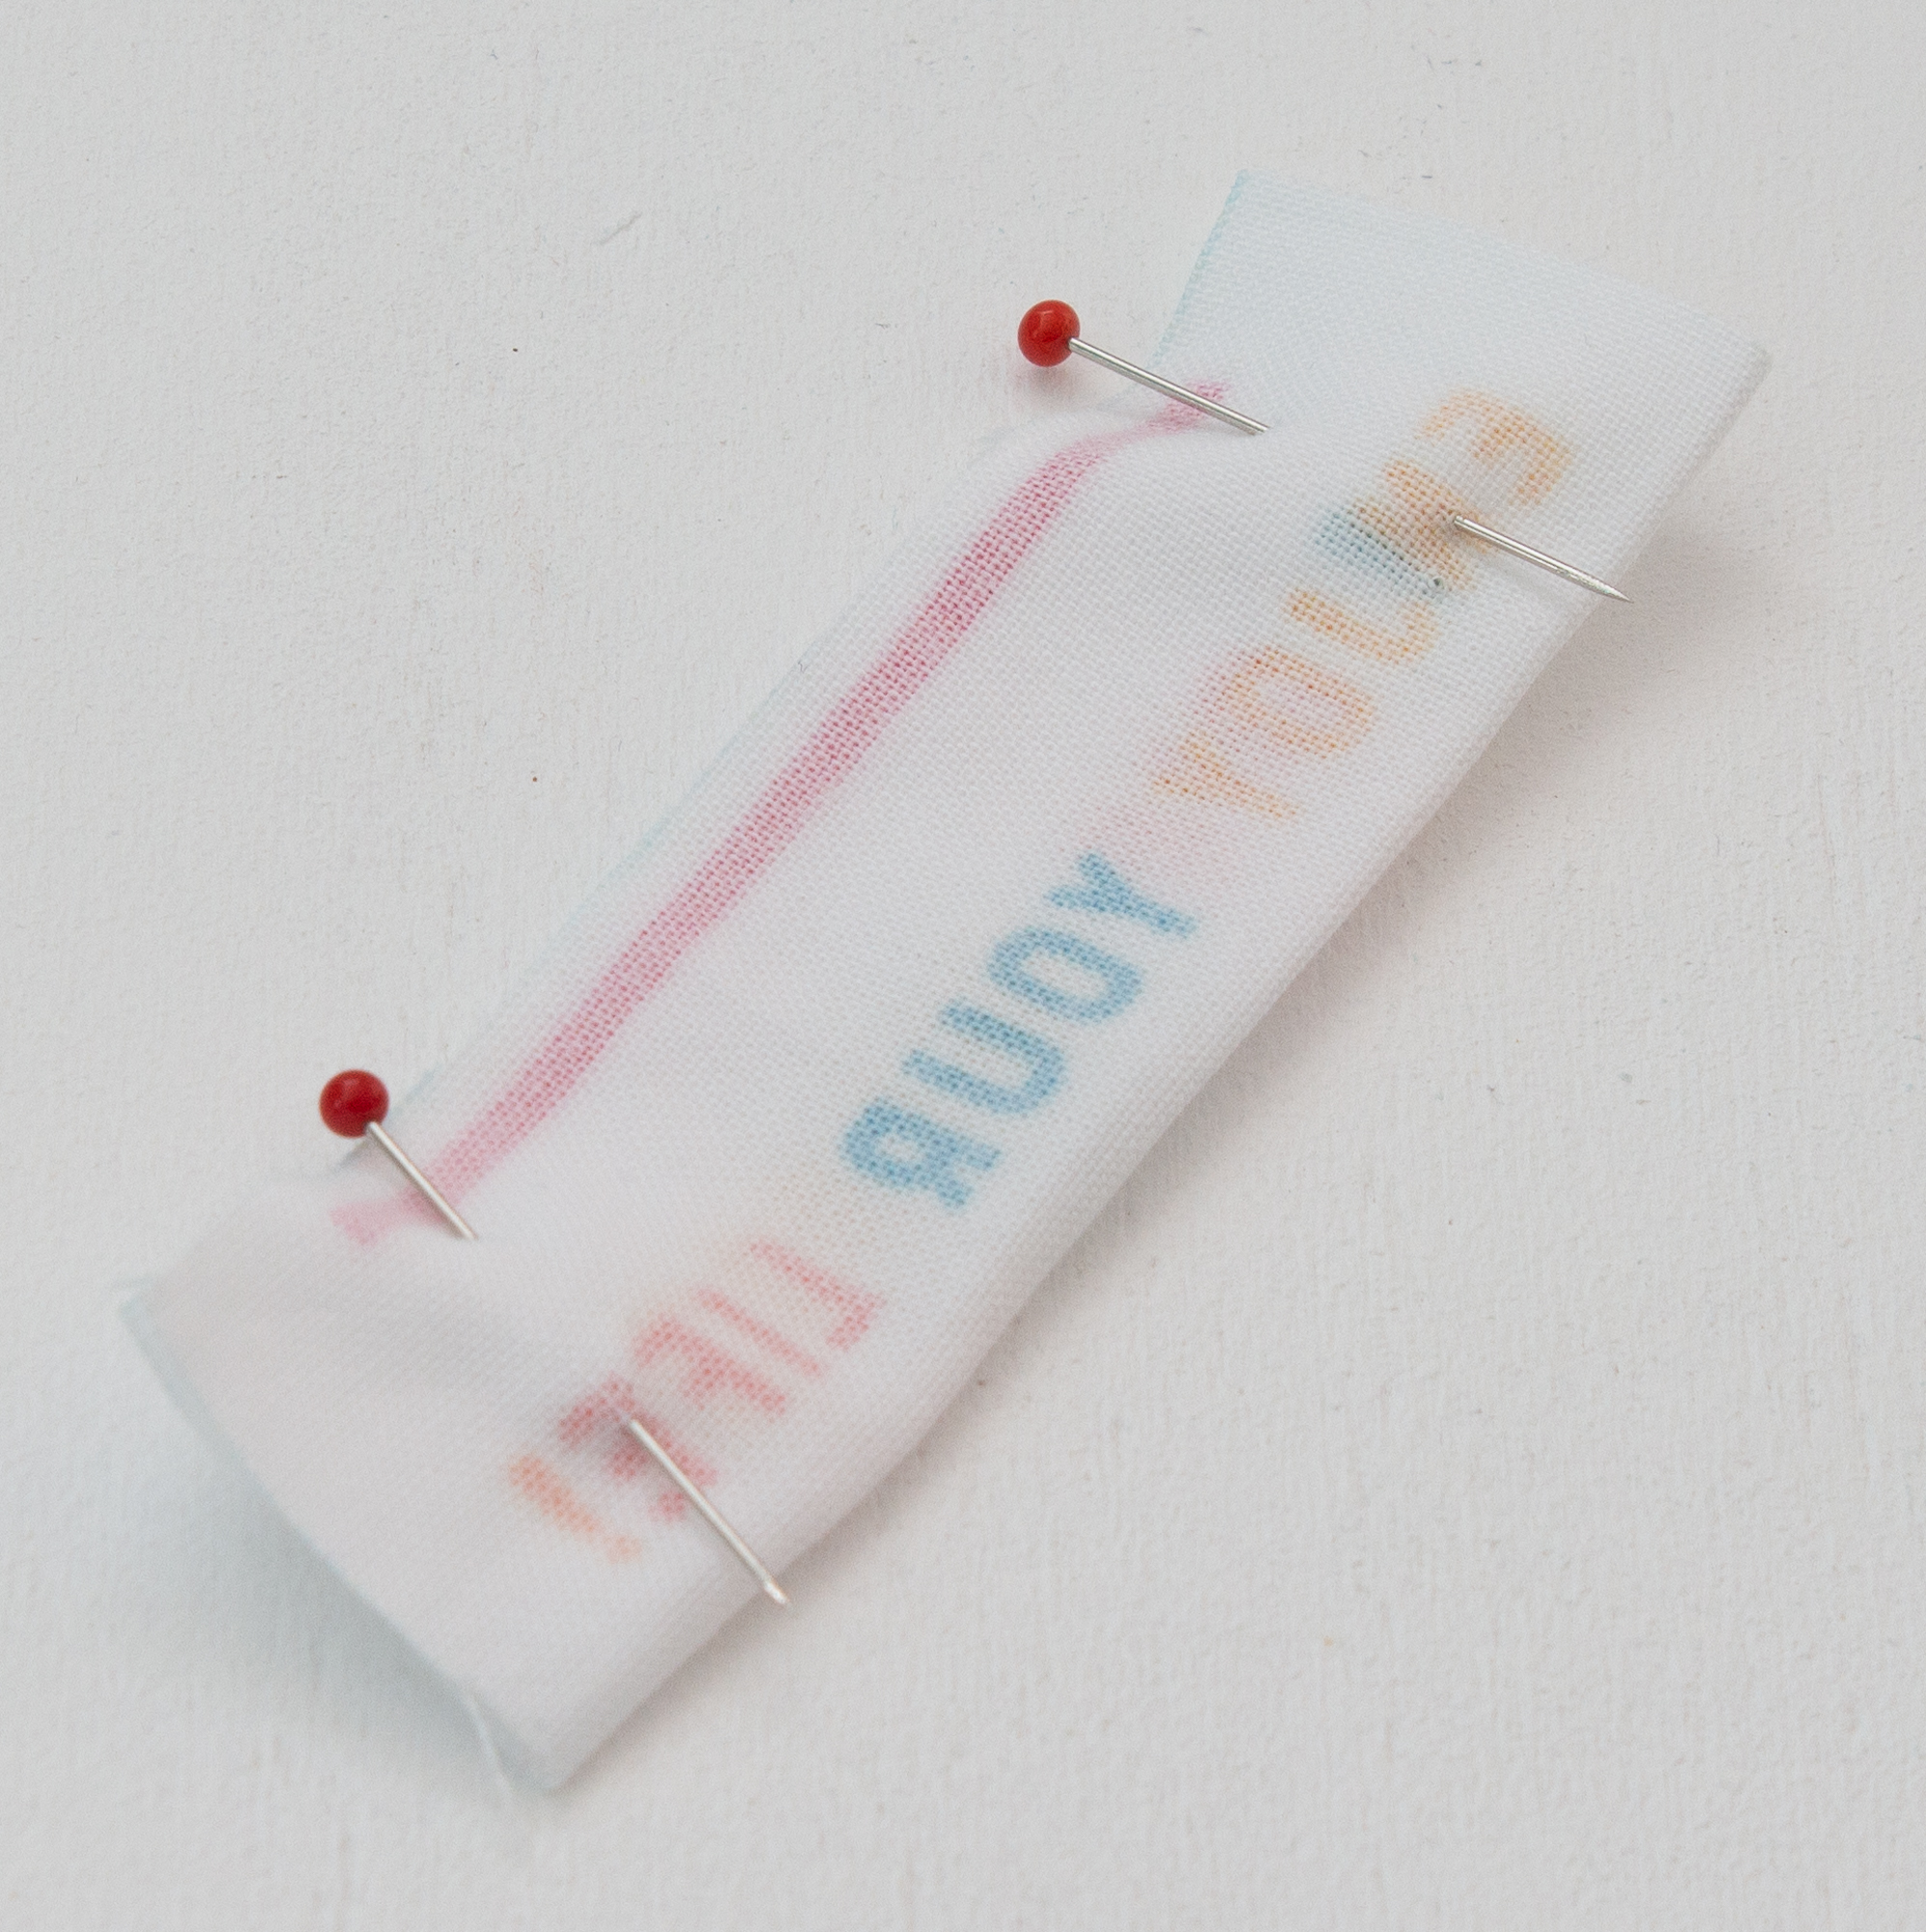
Take the # label and place it right sides together. Sew the short sides together. Trim the seam allowance and clip the corners. Now turn the label inside out.
Shape the corners of the label by inserting the chopstick from the inside into the corners of the label.
Proceed in the same way with the label containing the (desired) text.
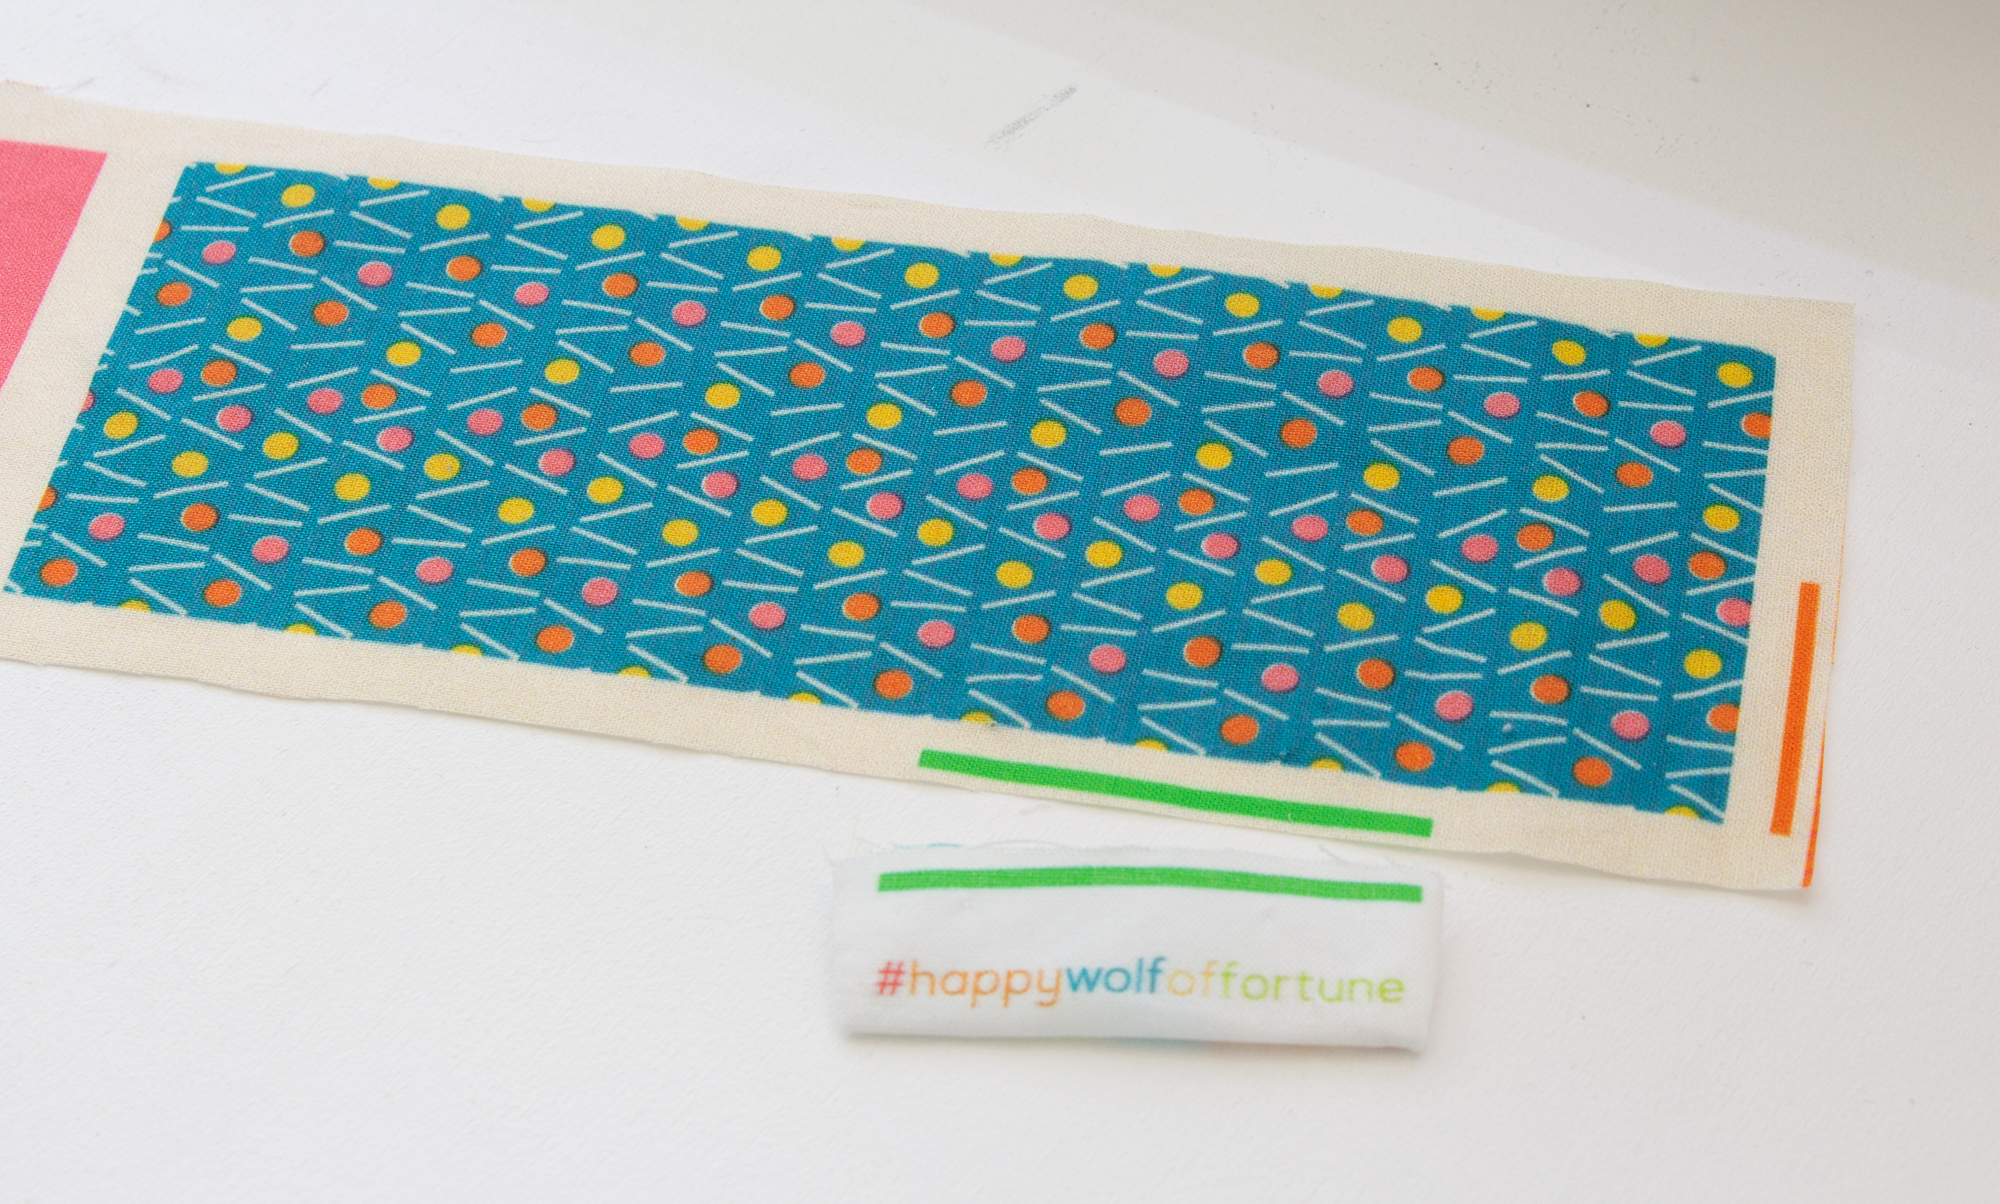
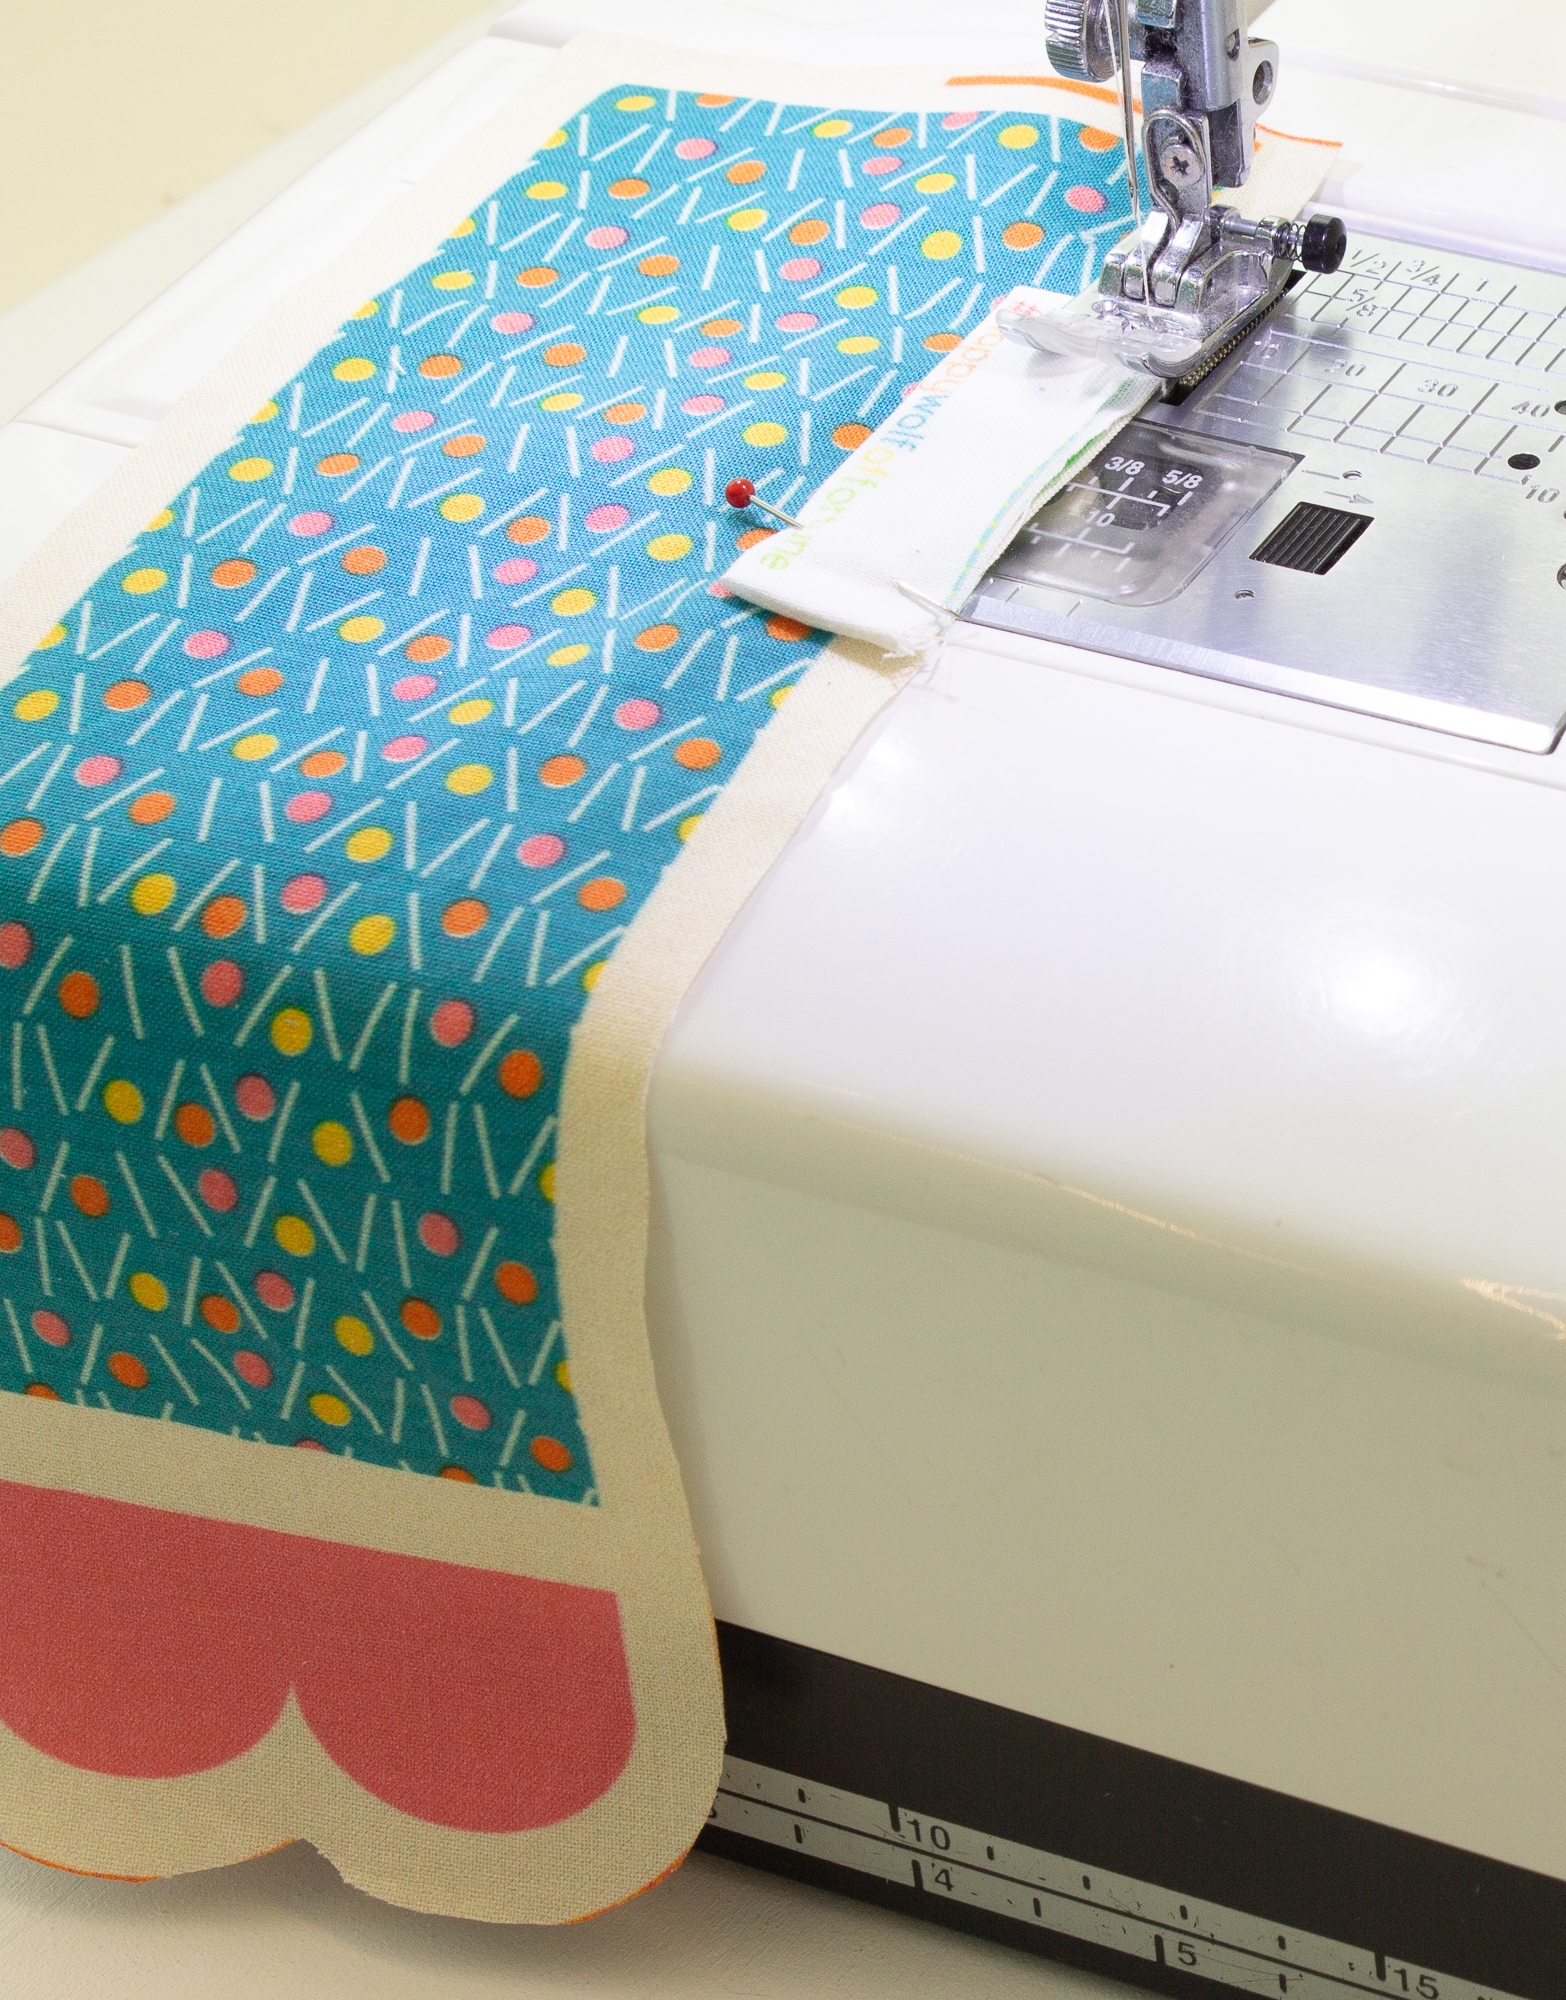
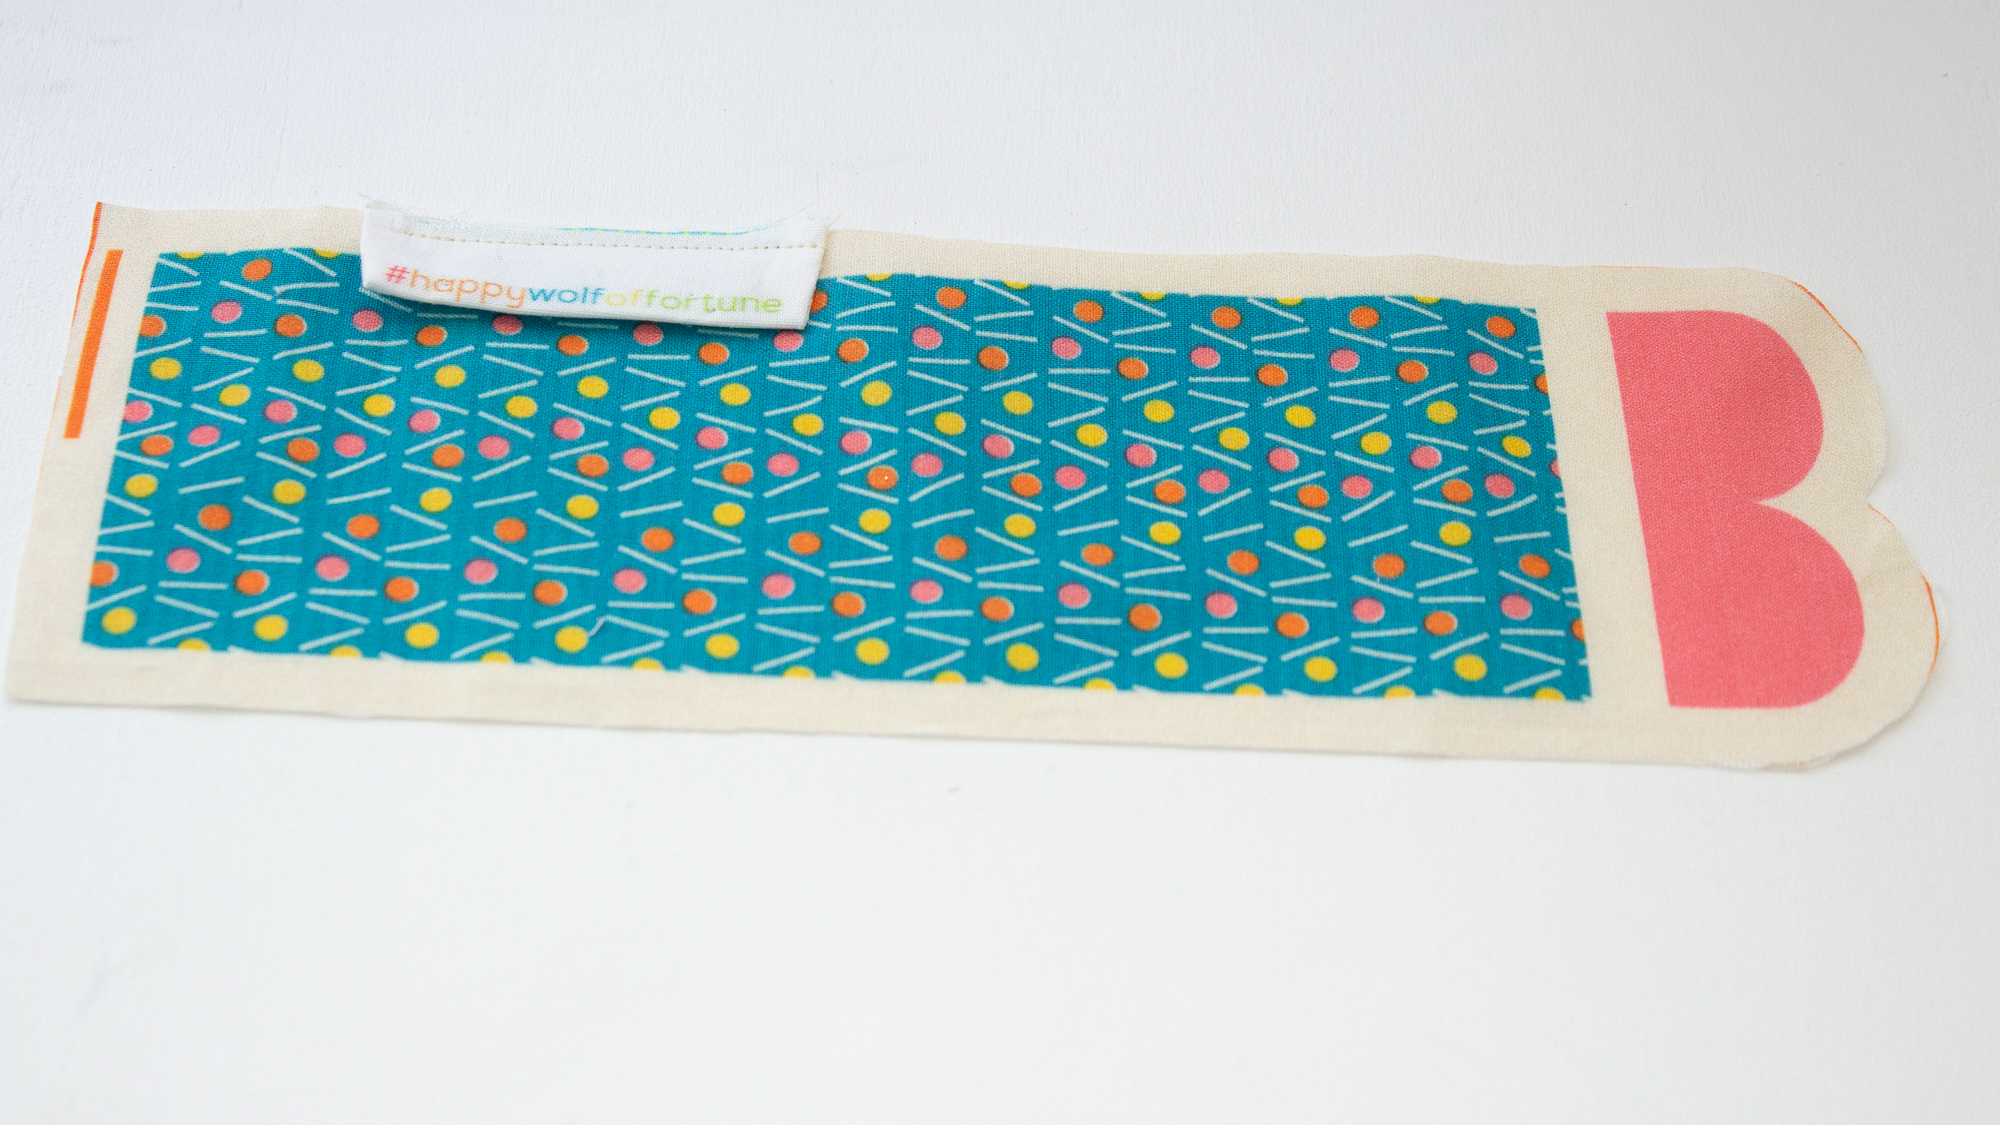
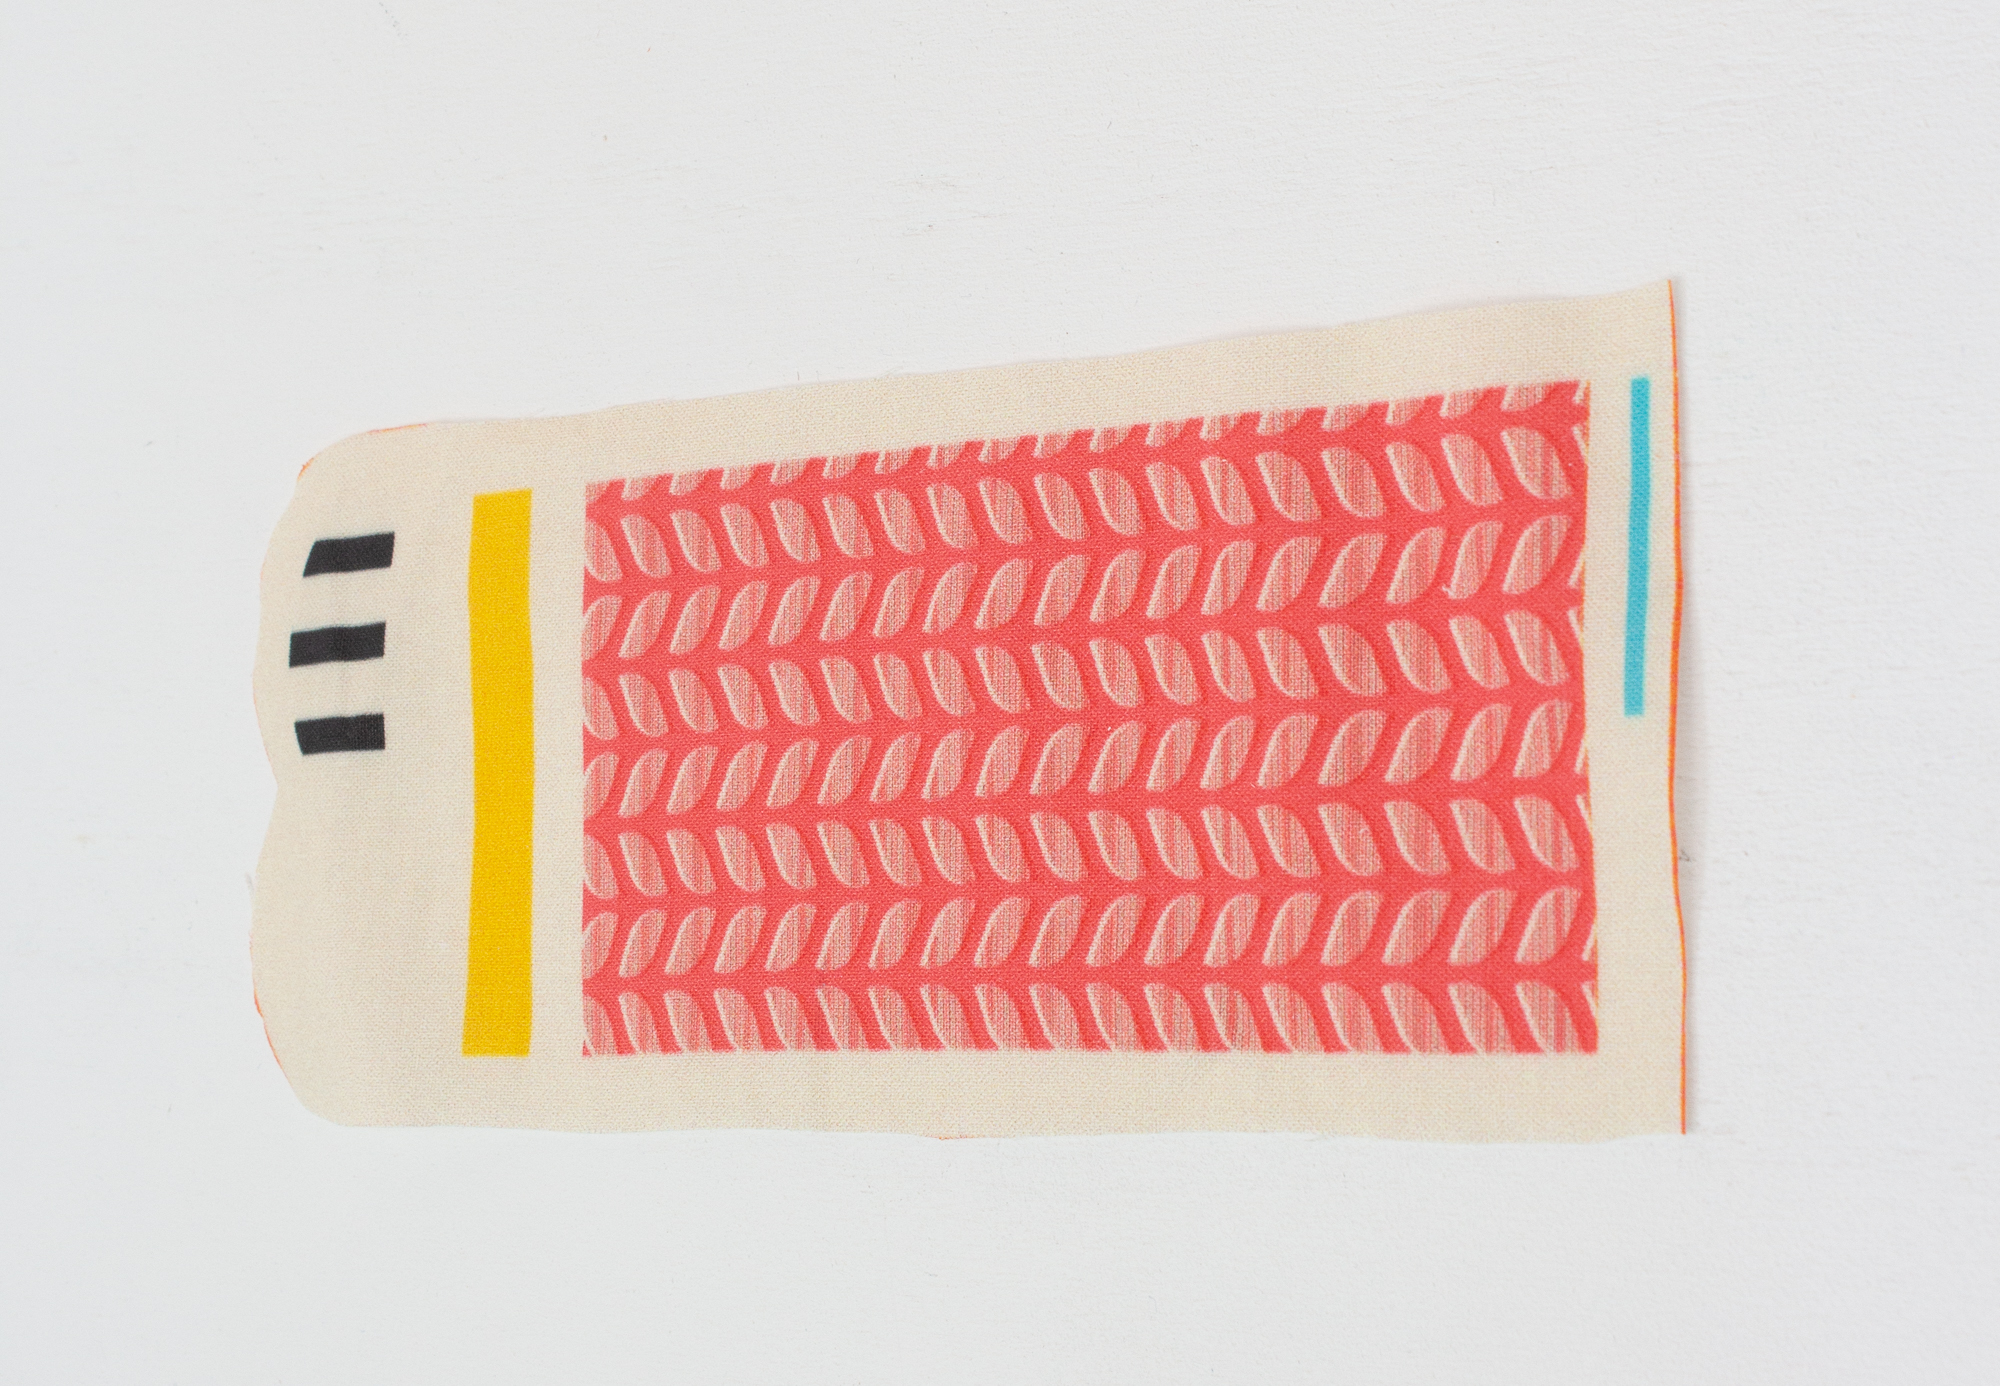
Place the # label at the marked spot on the cat’s tail, so that both marking strips align with each other.
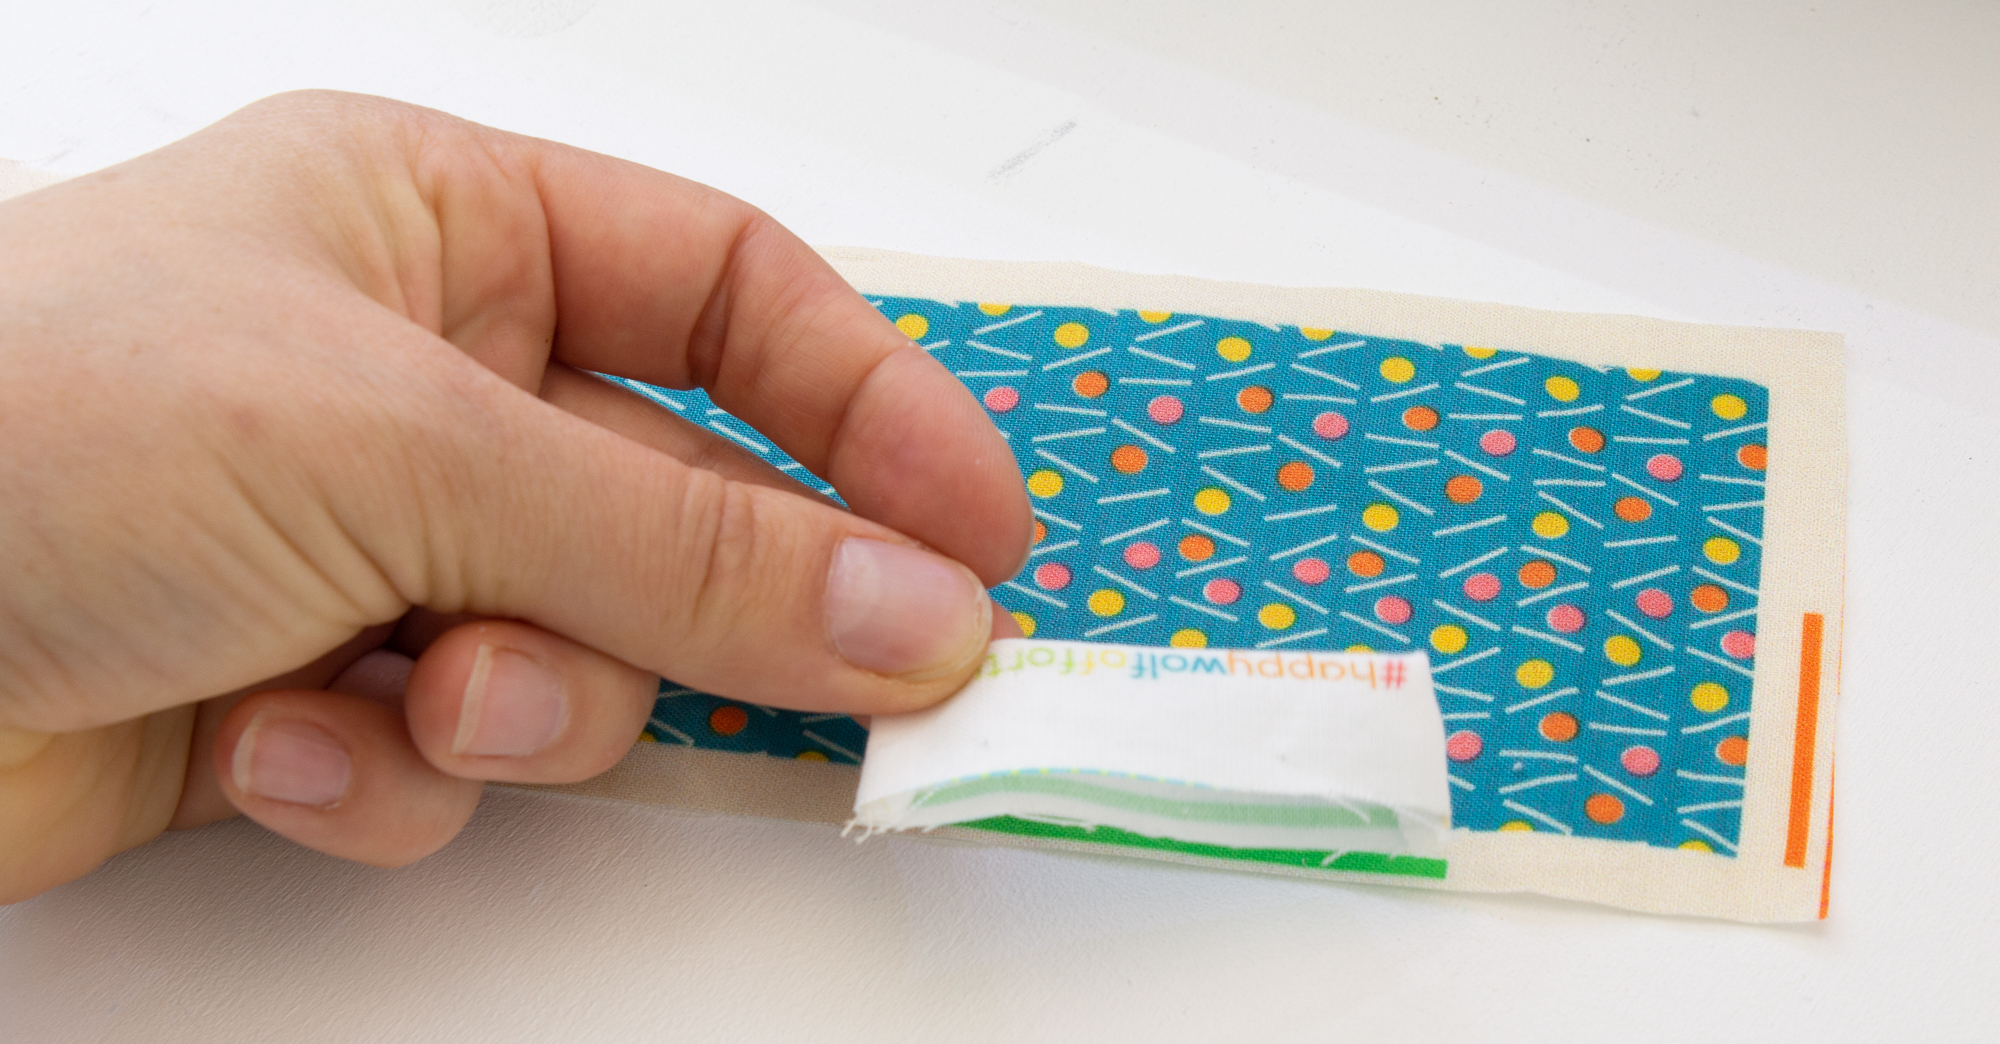
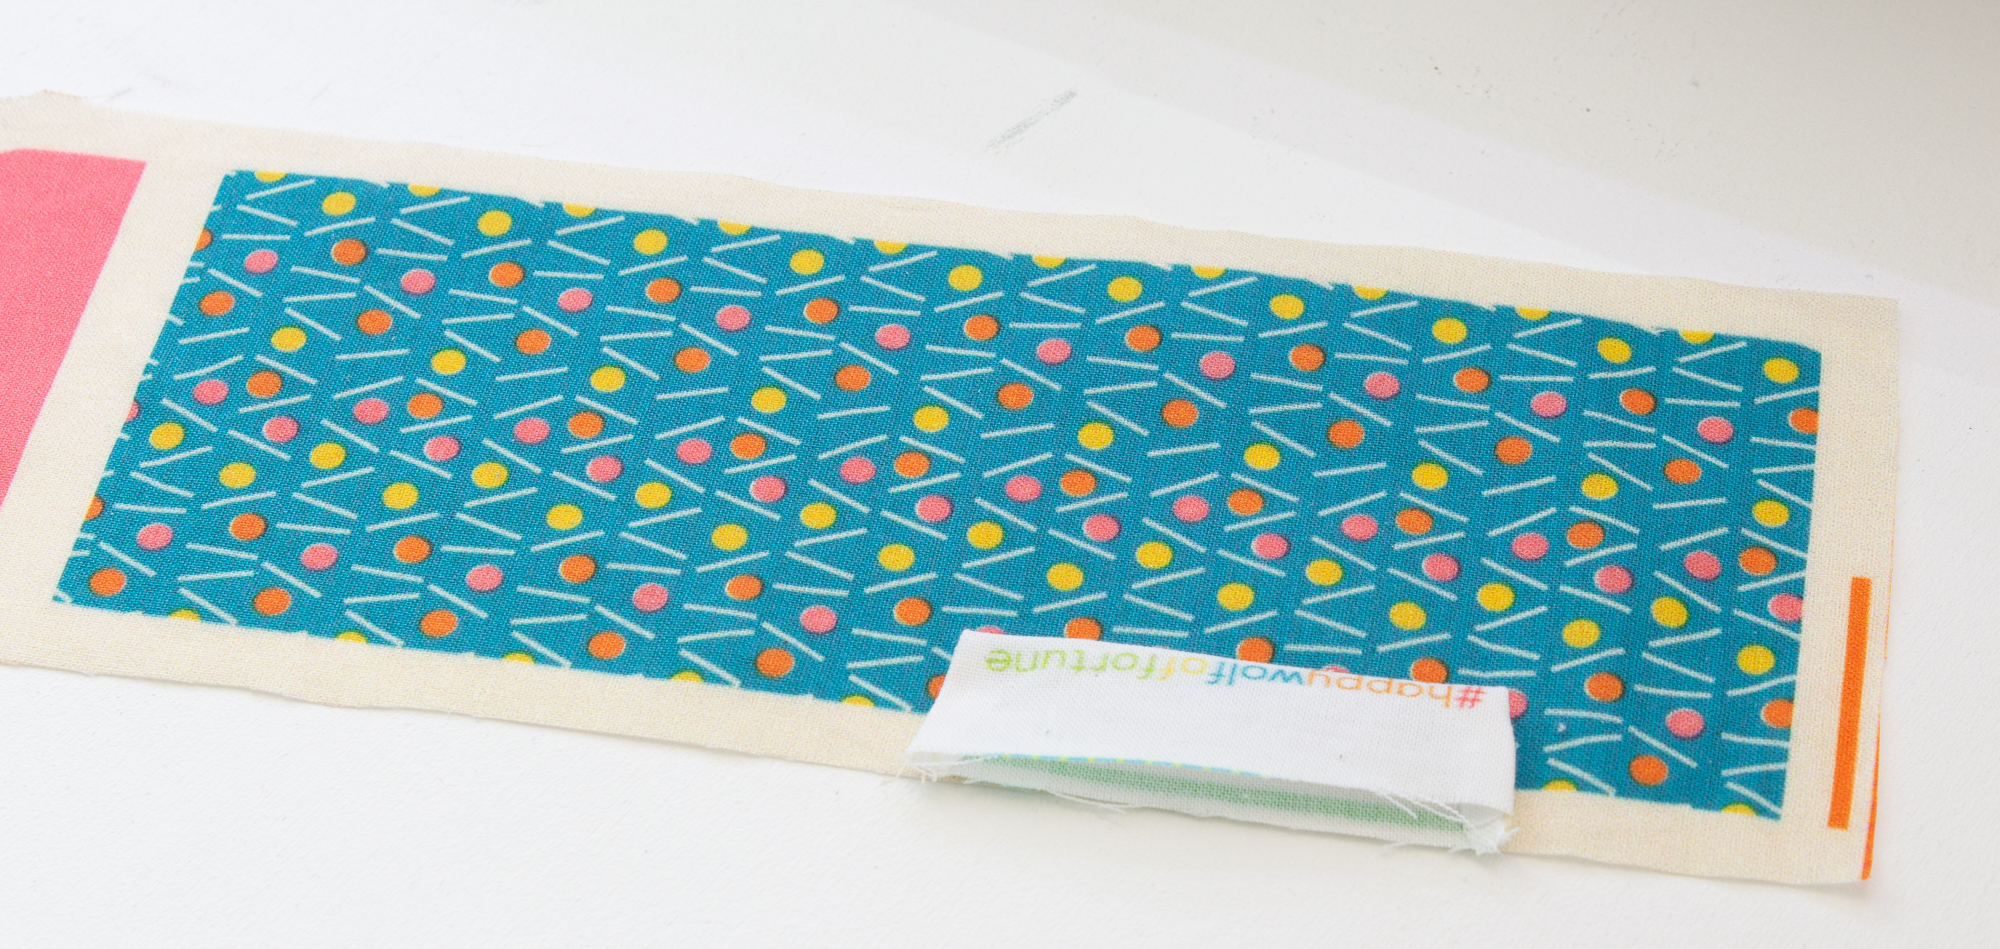
Secure the label with a seam close to the edge within the seam allowance.


Trim seam allowances
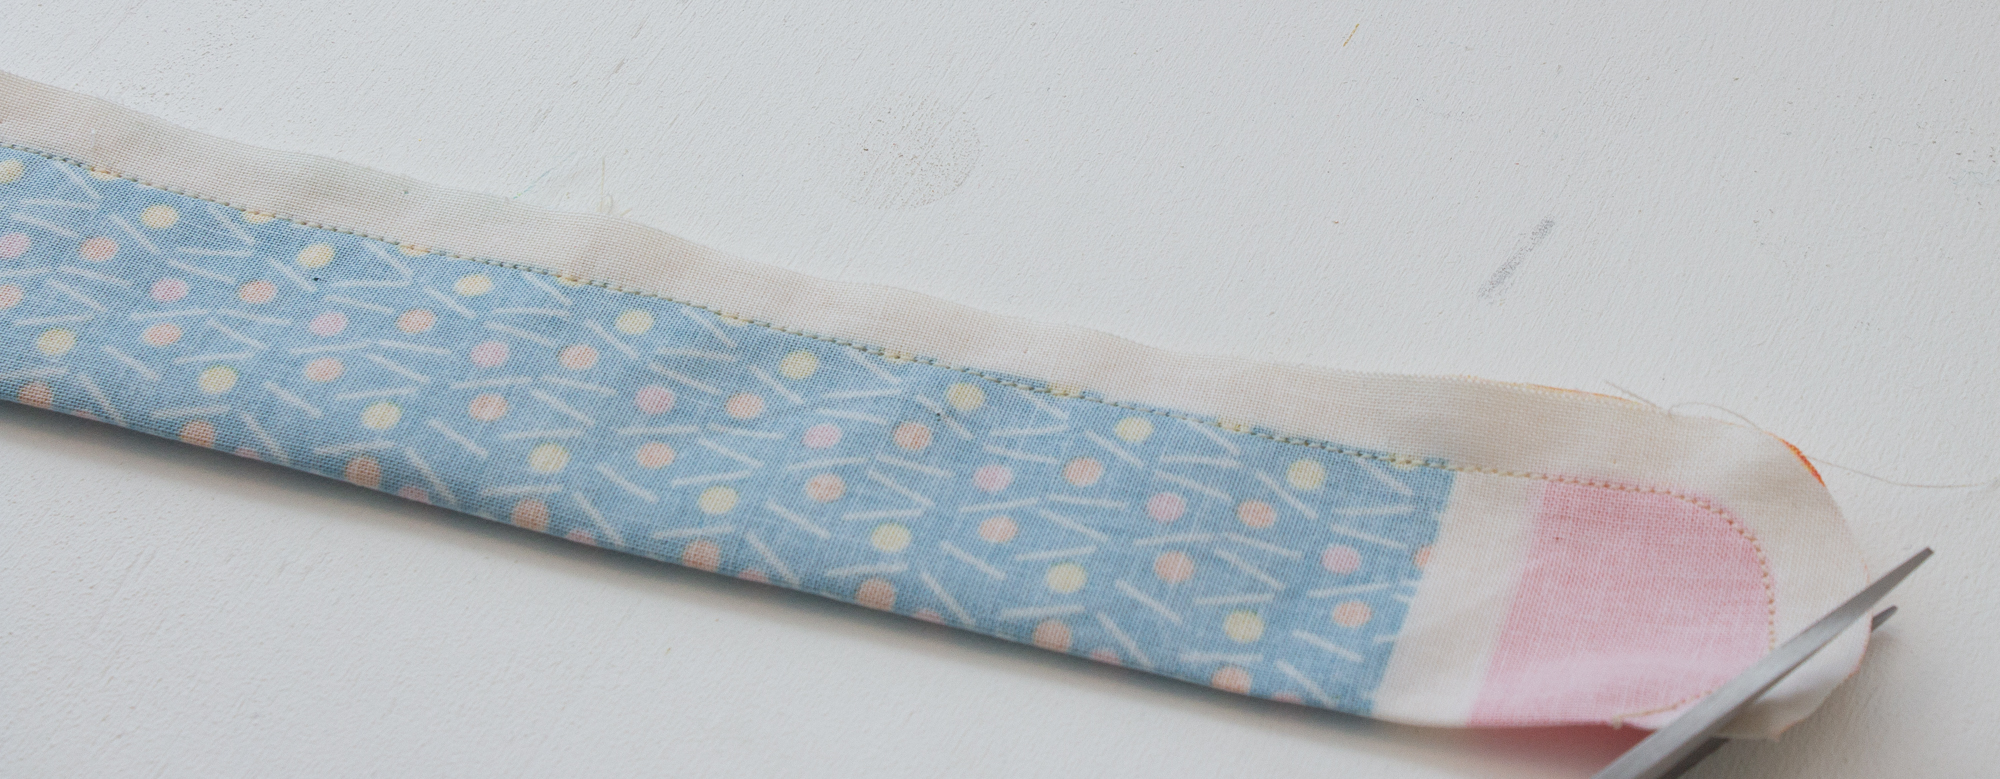
Now trim the seam allowances down to a few millimeters.
Work slowly and carefully, and don’t get too close to the stitches!
Turning
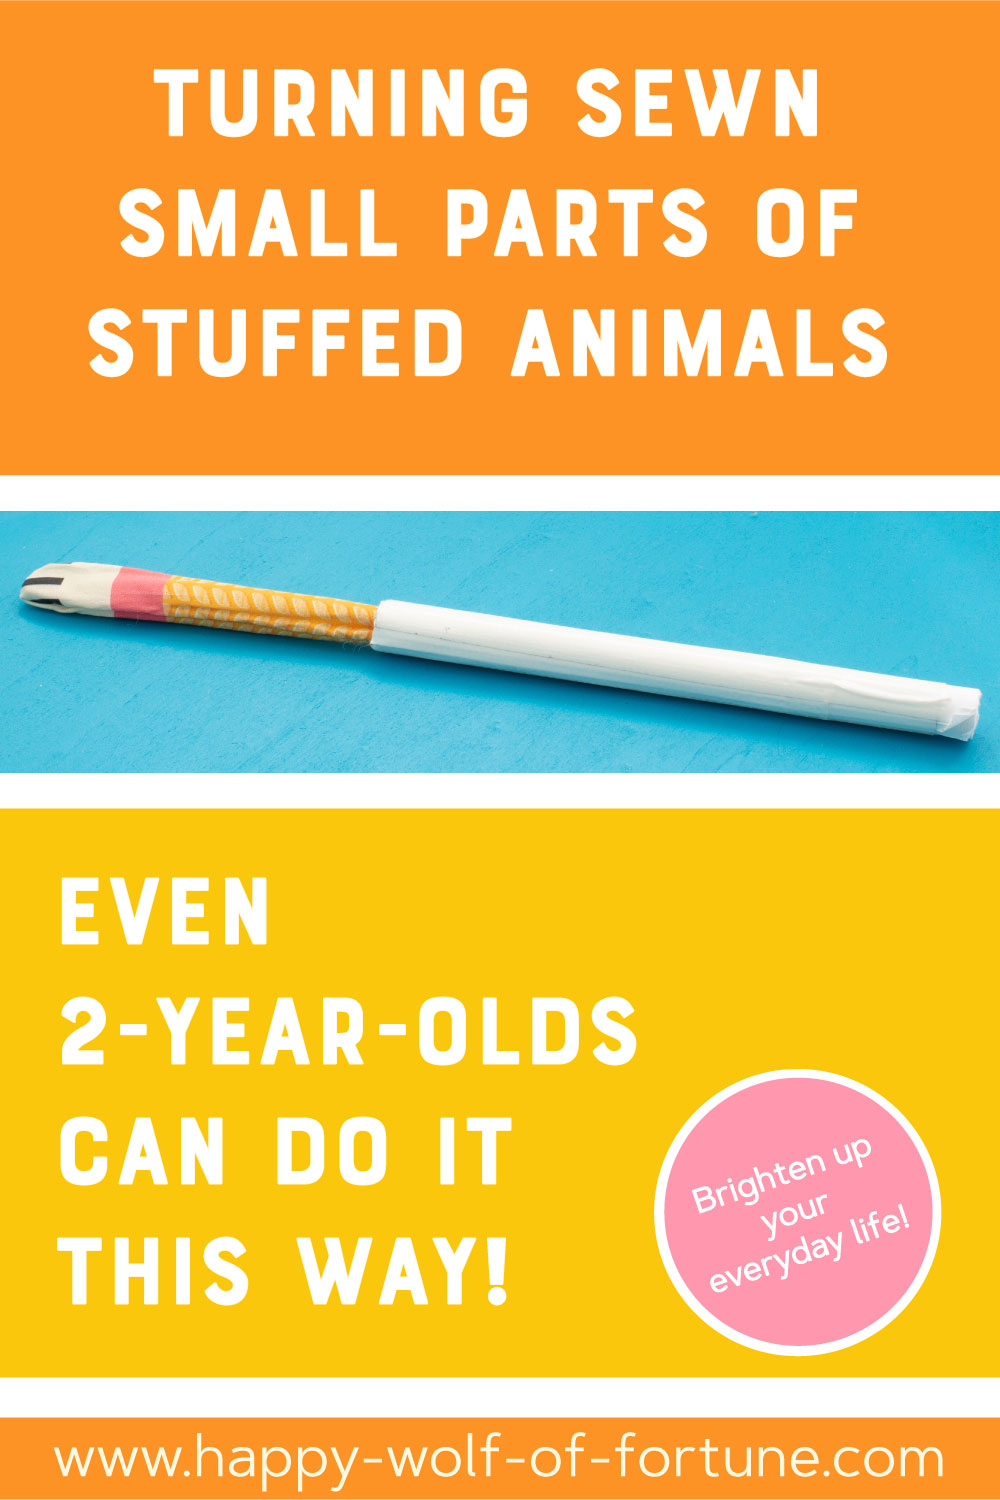
Have you been wondering the whole time how you are supposed to turn the small individual parts?
Then let me share a wonderful trick with you, one that even my 2.5-year-old can manage easily again and again!
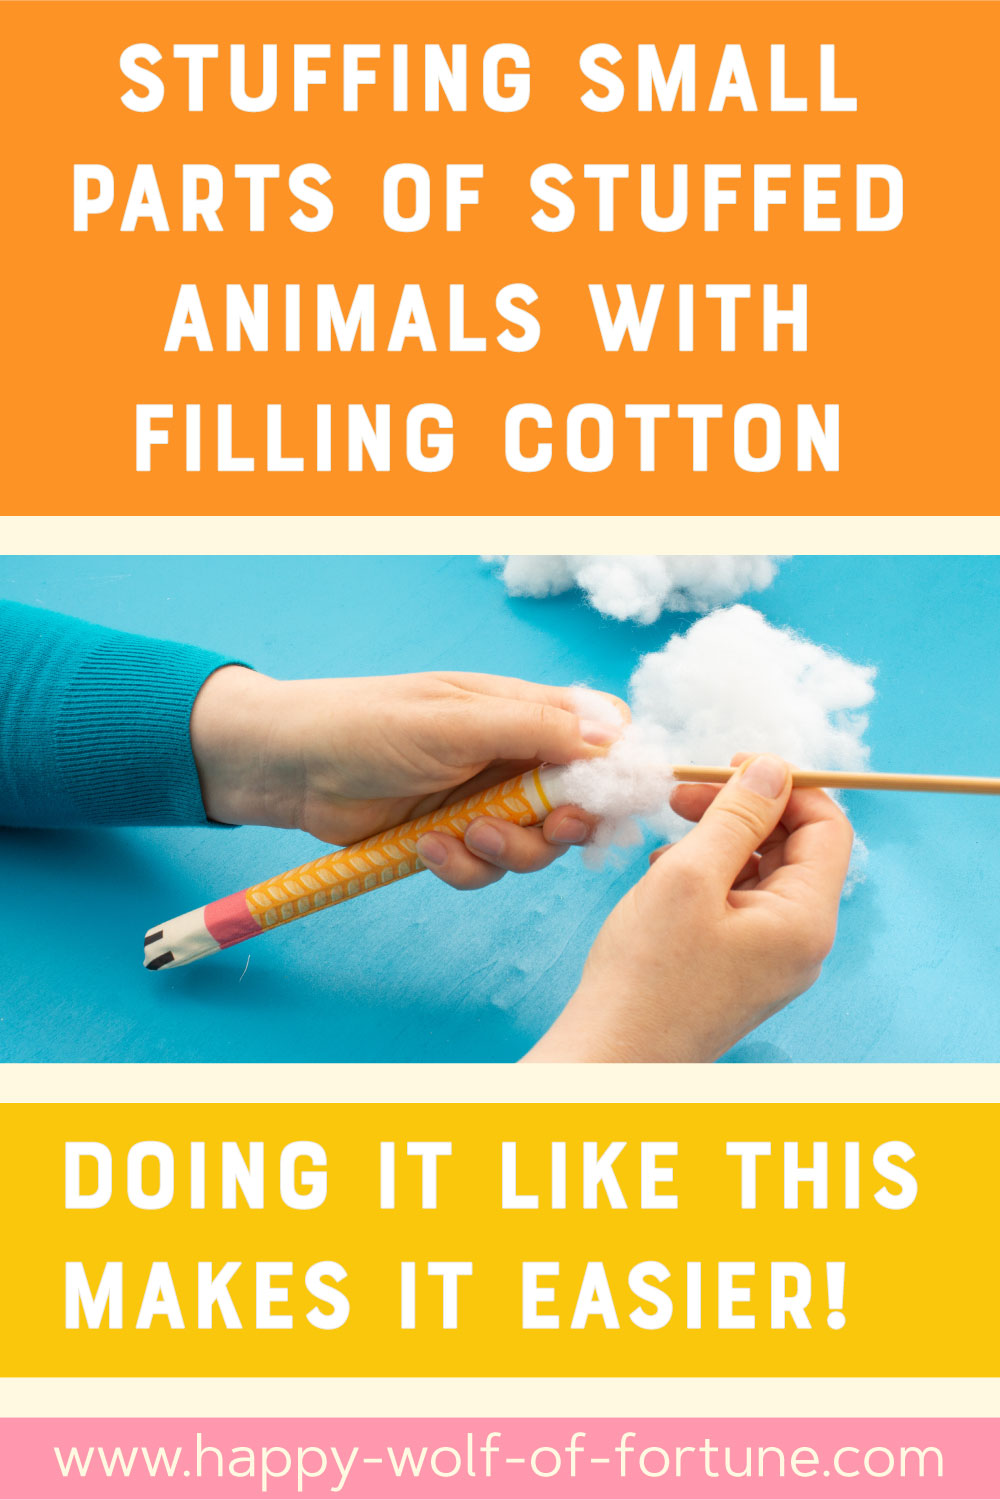
Filling small parts of stuffed animals with stuffing made easy
You don’t need to be afraid of filling the small parts either. It takes a little time and requires some patience, but with this trick for filling small parts of stuffed animals, it’s very easy.
Sewing – Assemble the body and small parts of the cat together.
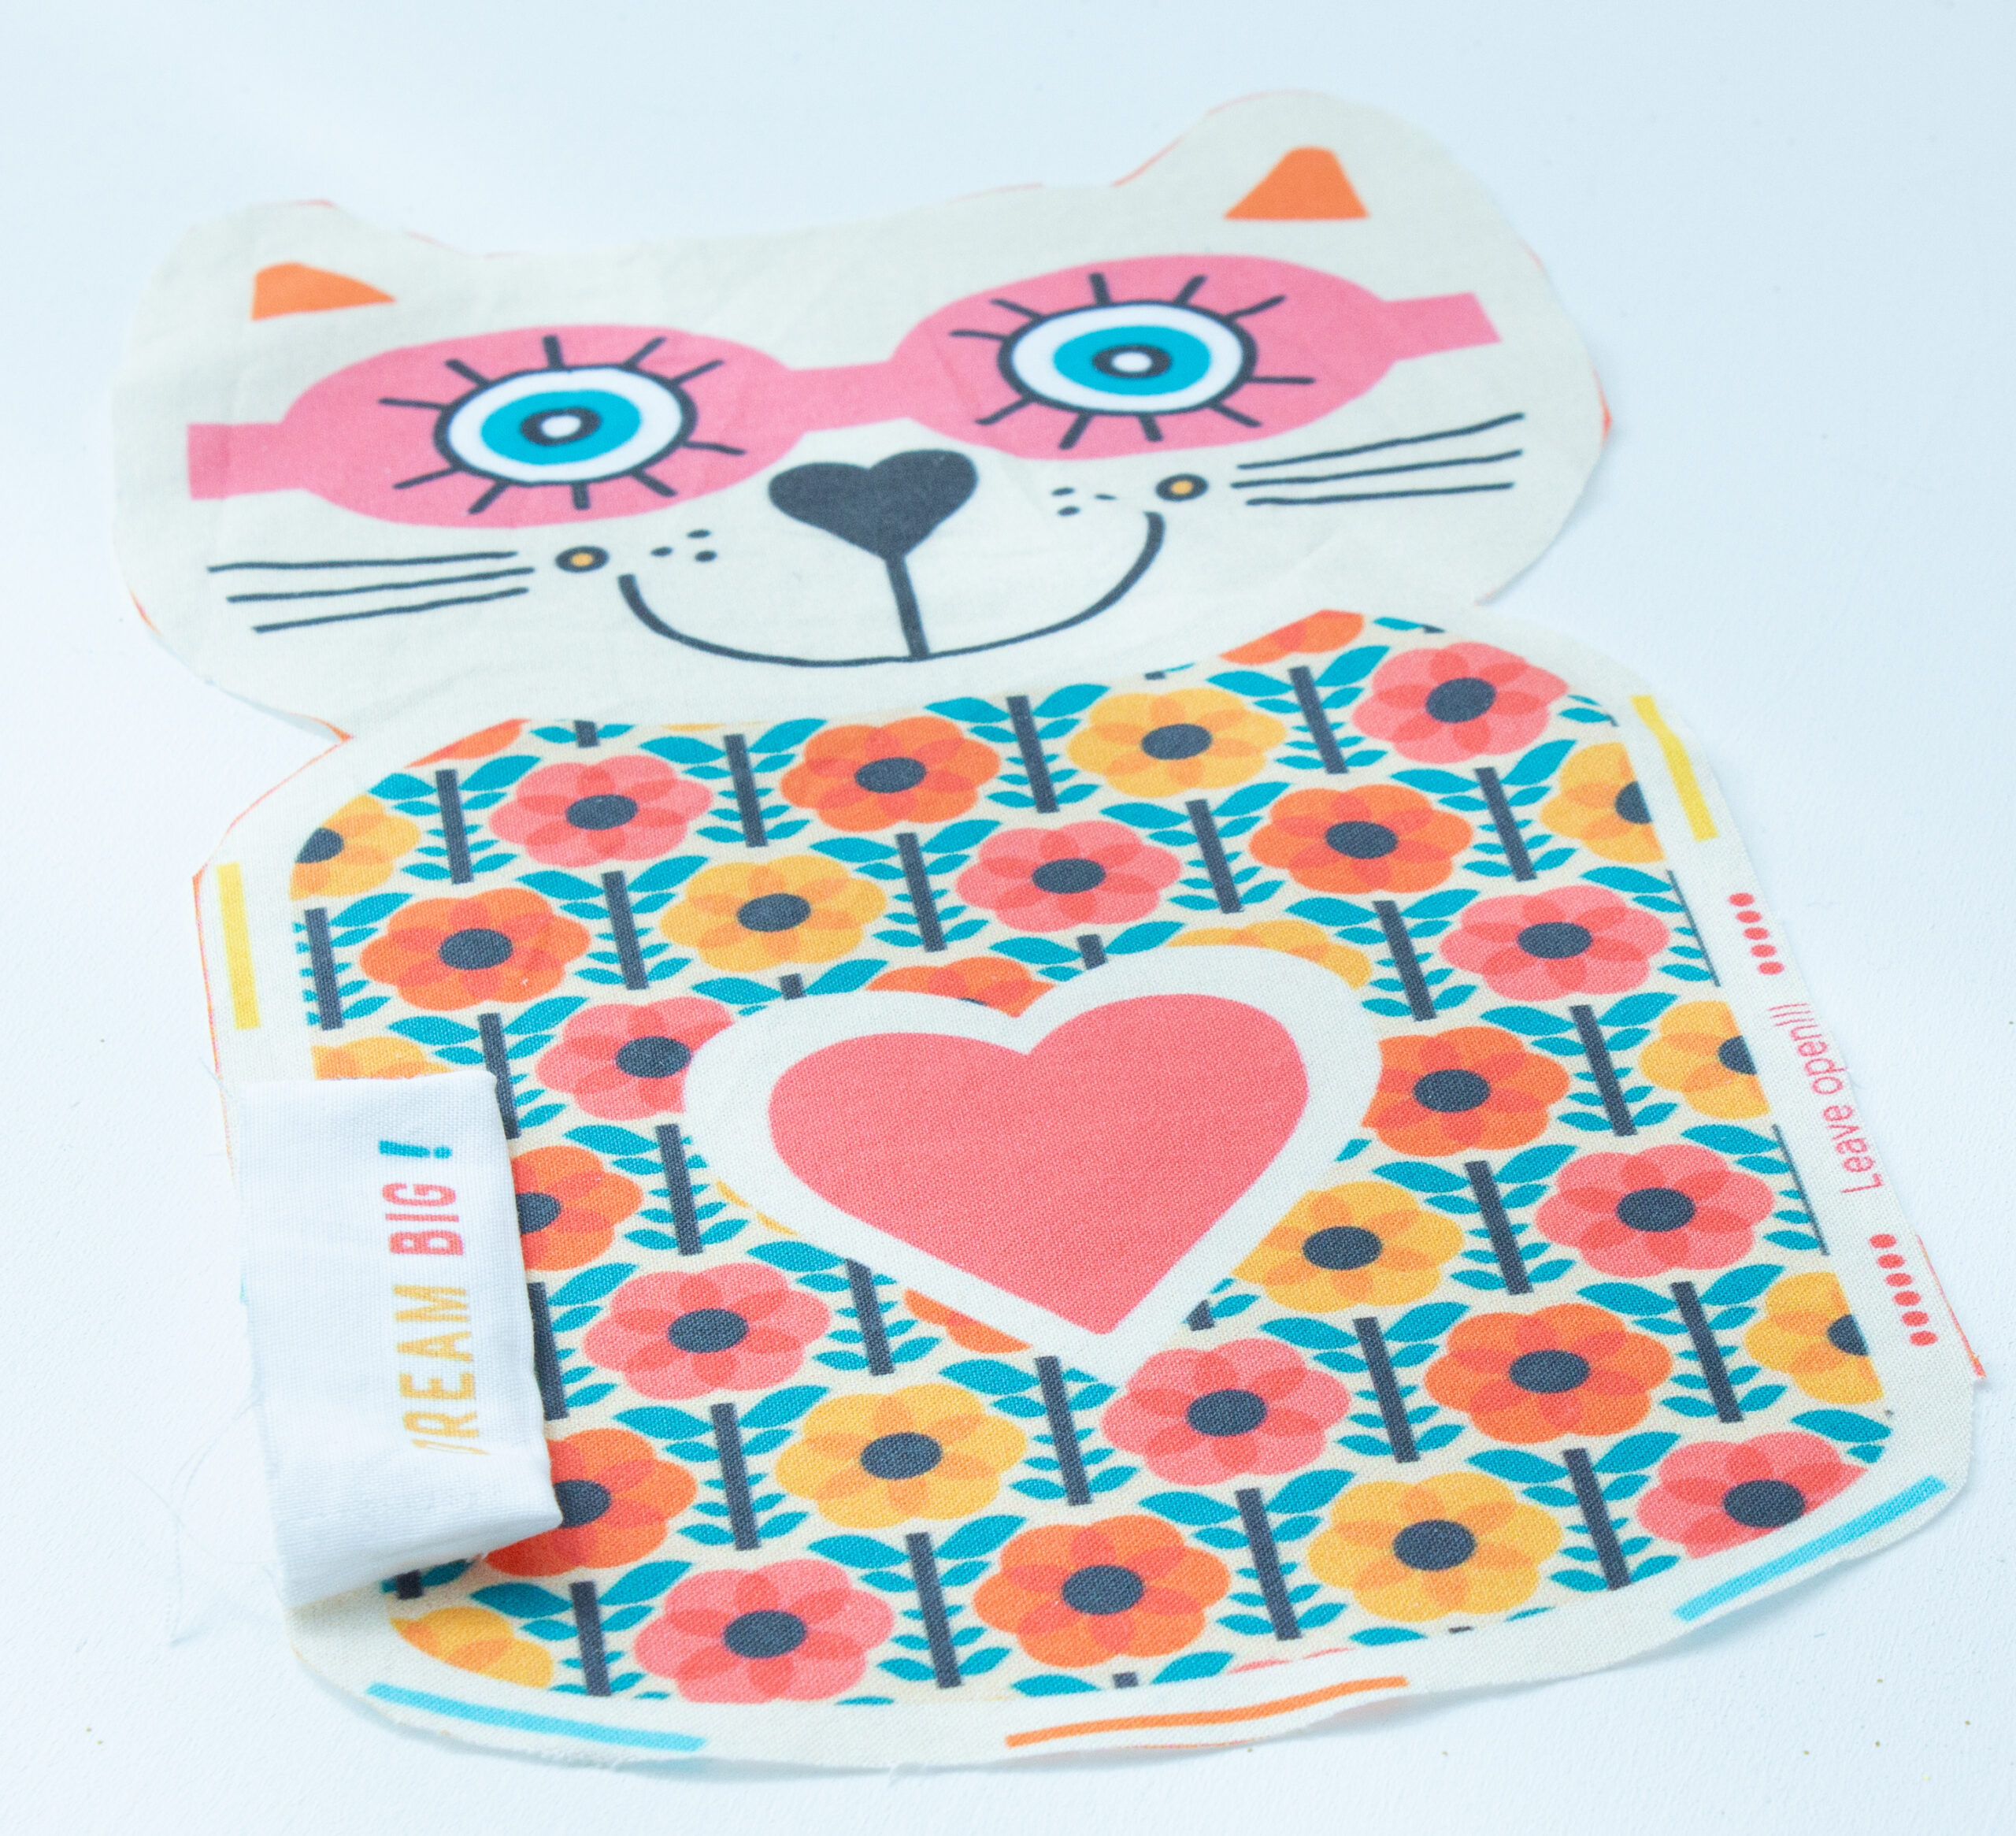
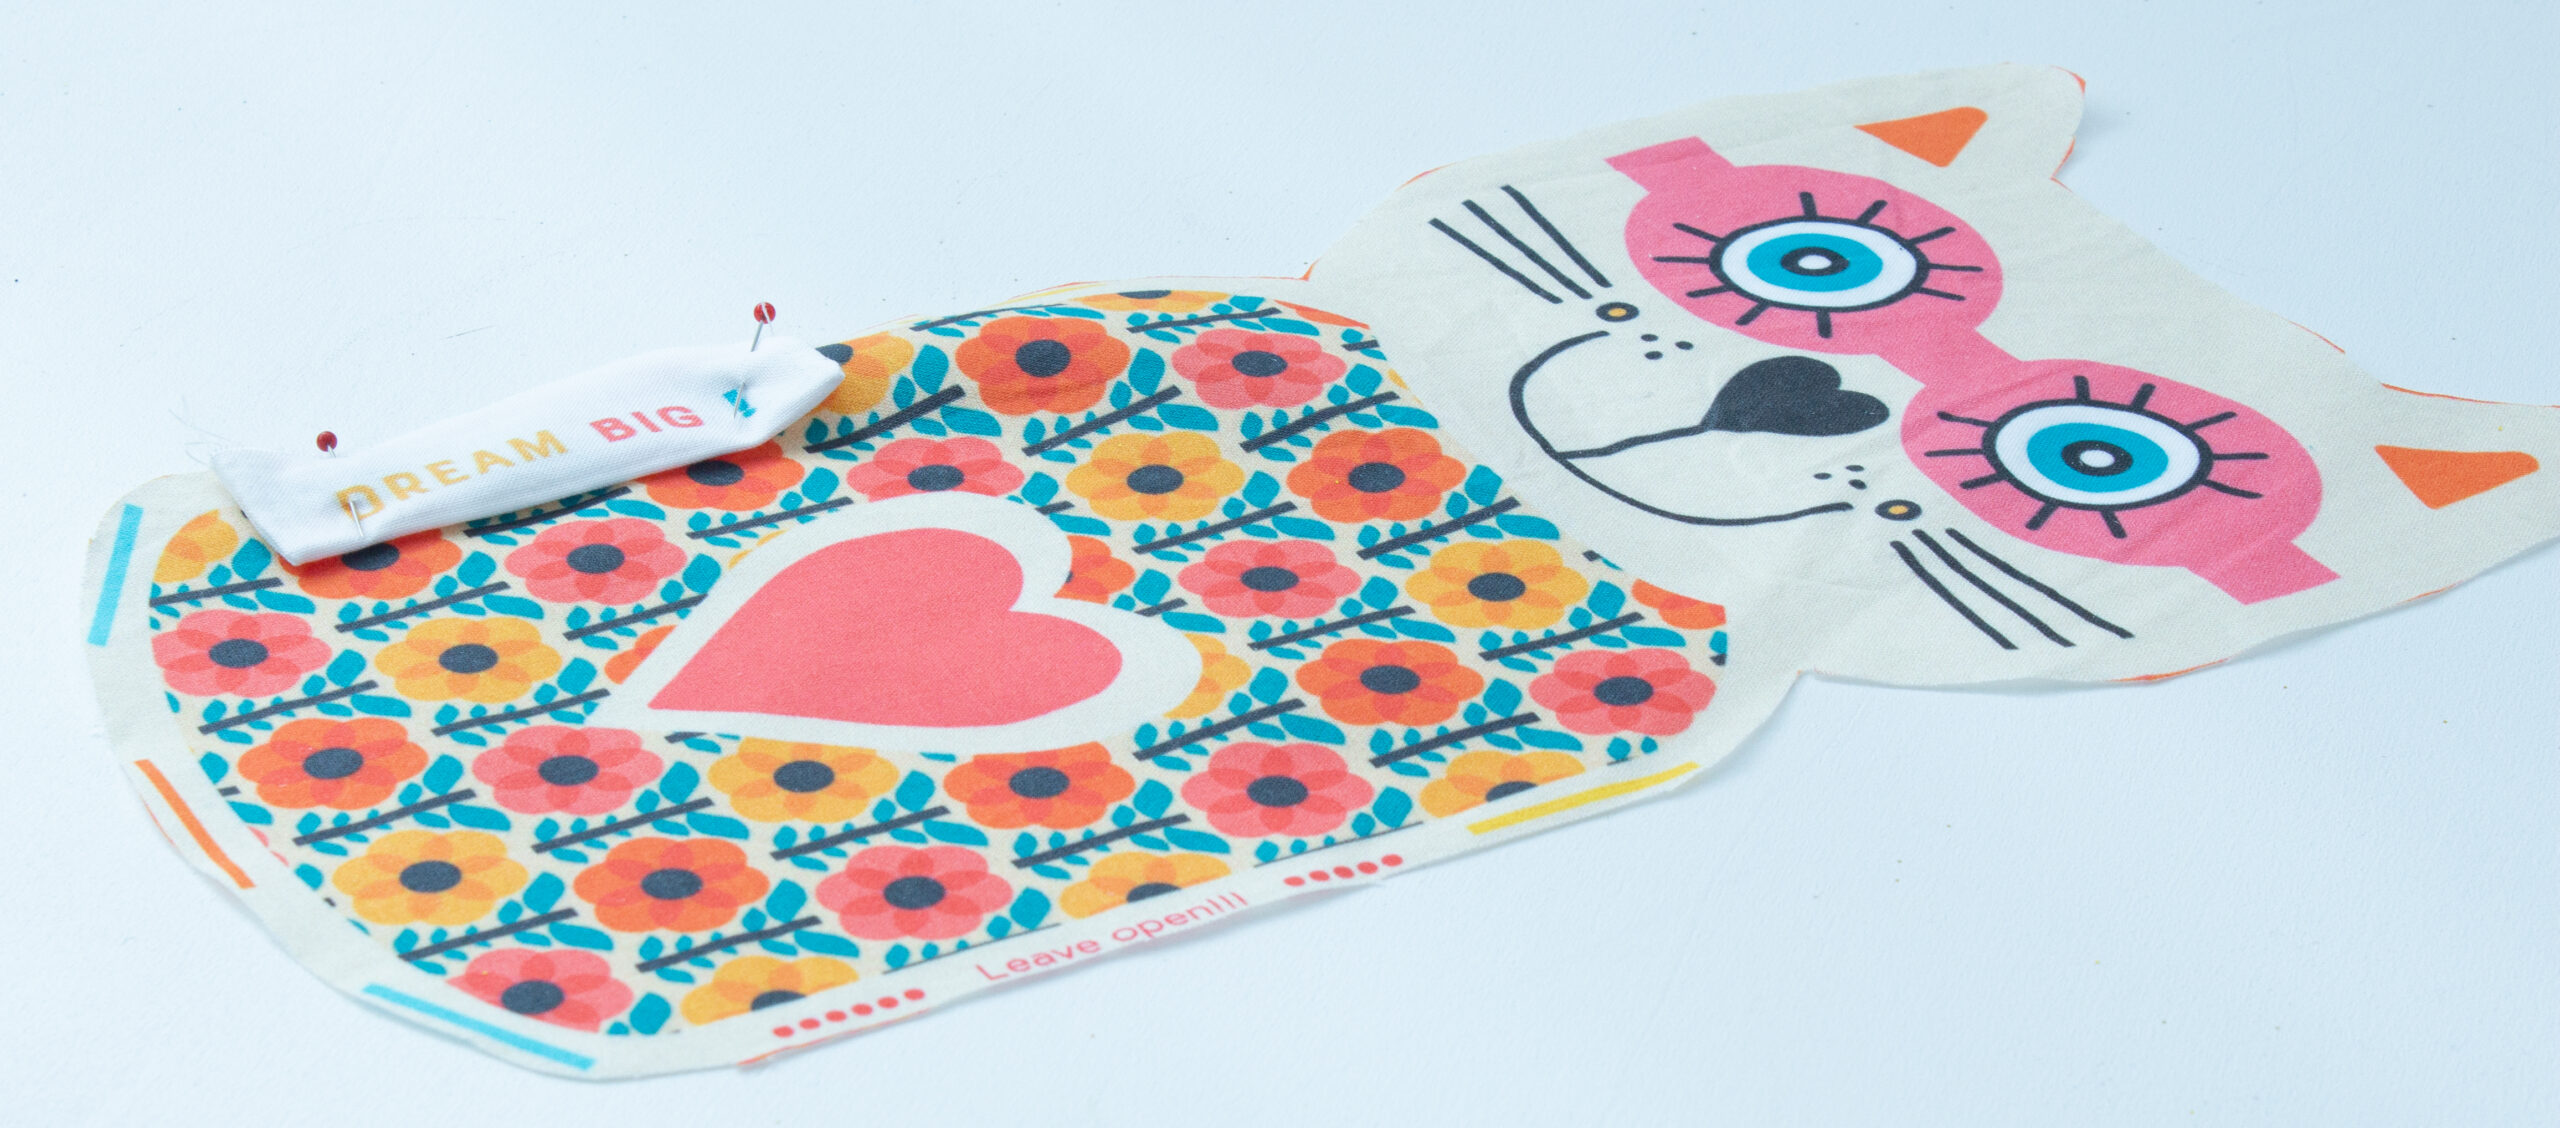
Lay the front side of the cat with the face up in front of you.
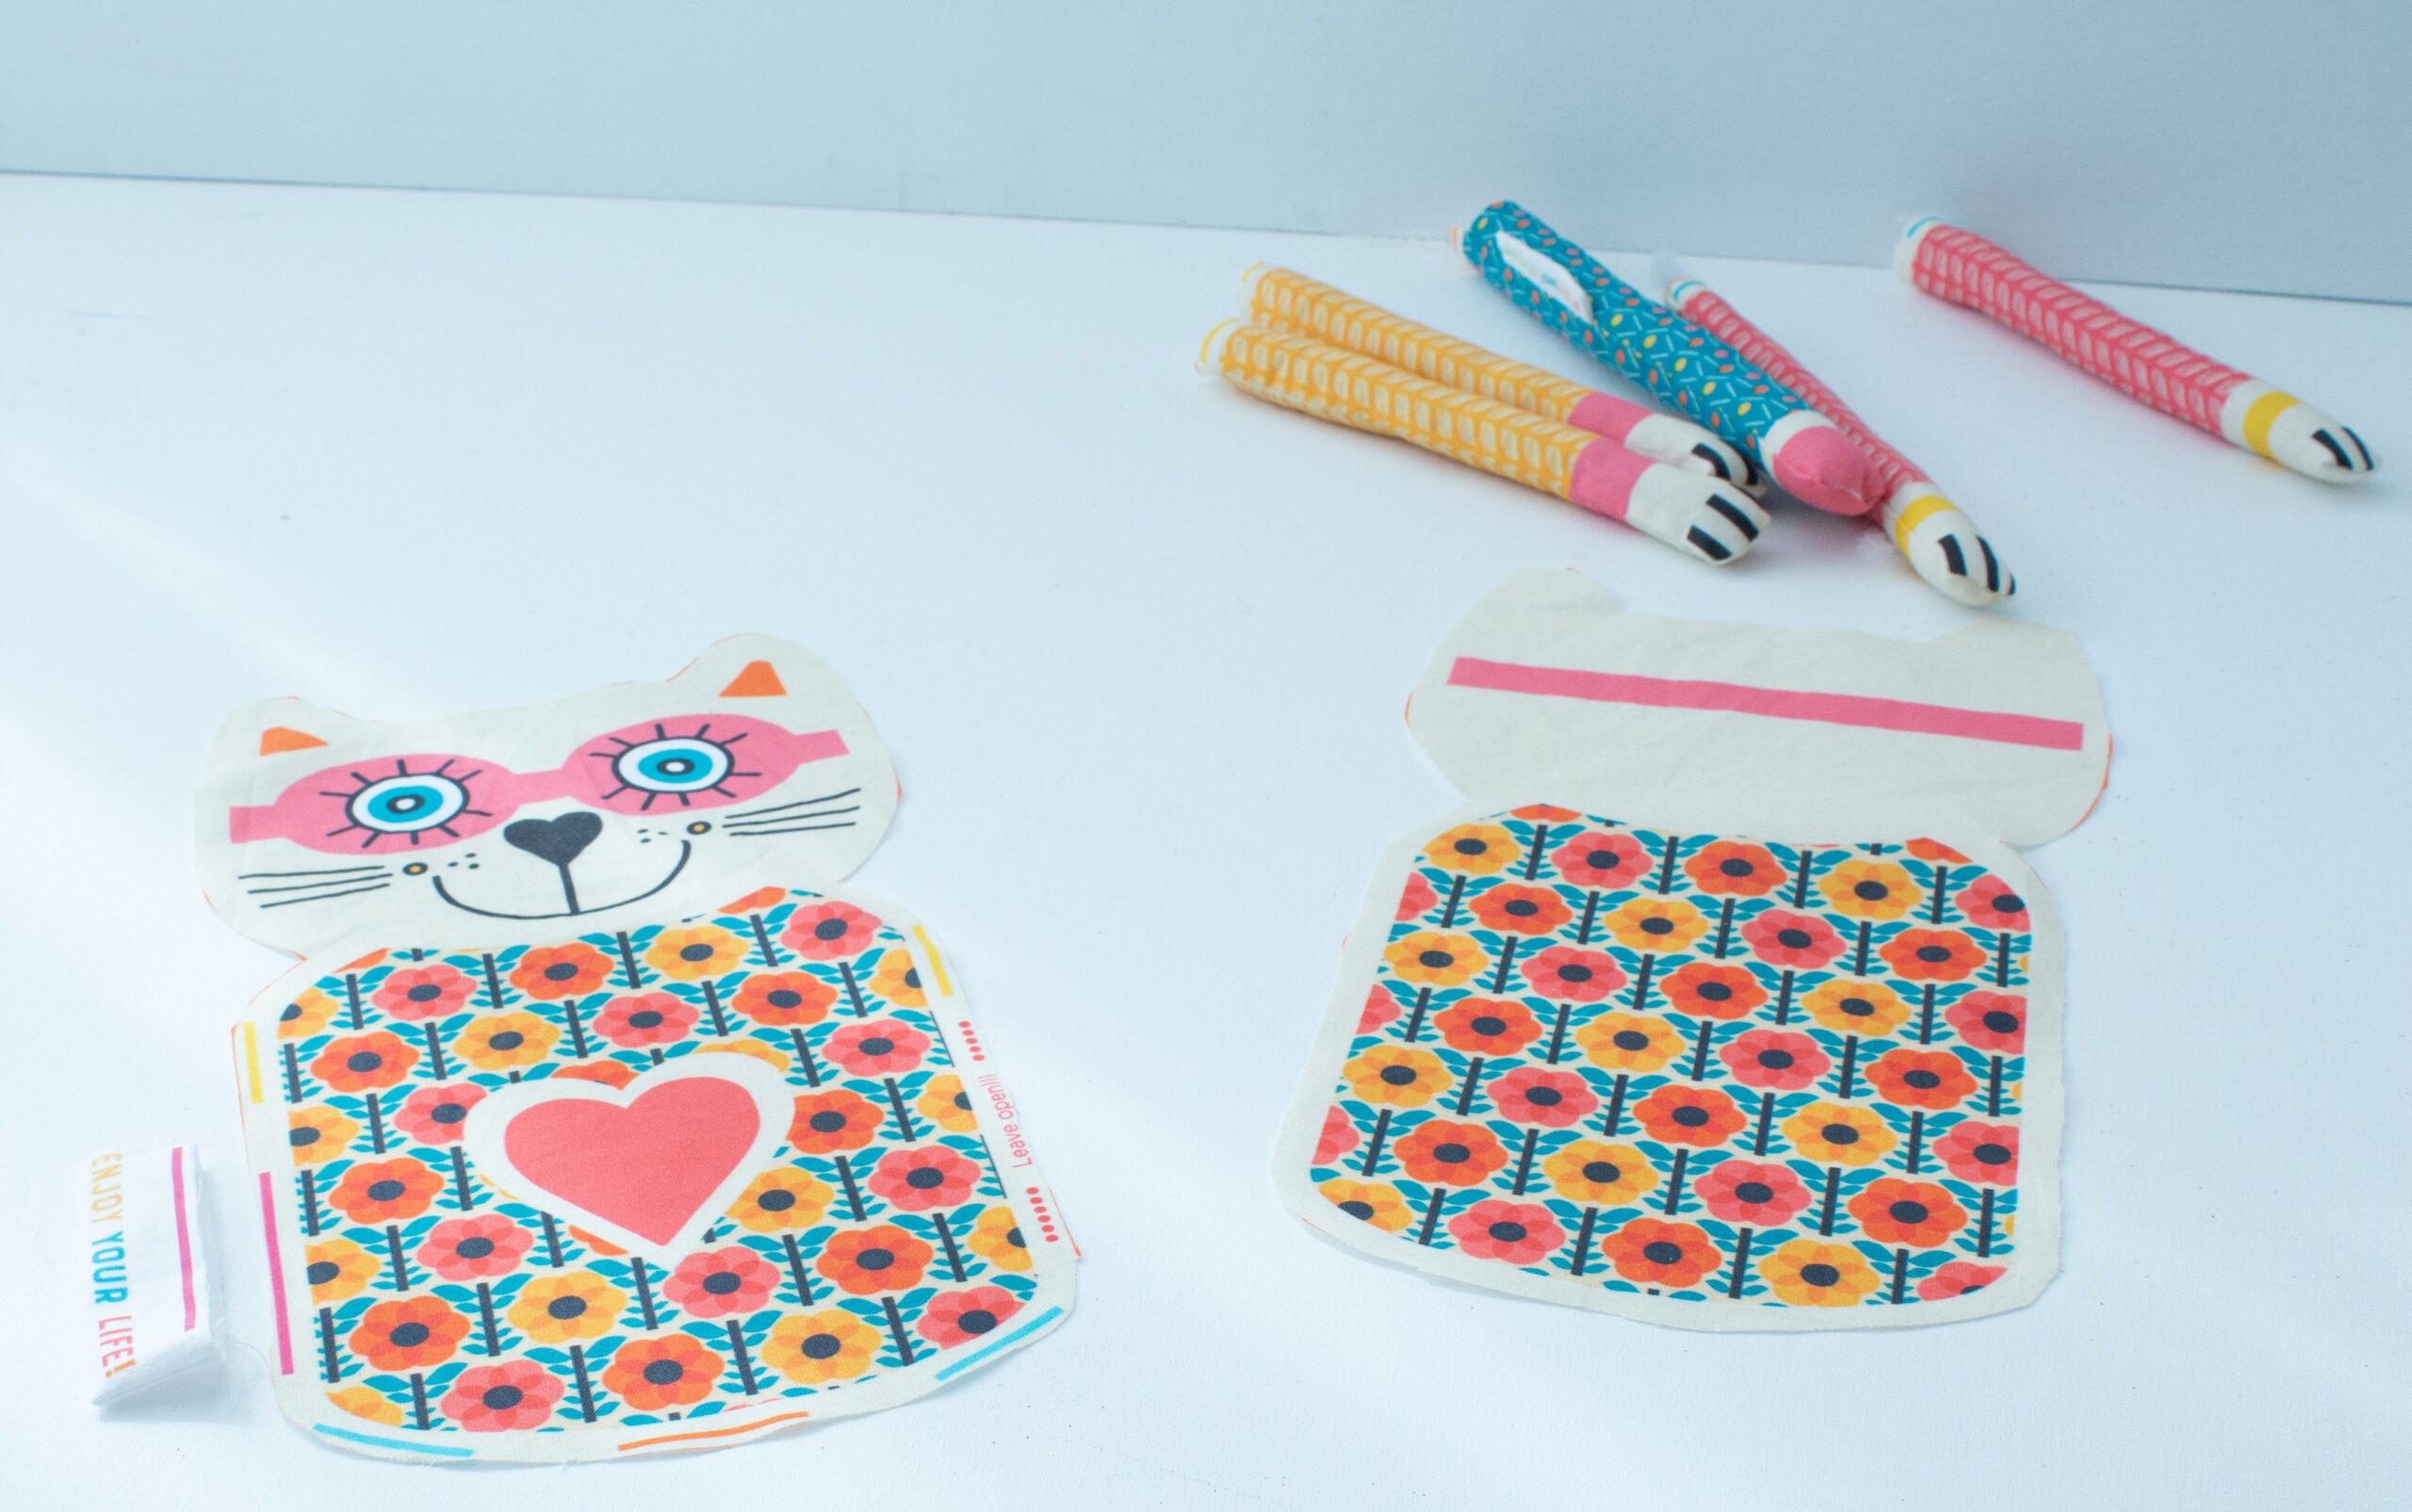
Now place the (desired) text label at the marked spot so that the label faces towards the cat’s belly.
Secure the label with a seam close to the edge.
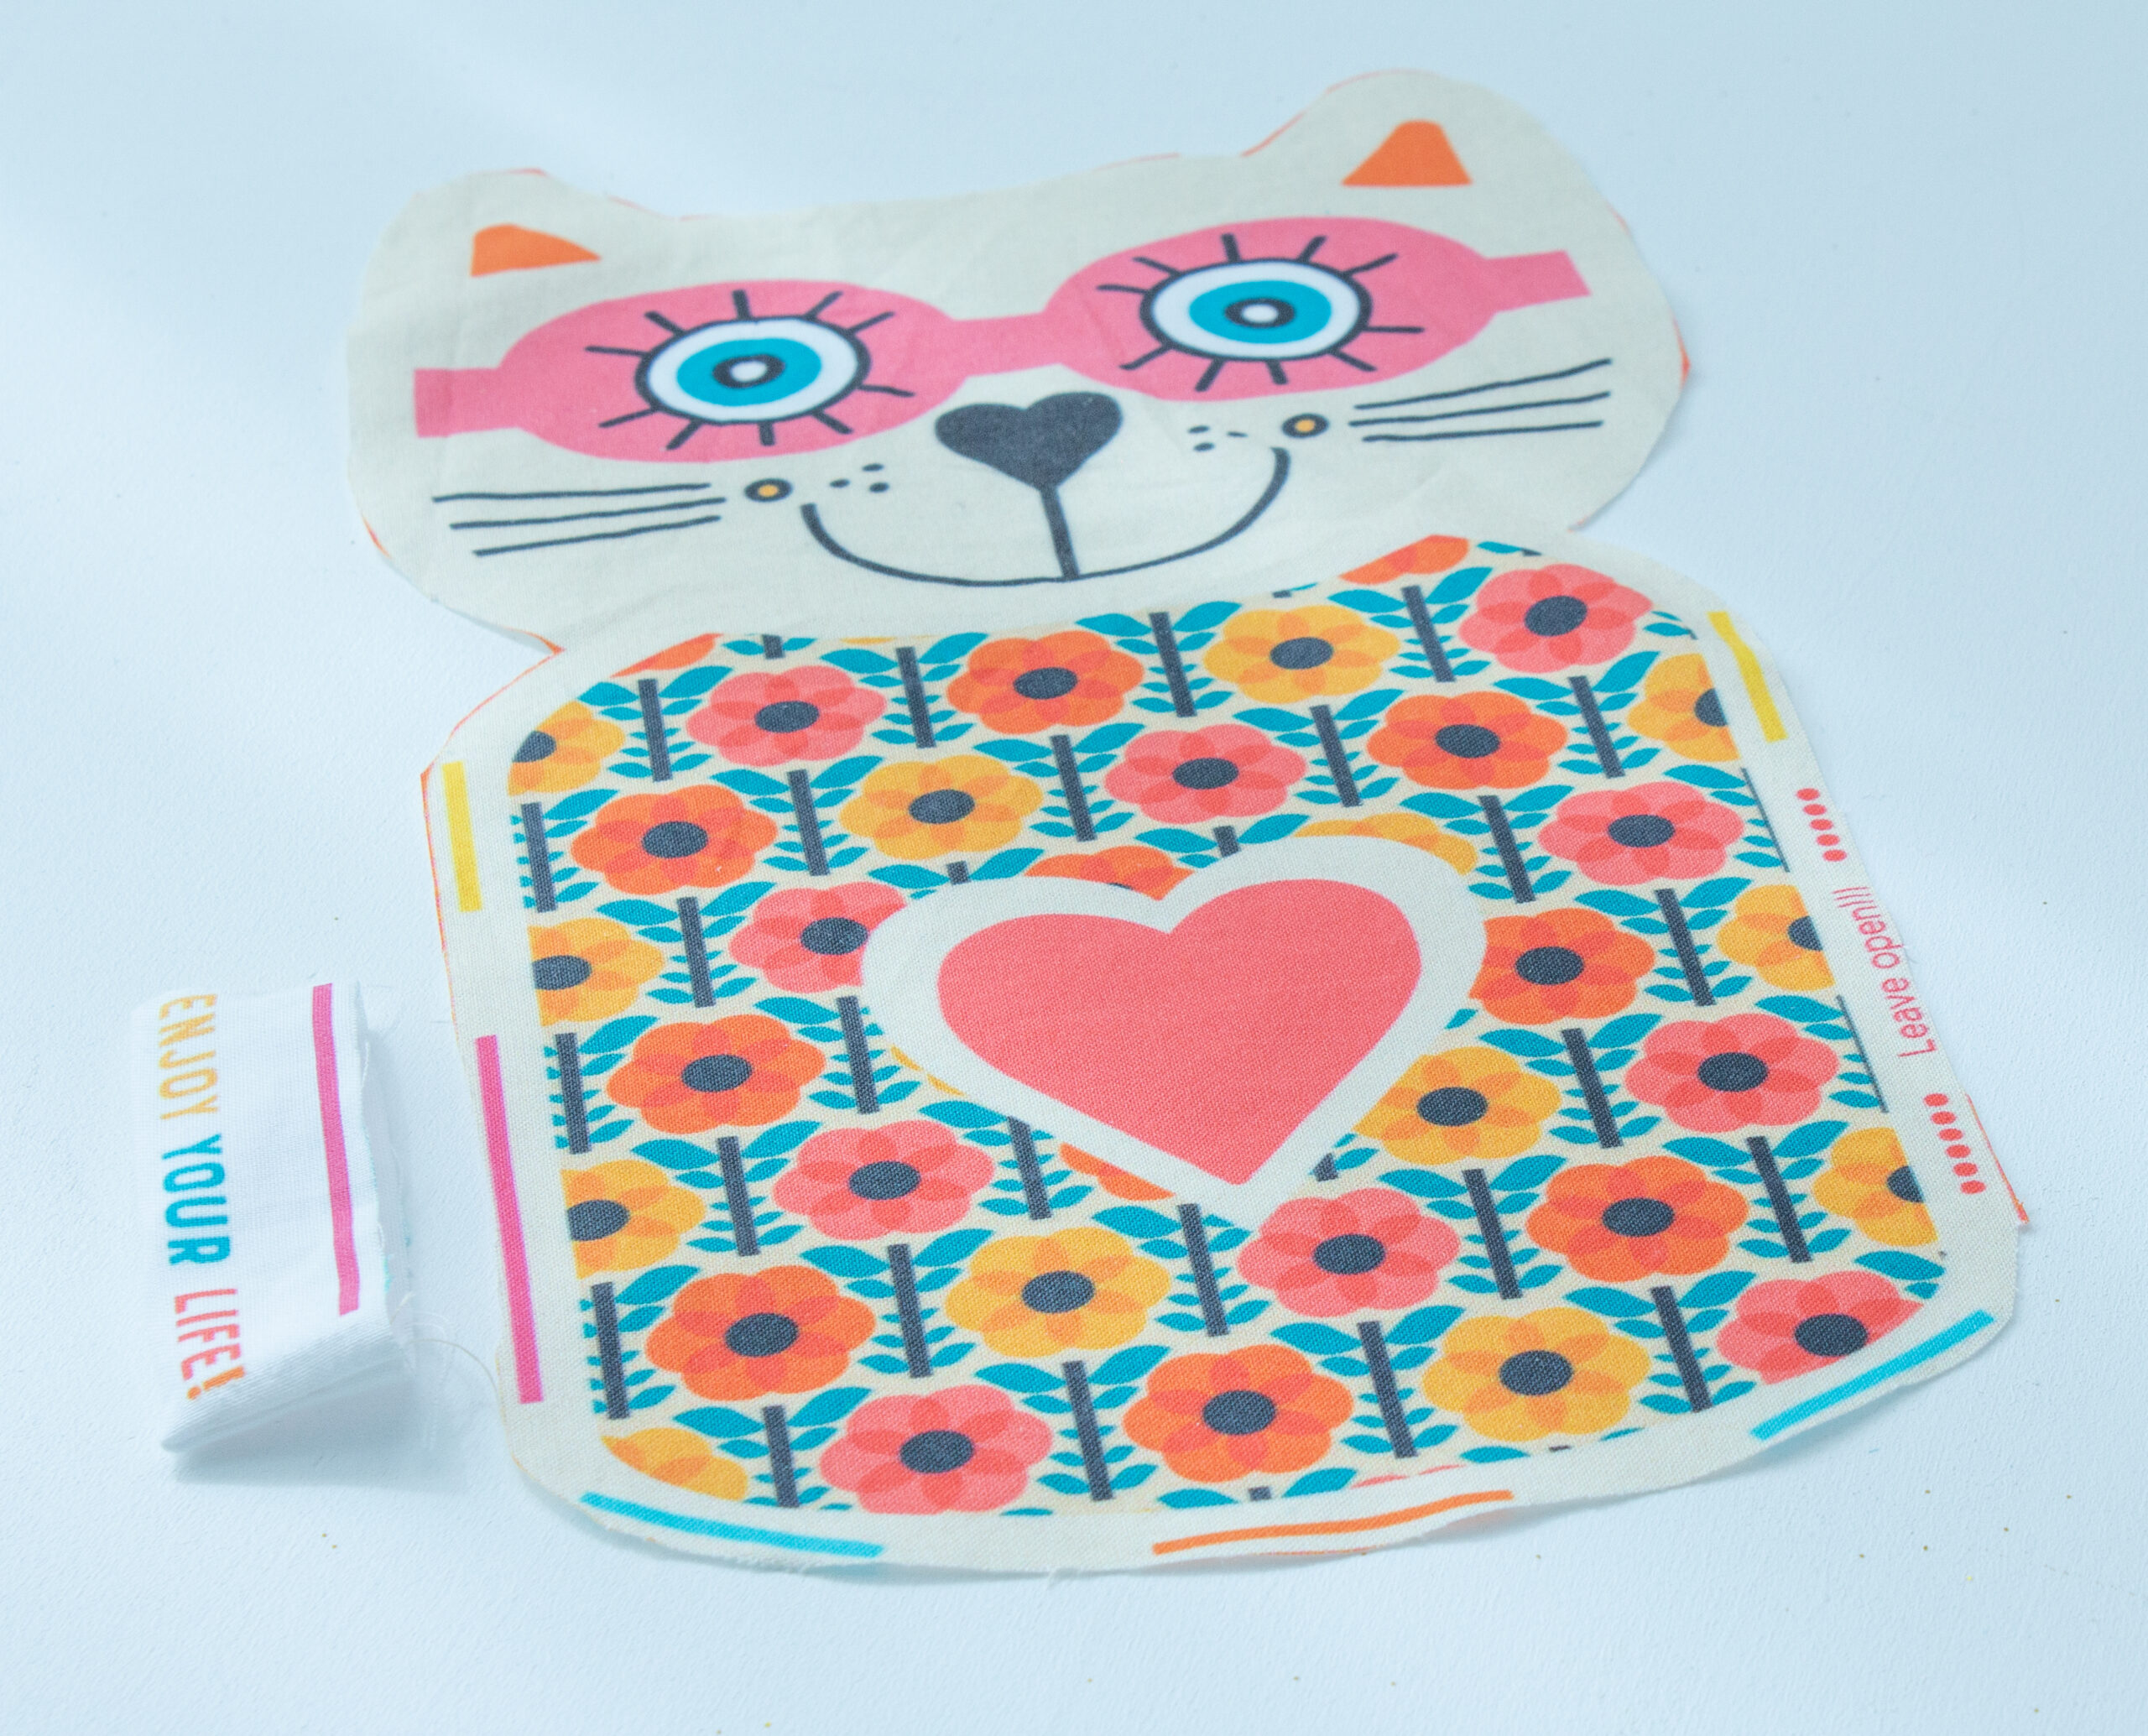
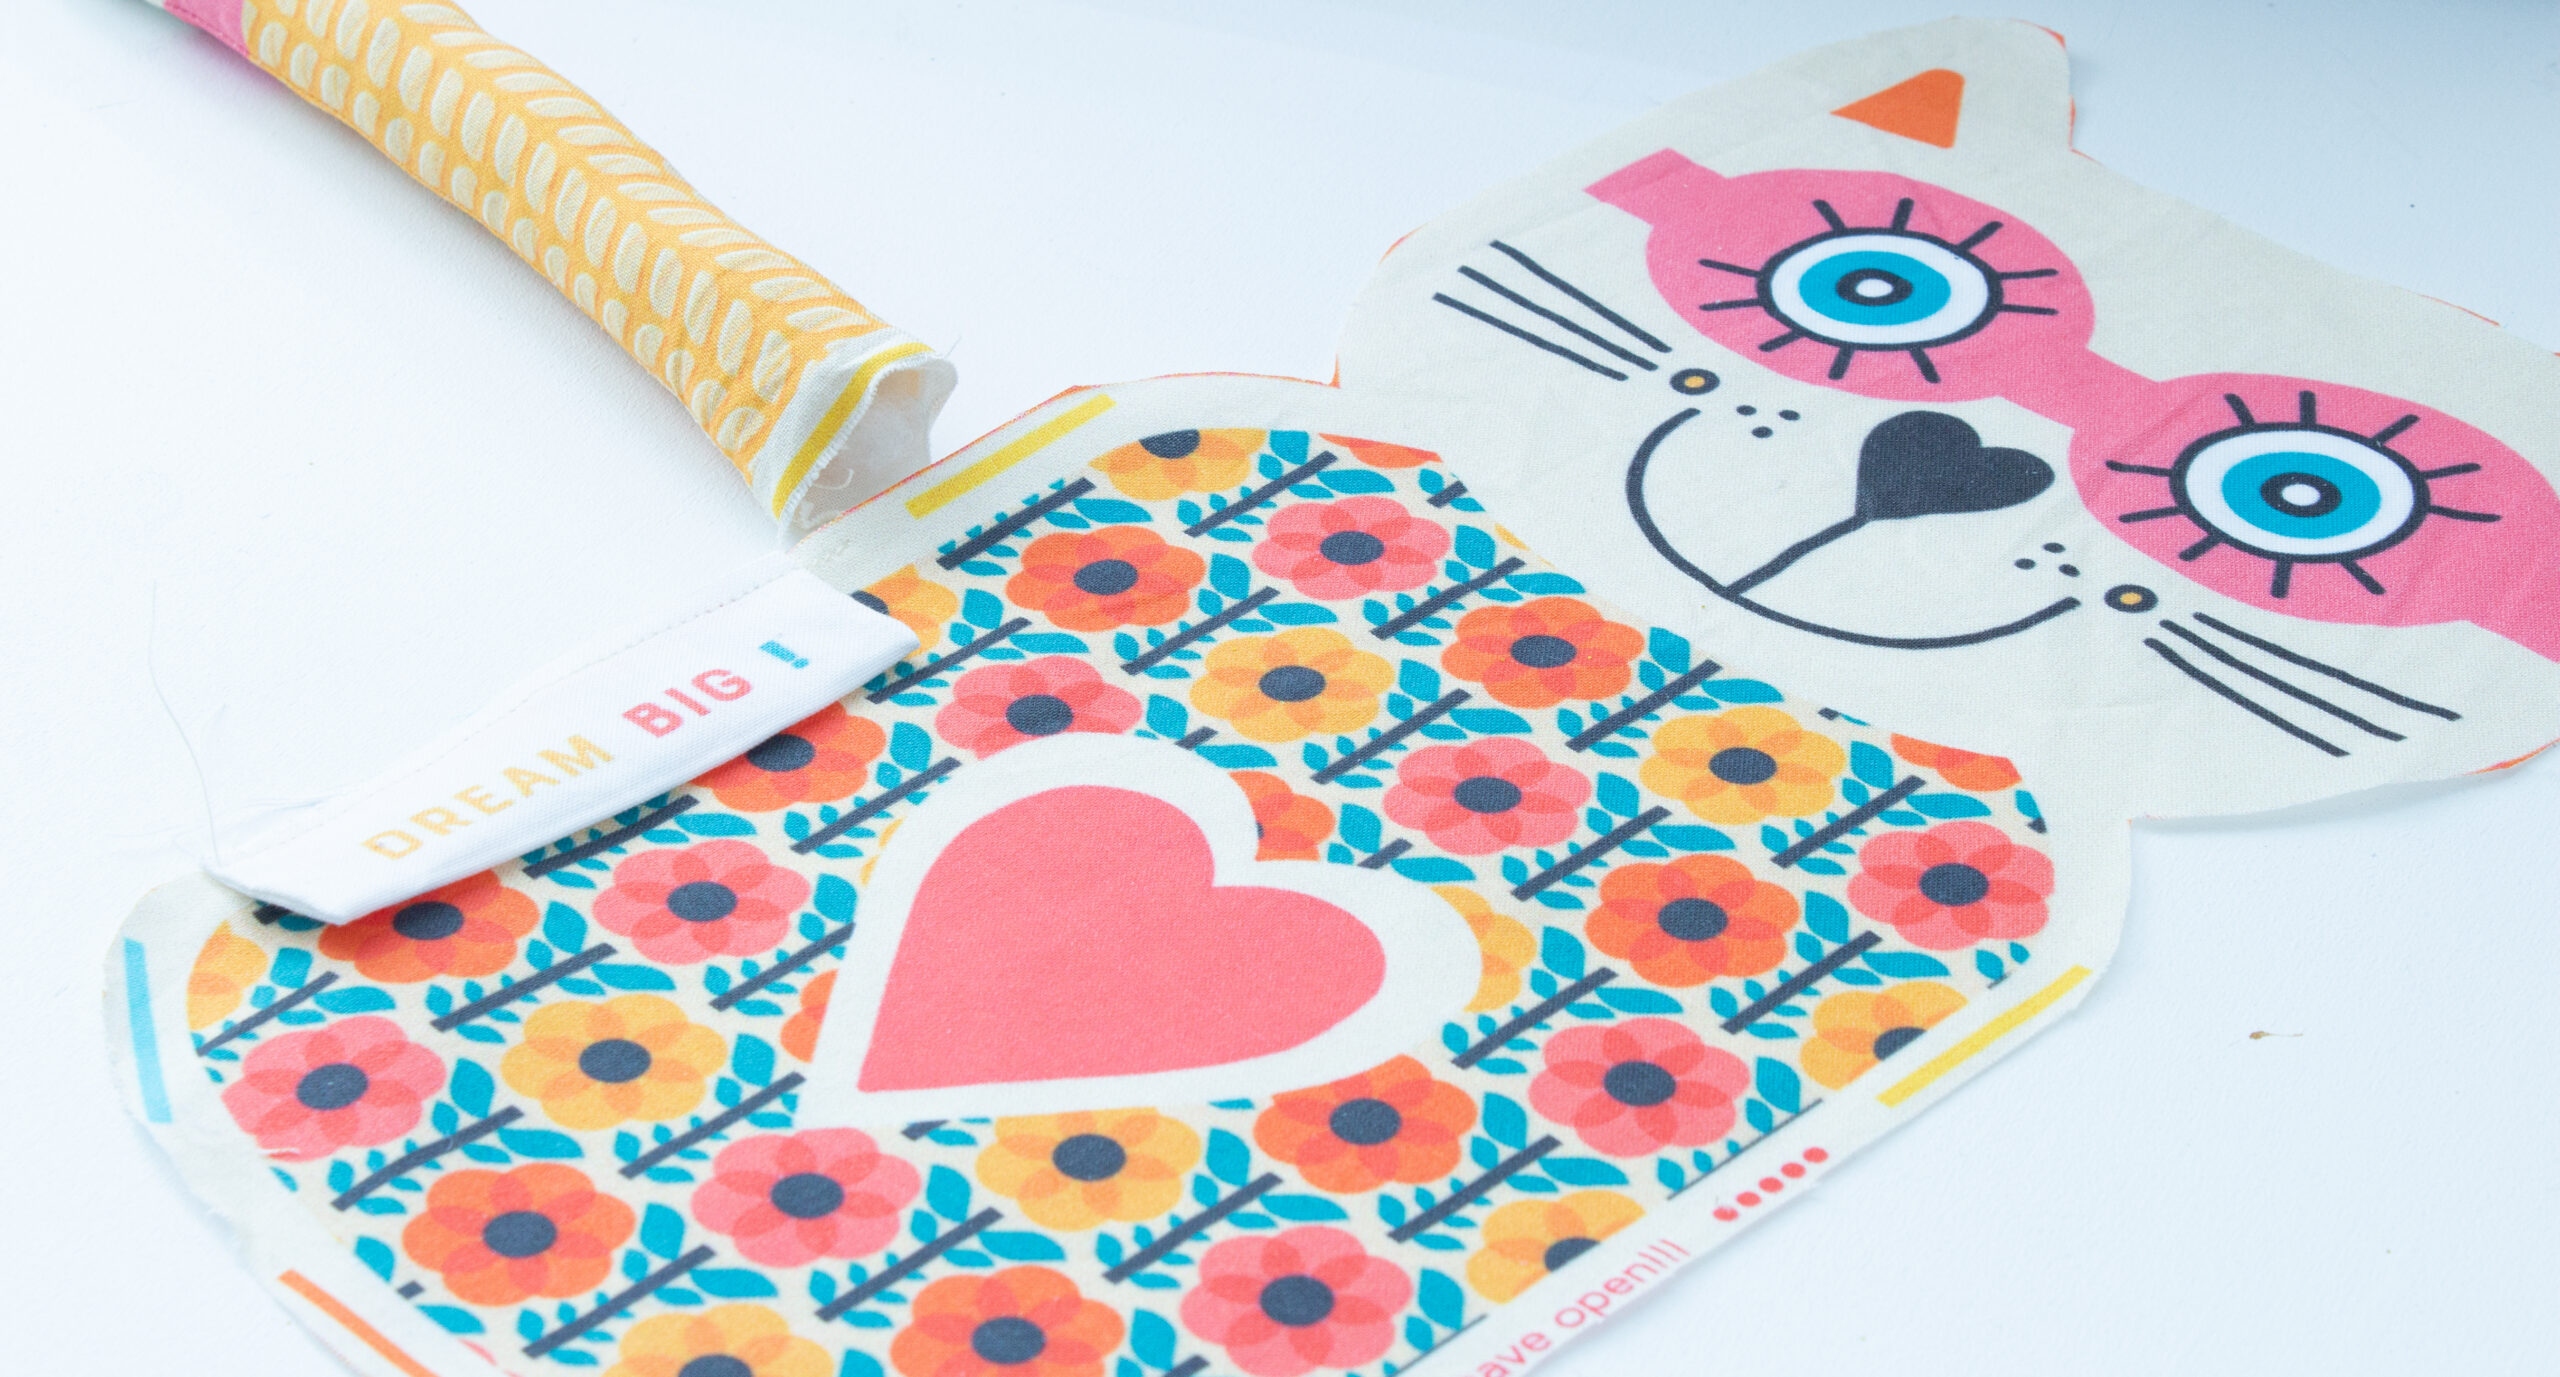
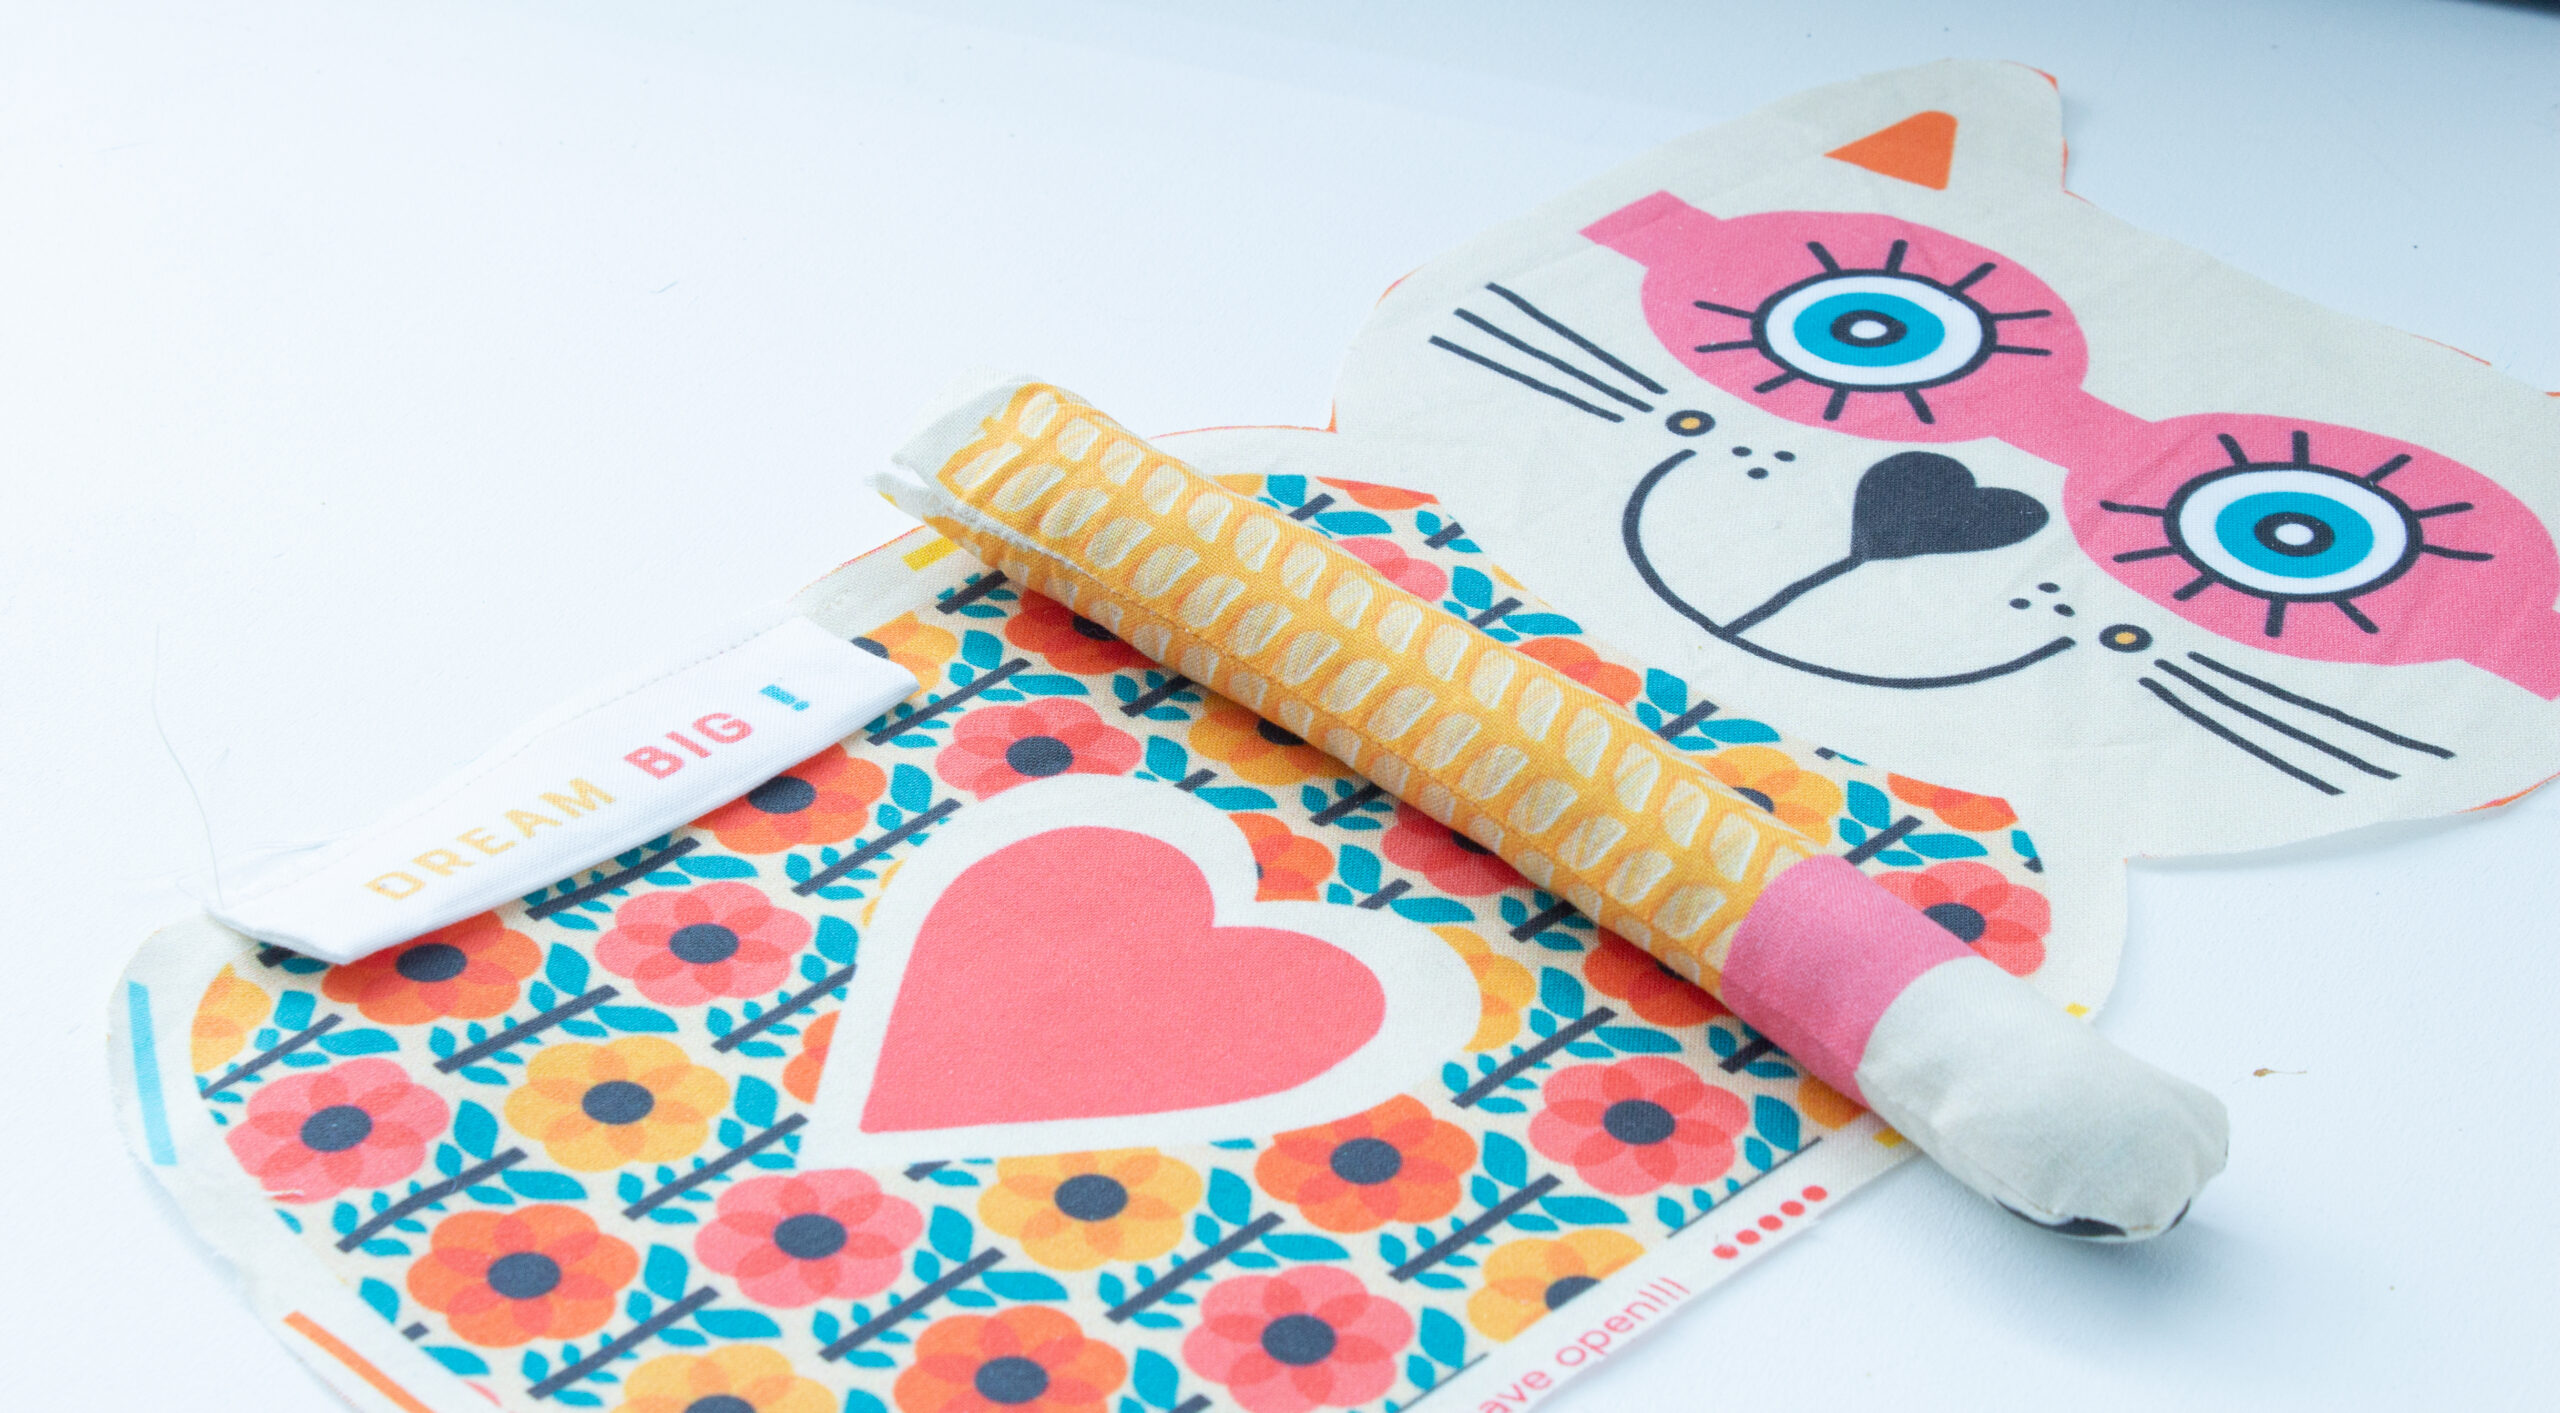
Now place the first arm on the marked spot to the left.
Secure the arm with a seam close to the edge within the seam allowance.
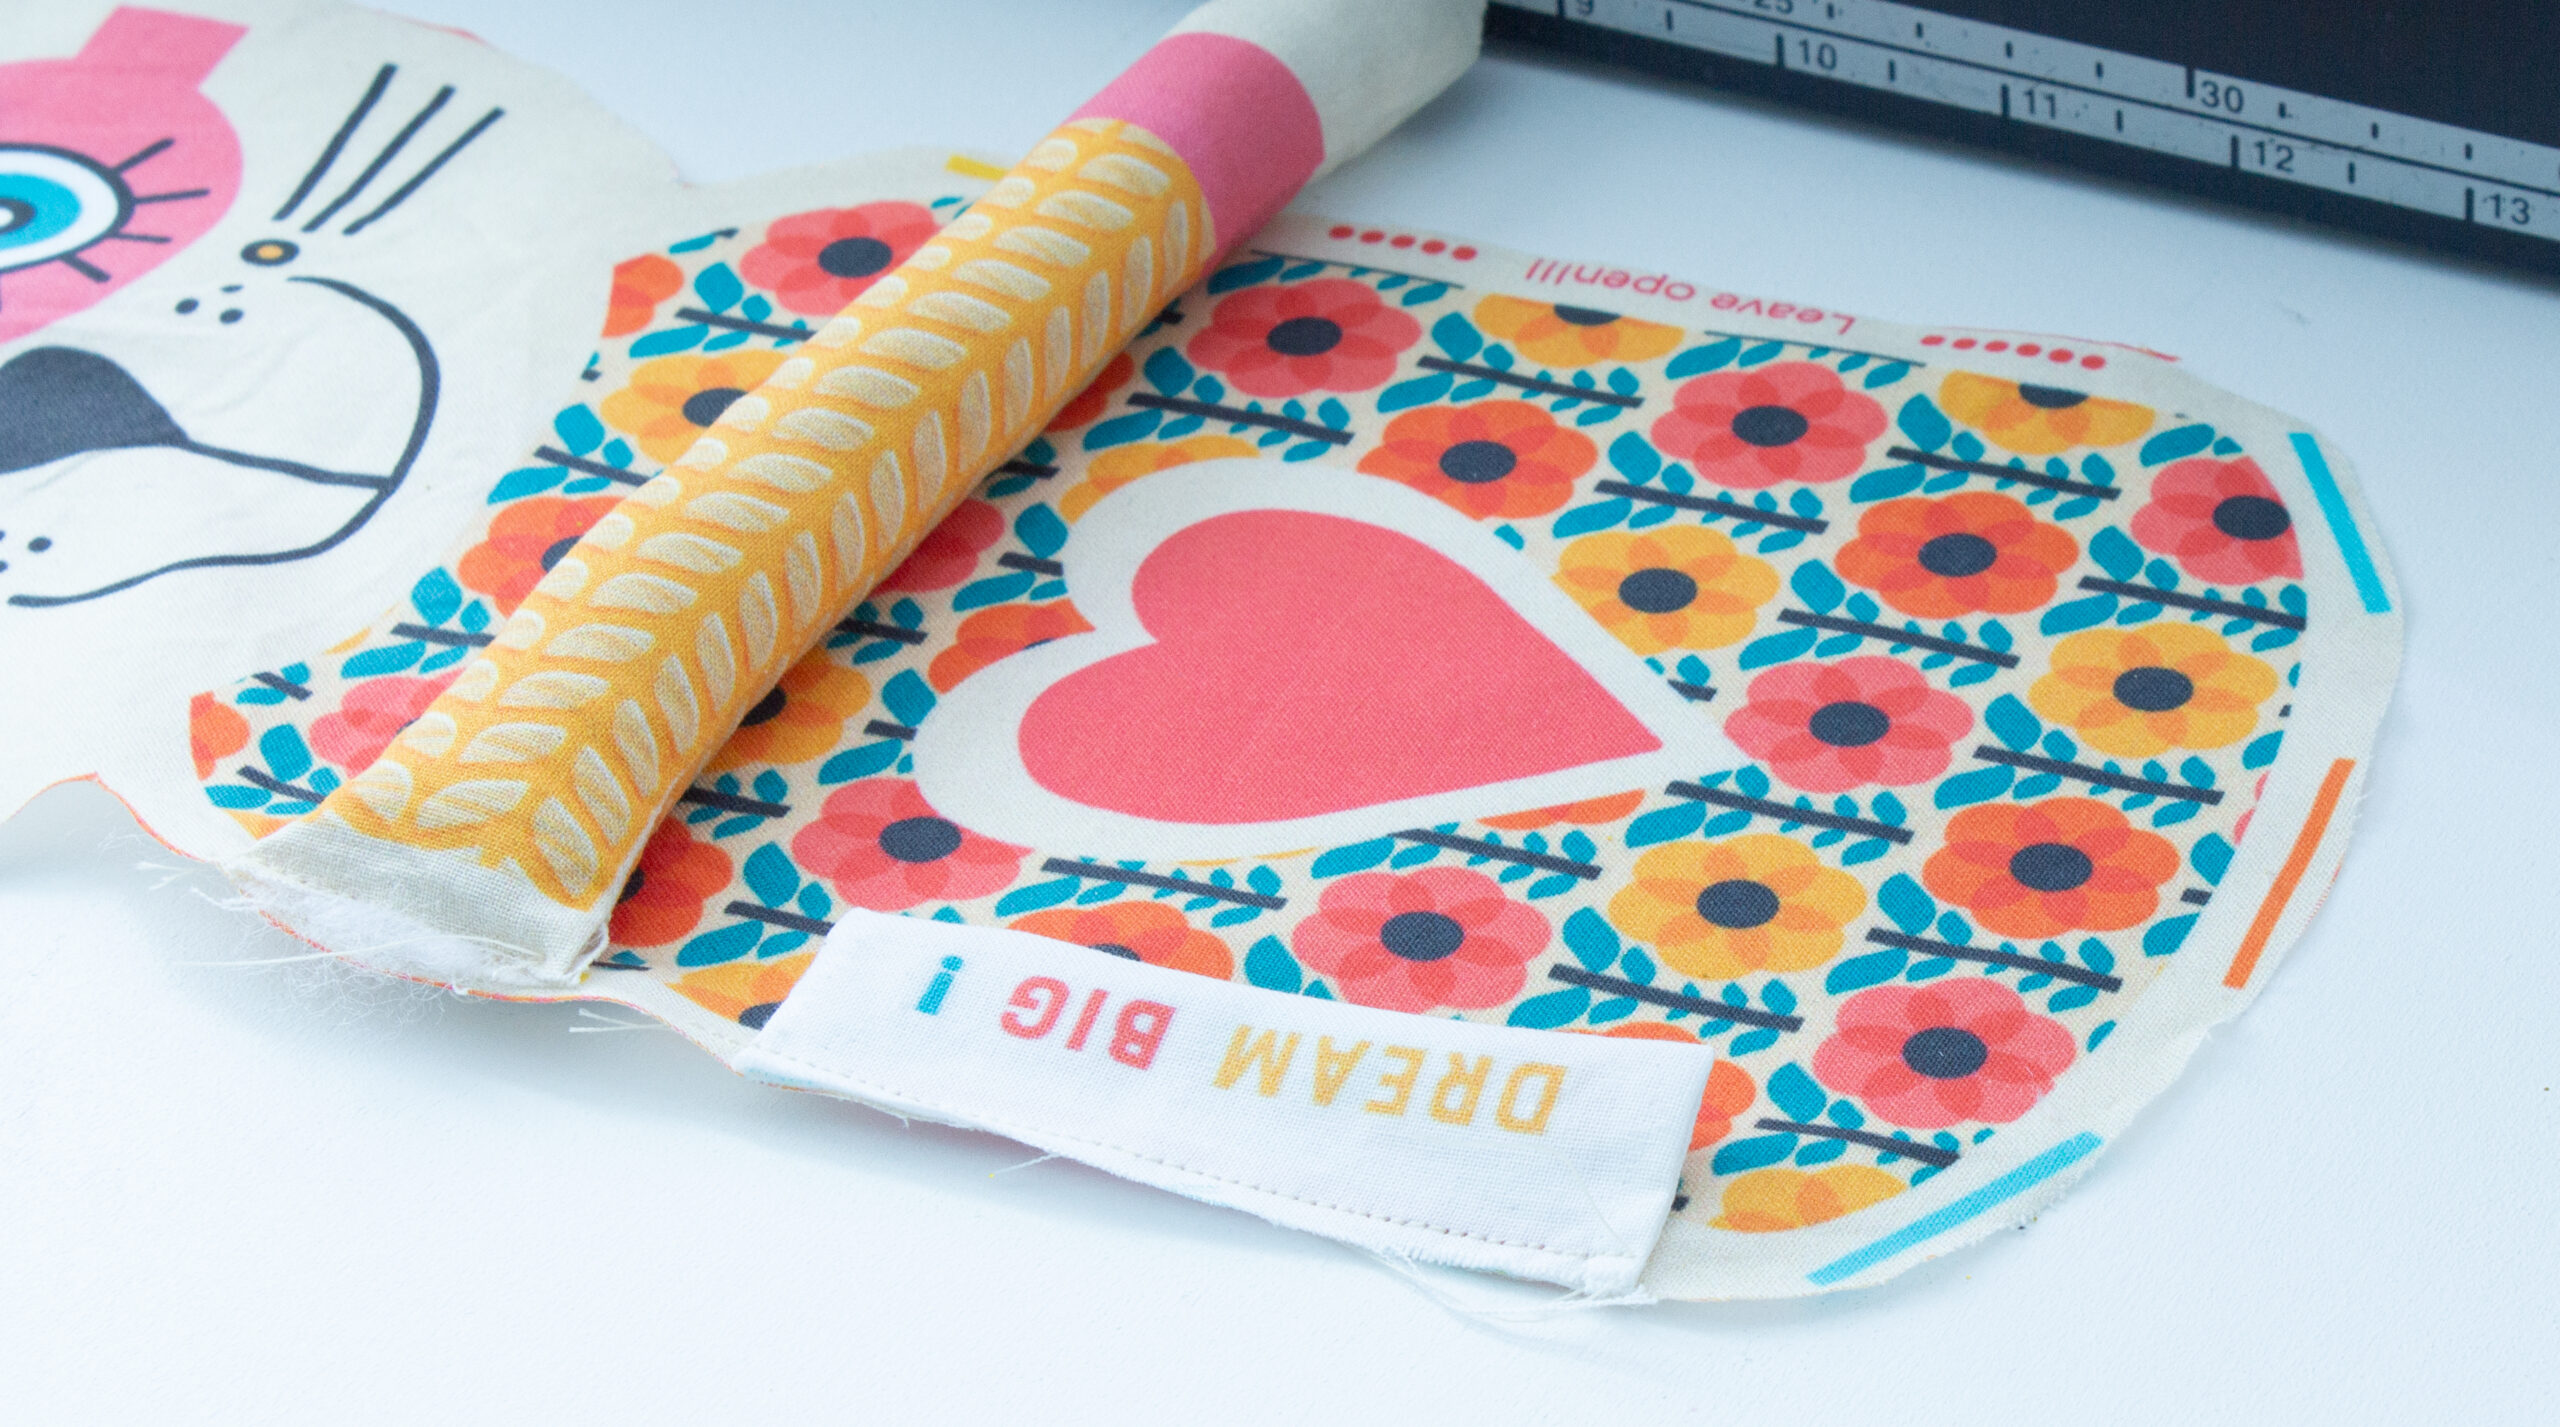
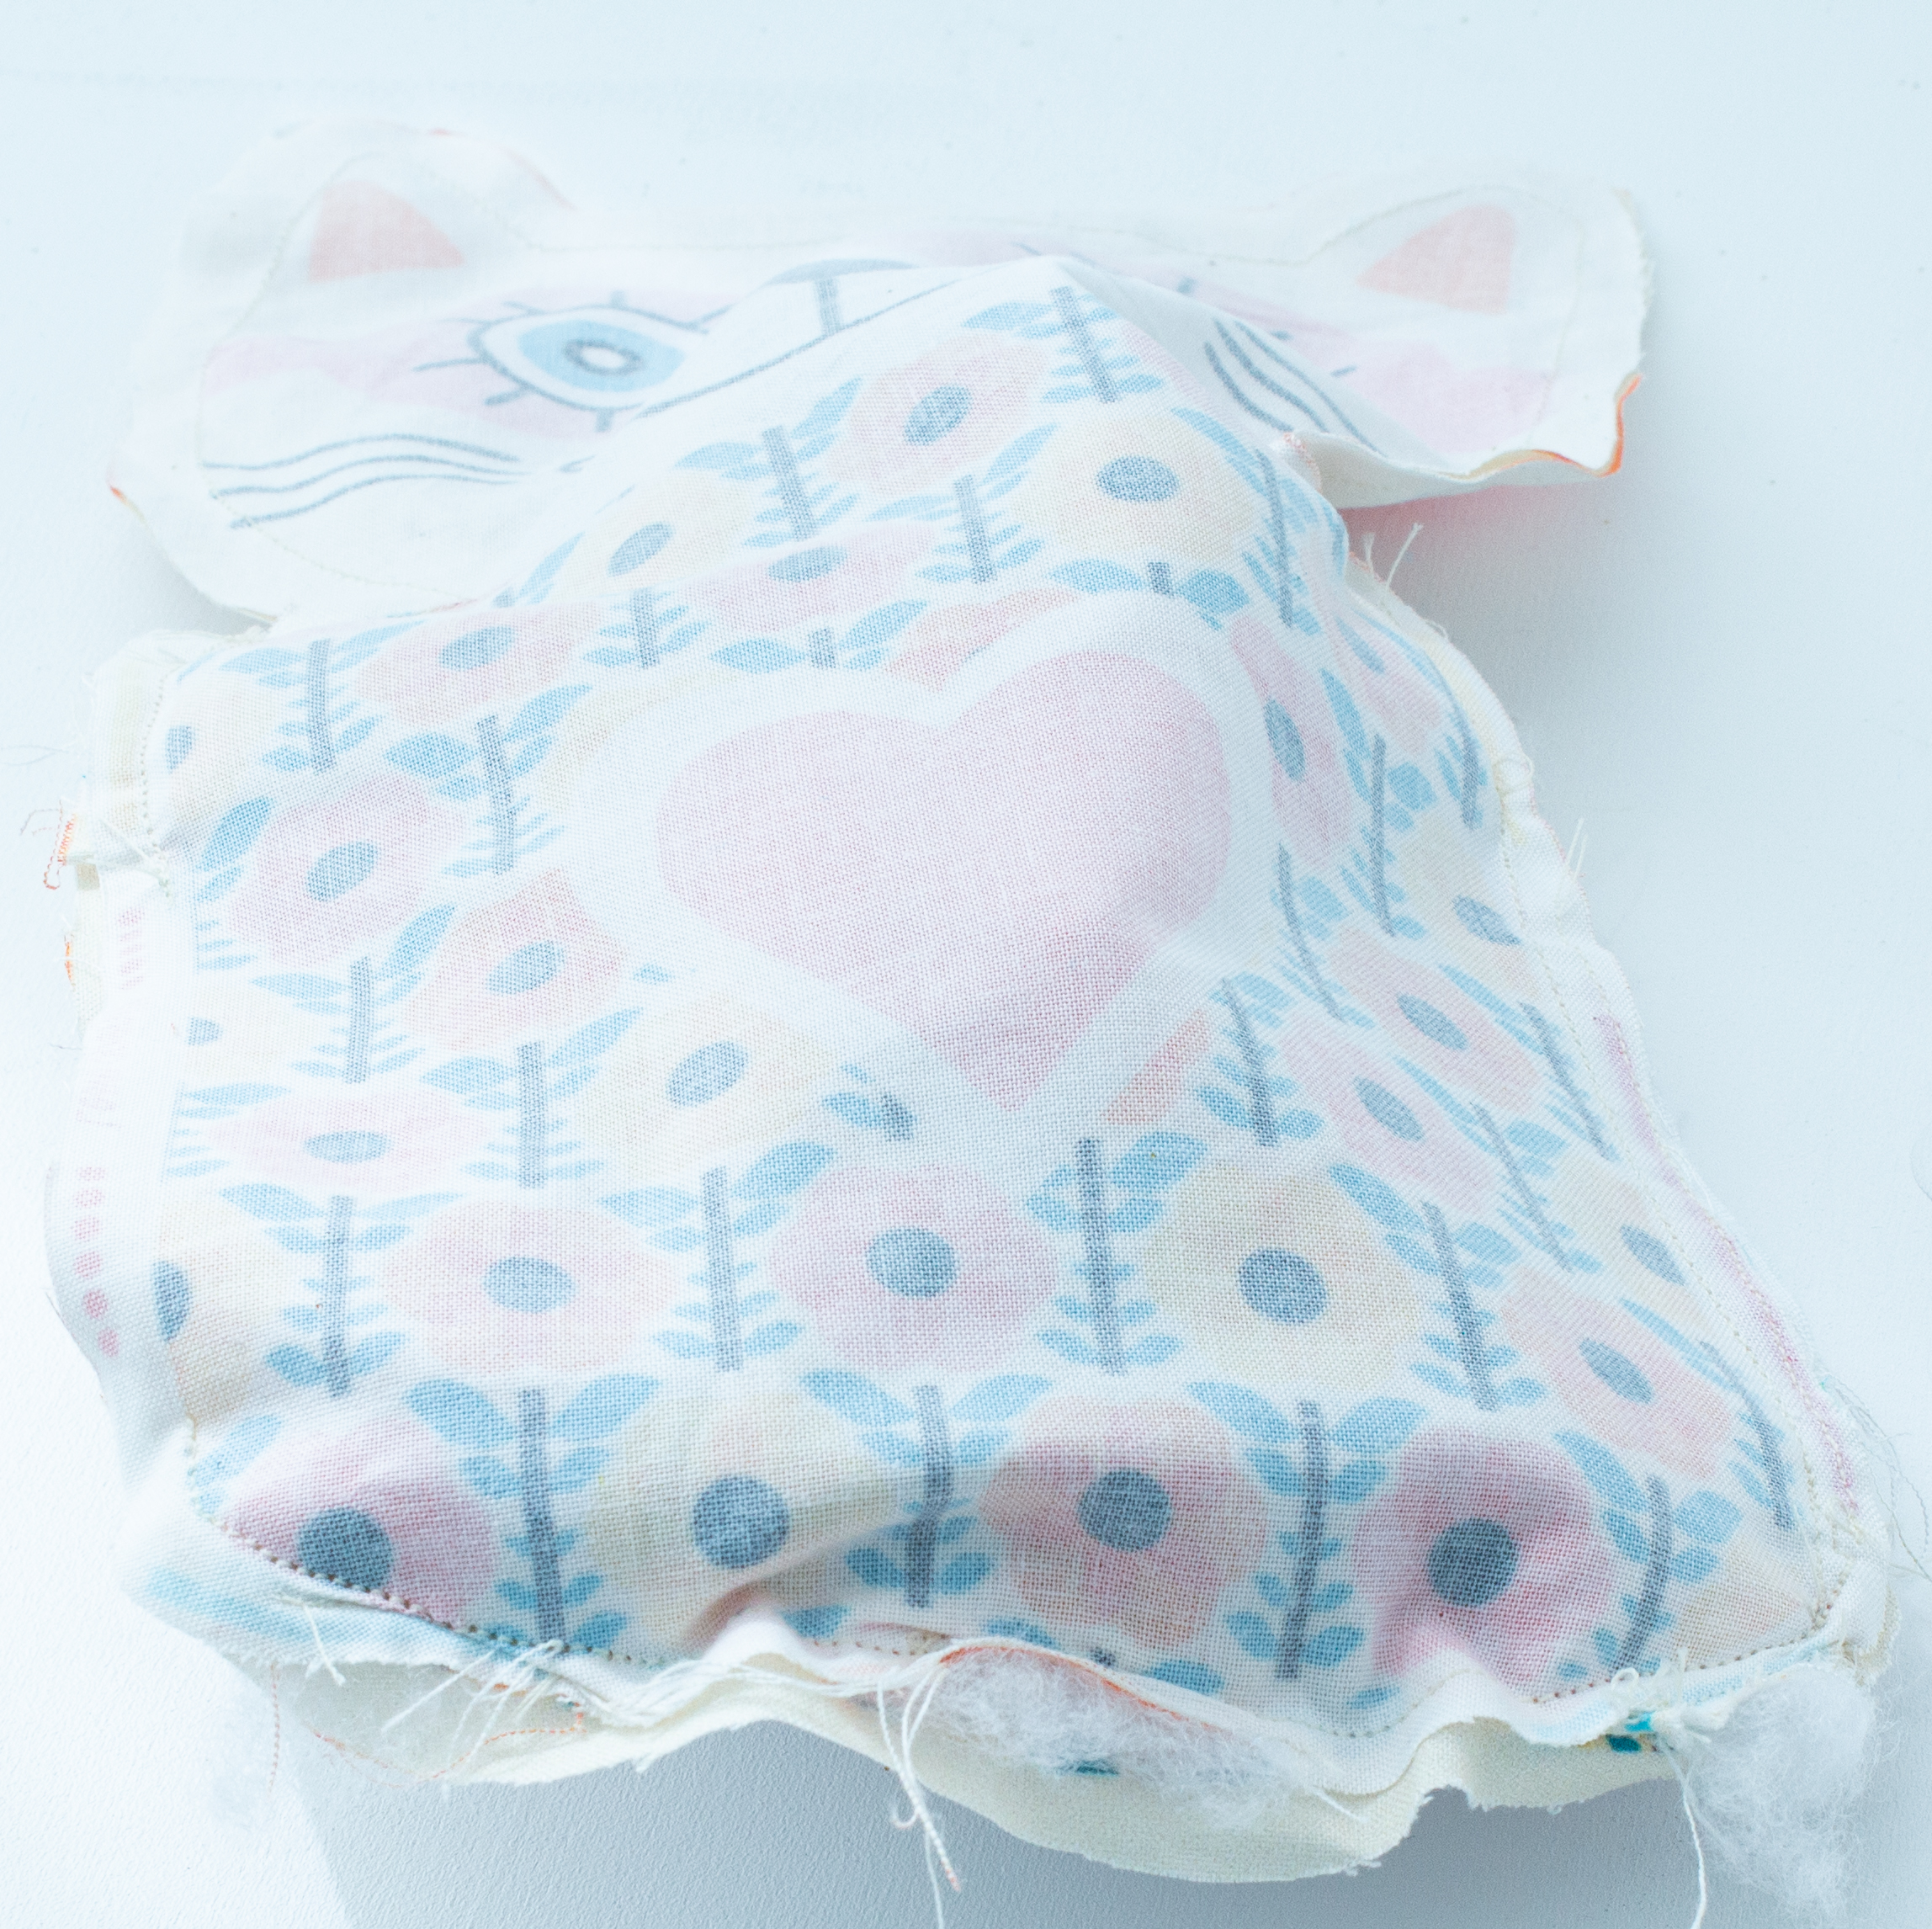
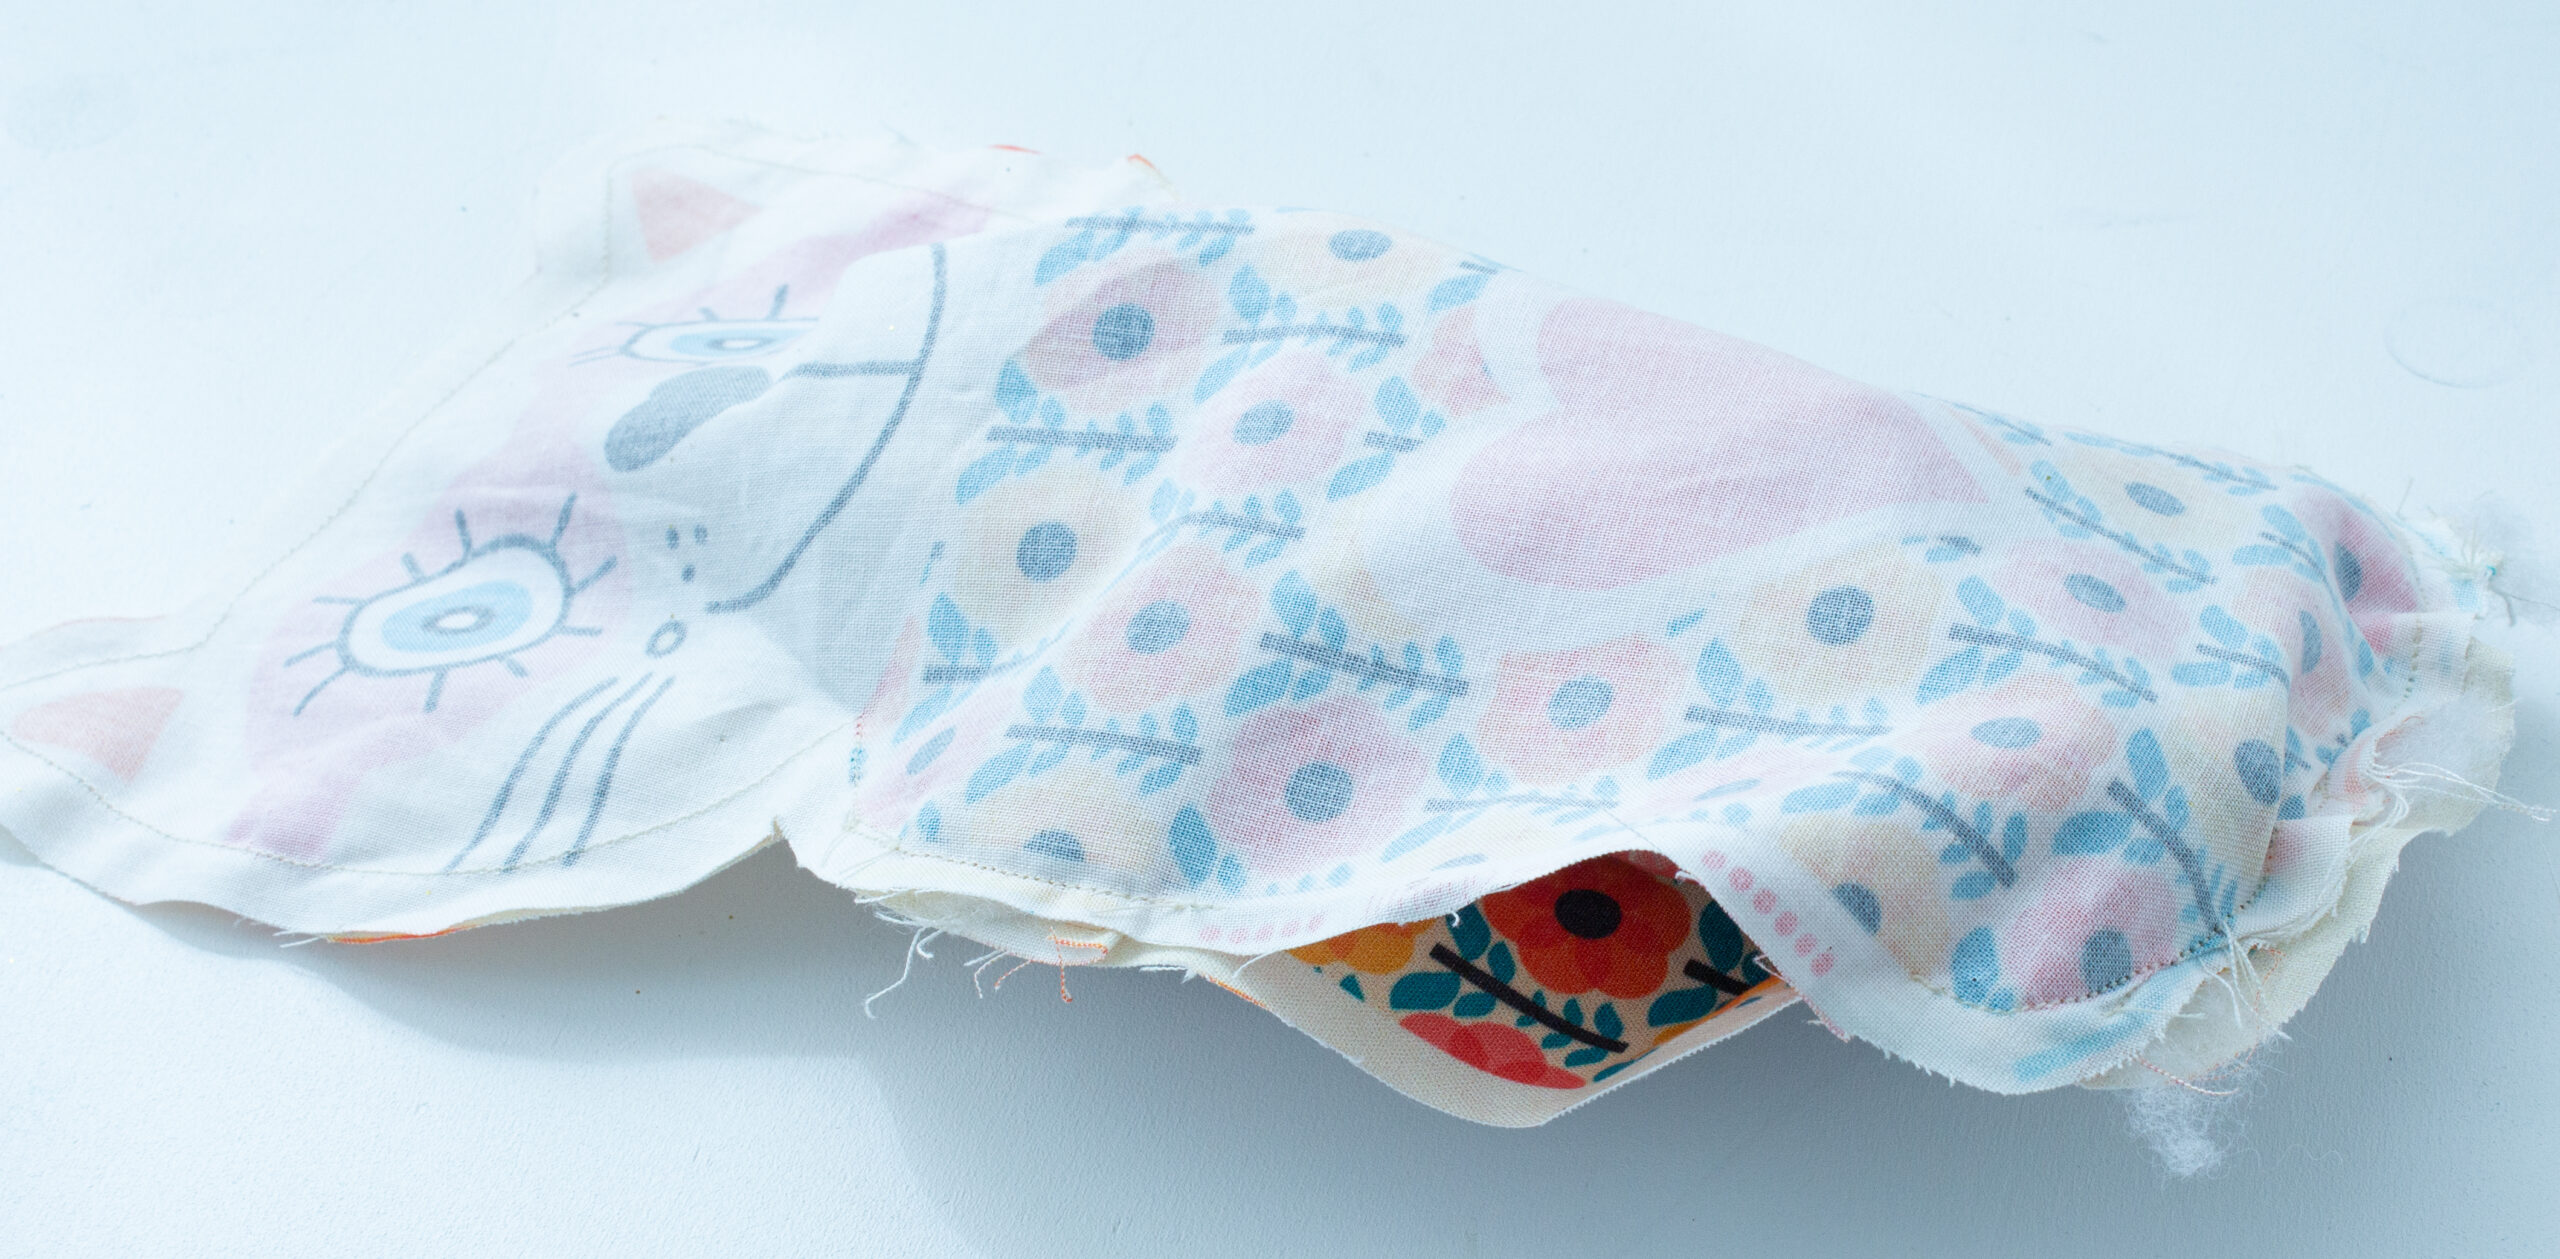
Place the back of the cat body with the printed side facing down on the front of the cat.
Start pinning the front and back of the cat together carefully from slightly below the arm on the left side.
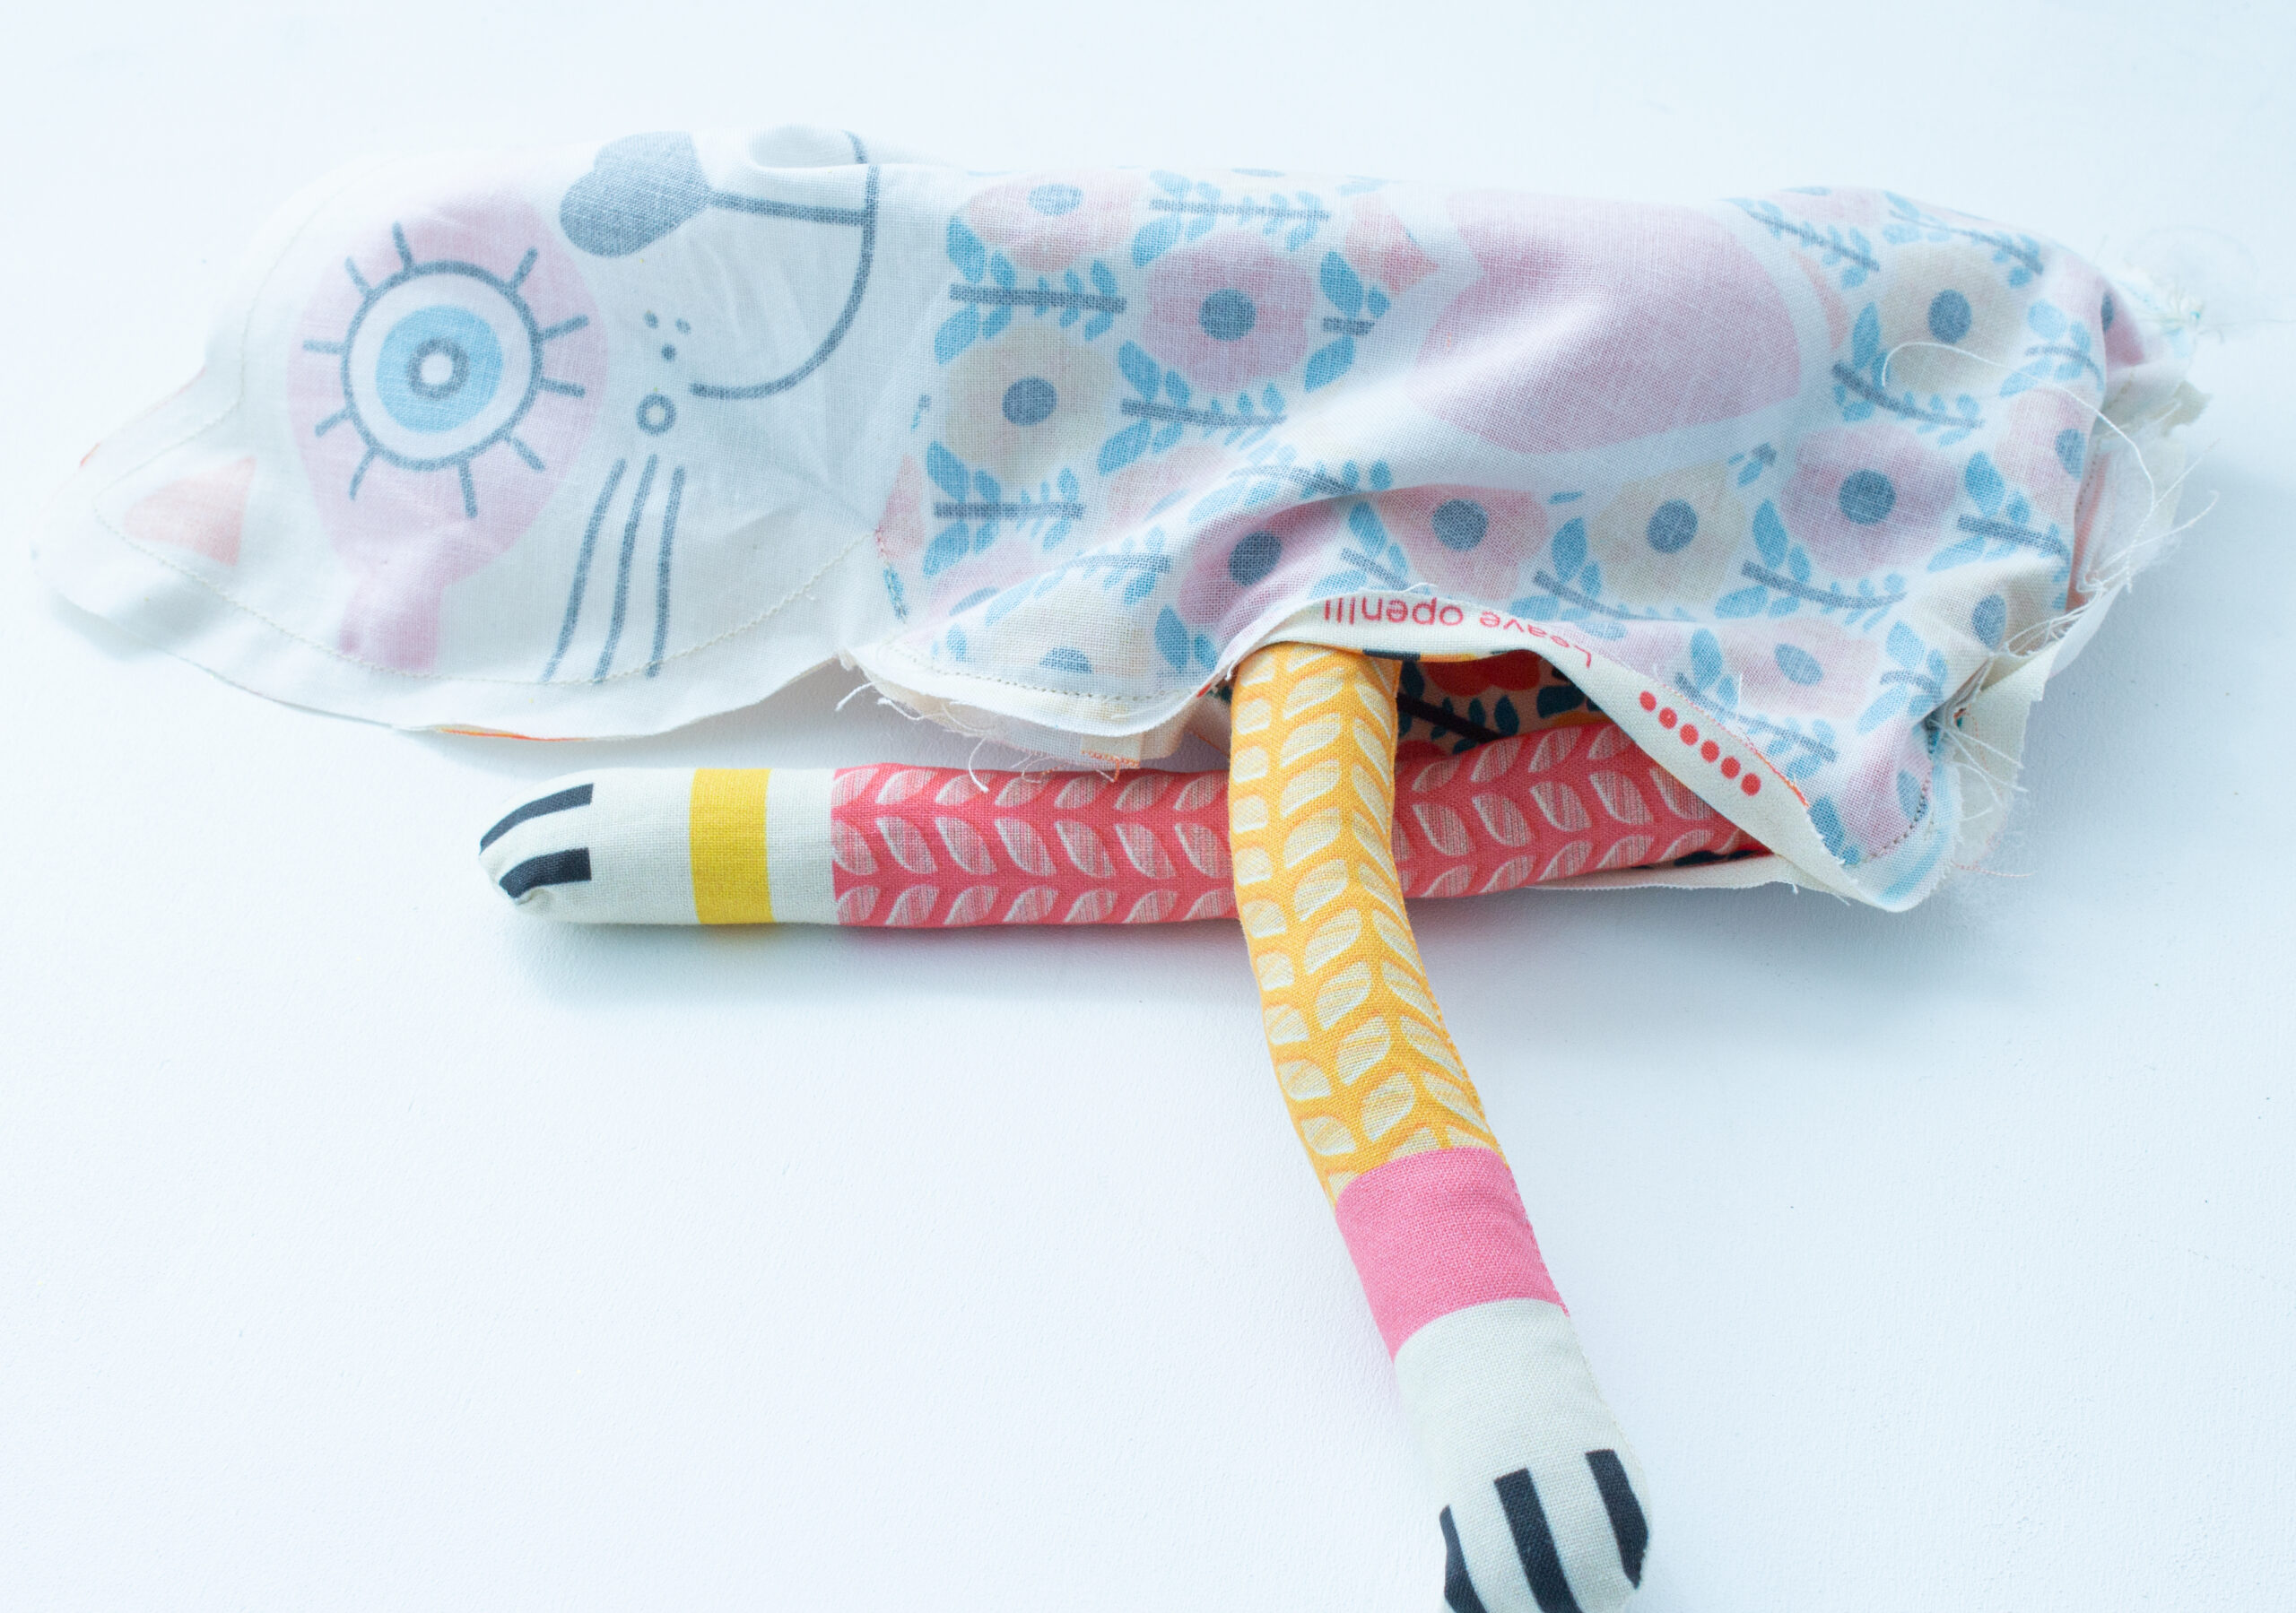
The stuffed arm of the cat should be positioned towards the right, disappearing into the inside of the cat.
Pin the cat together up to the marking for the second arm.
Now sew the two pieces together along the pinned line.
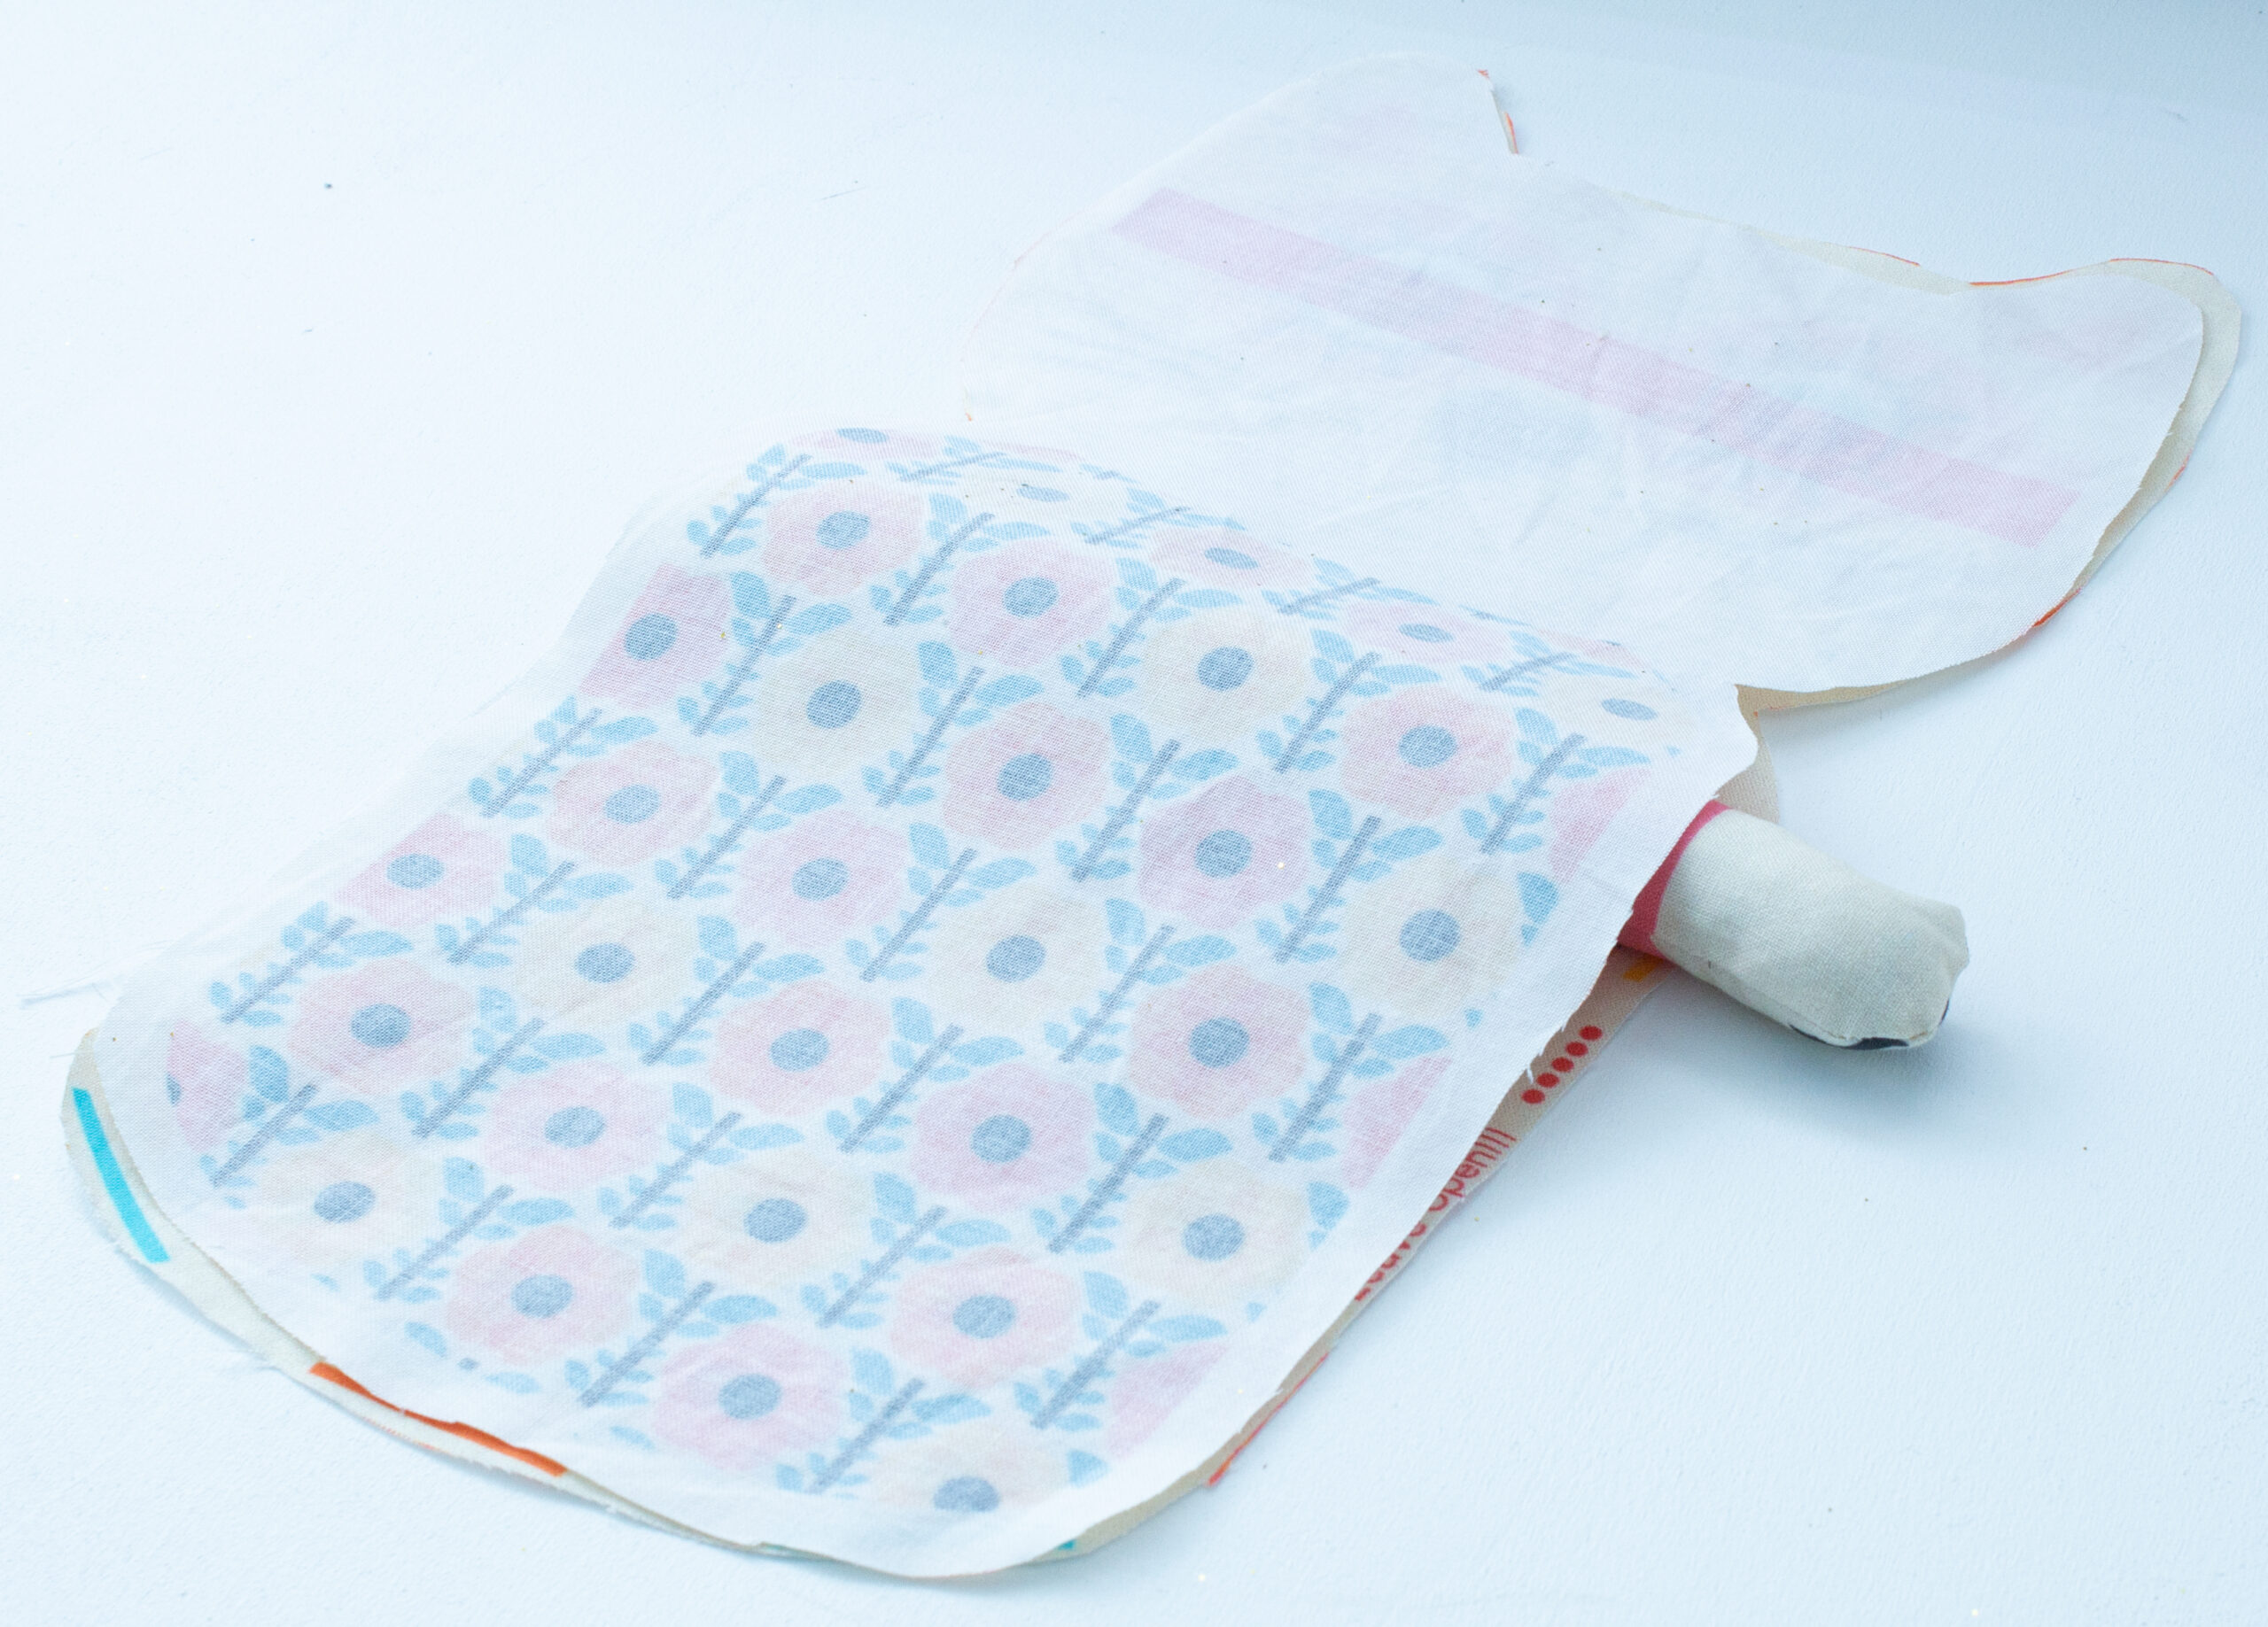
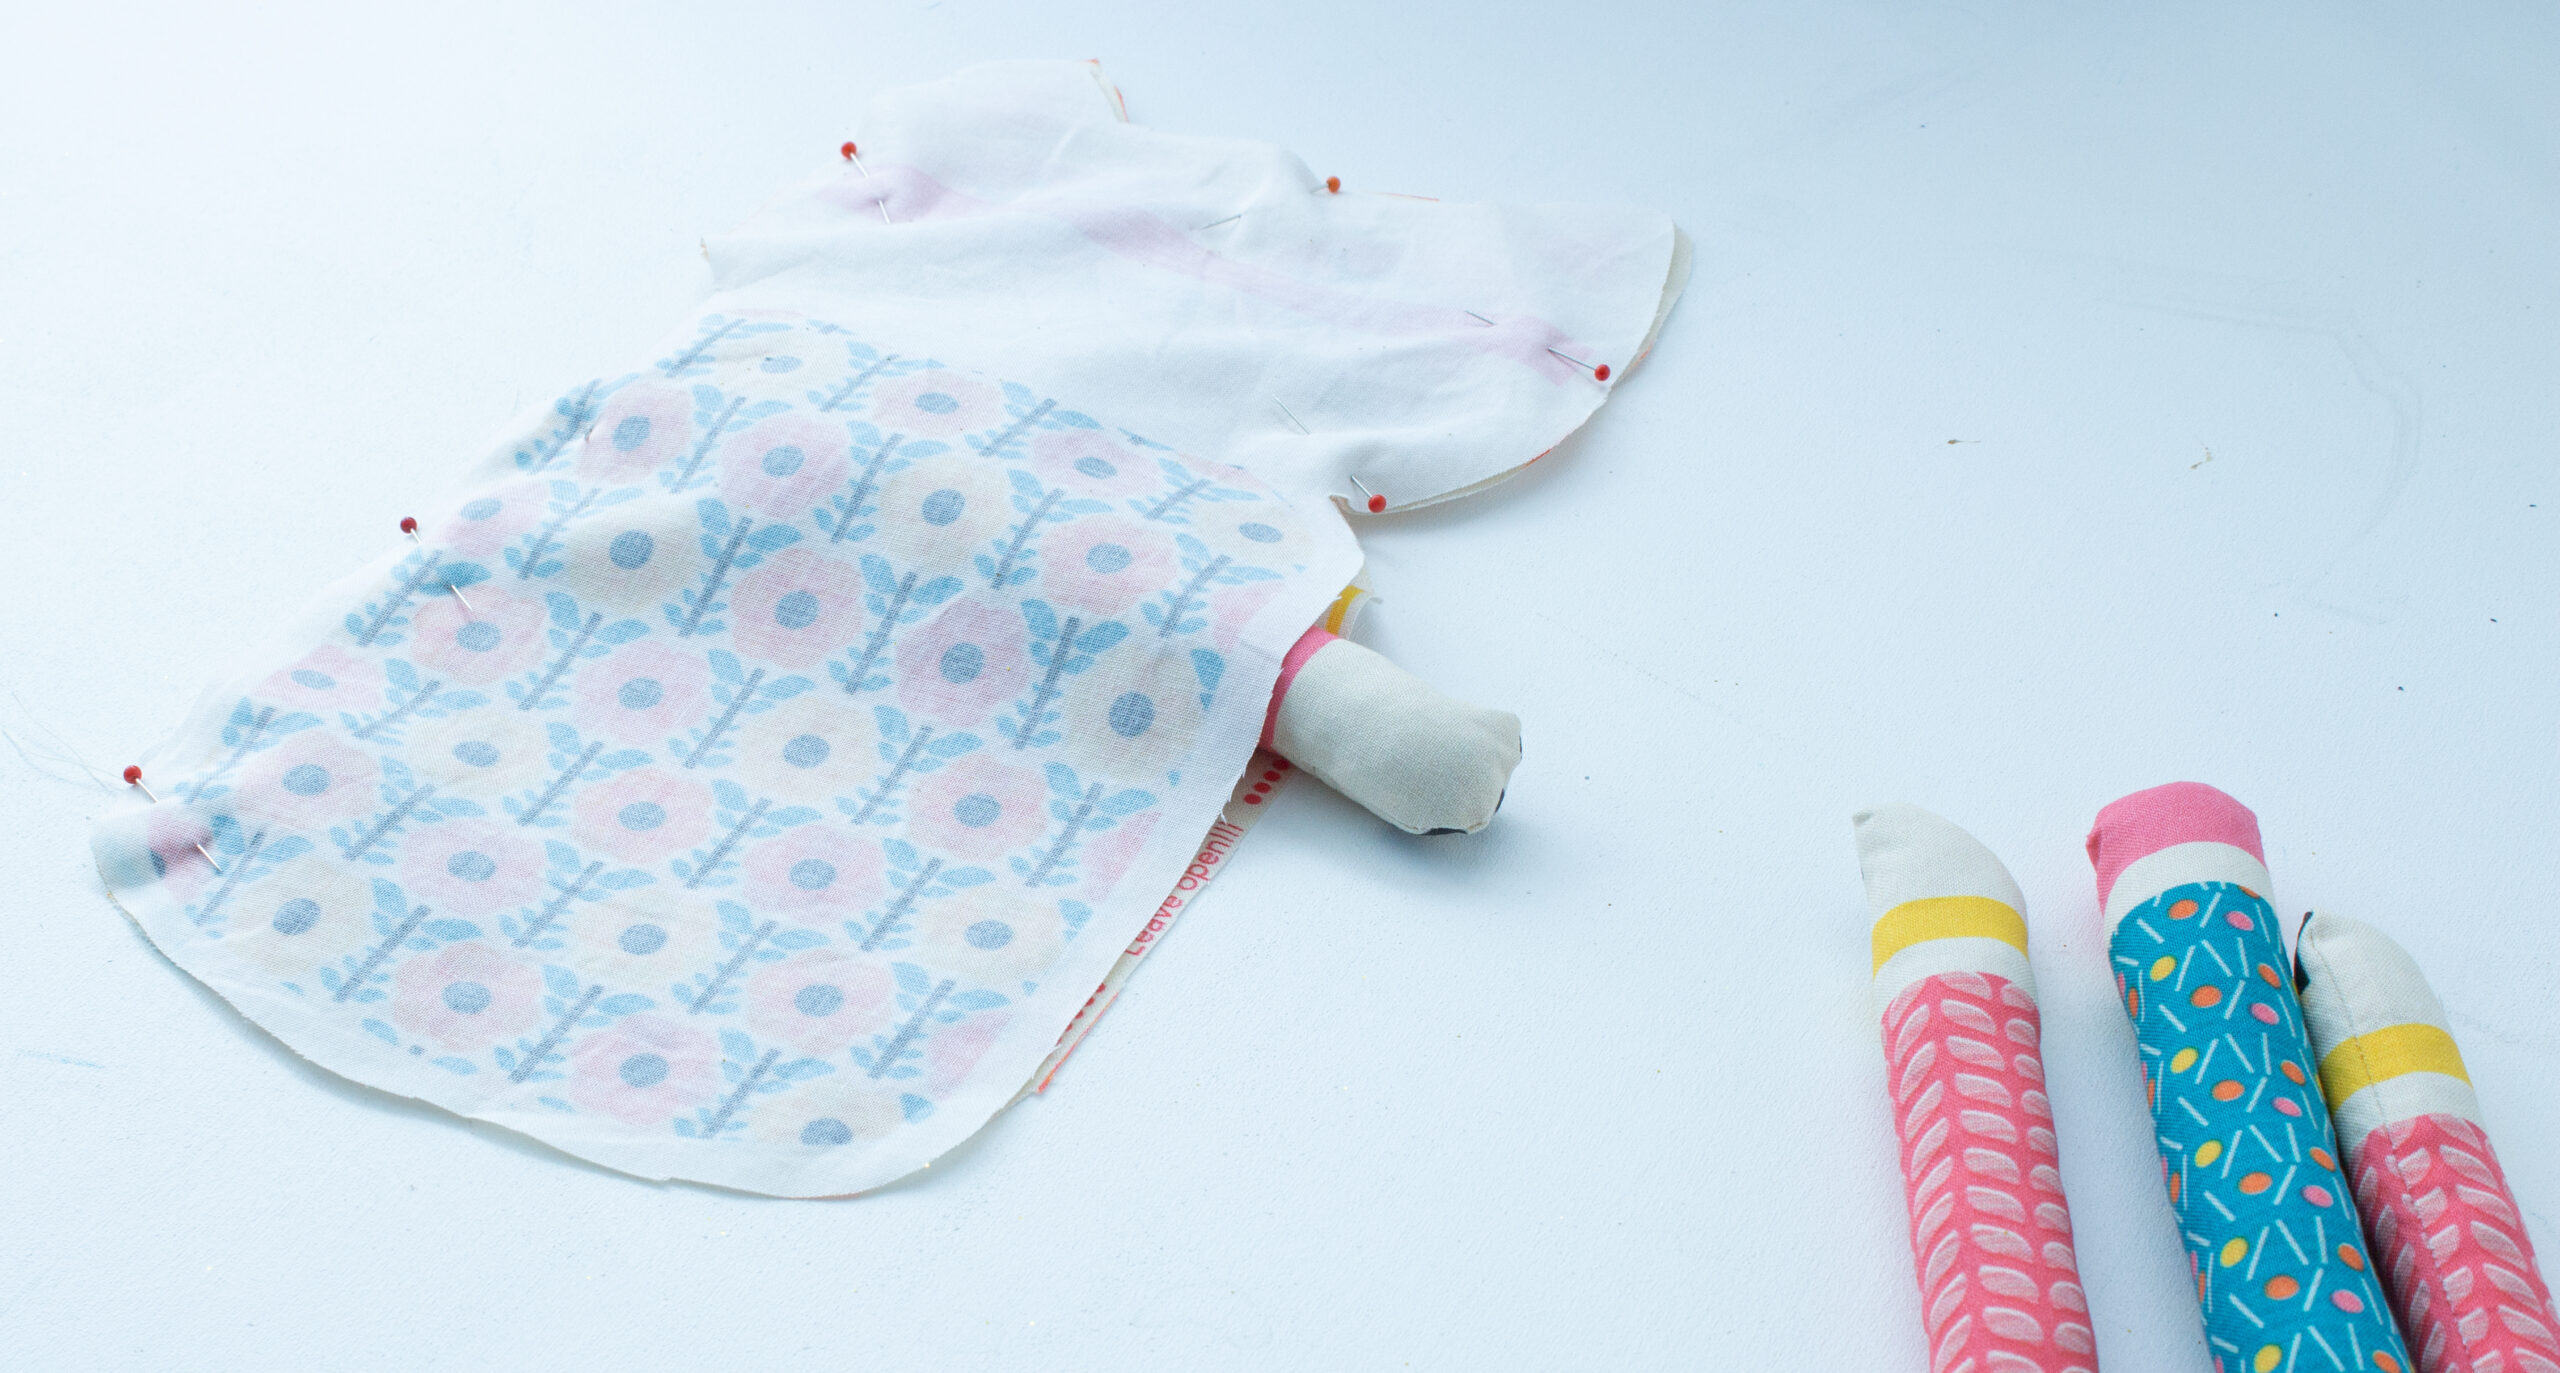
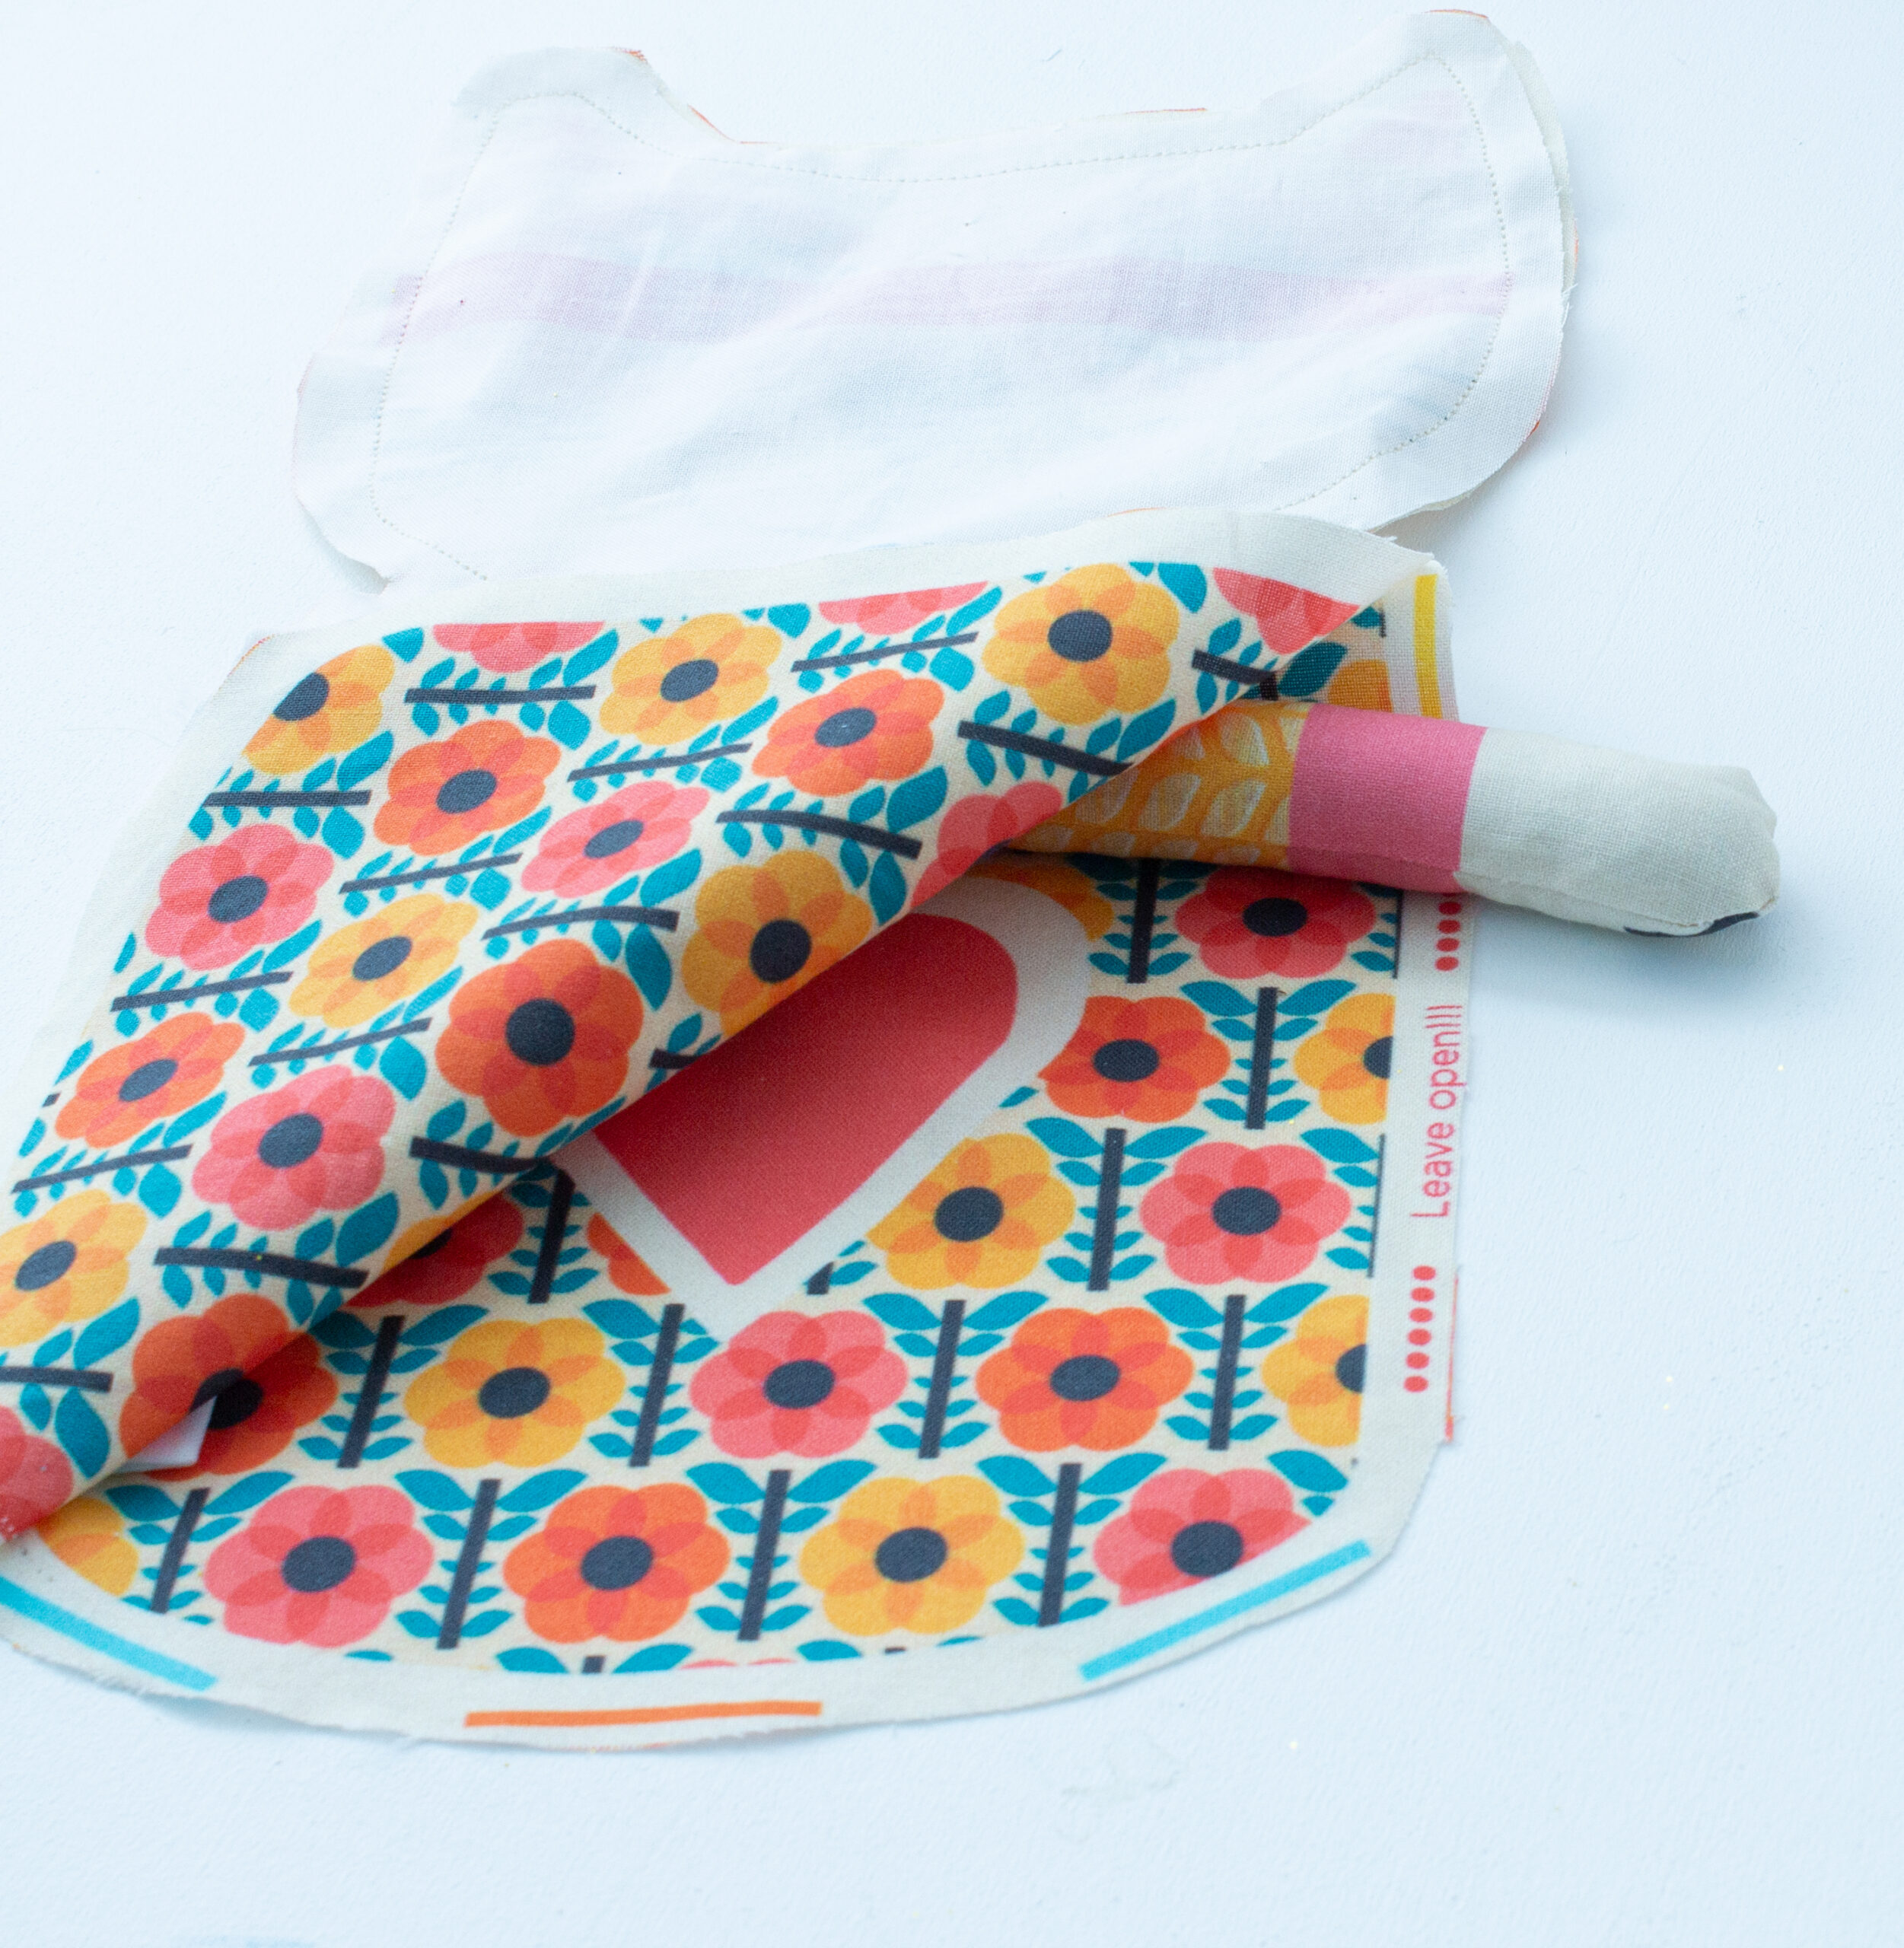
Now, open the cat a bit.
Next, place the first leg, tail, and second leg one after the other at the marked spots on the front part of the cat body.
The legs and the tail should each be positioned upwards, towards the face of the cat.
Secure the individual parts one after the other with a seam within the seam allowance on the front part of the cat.
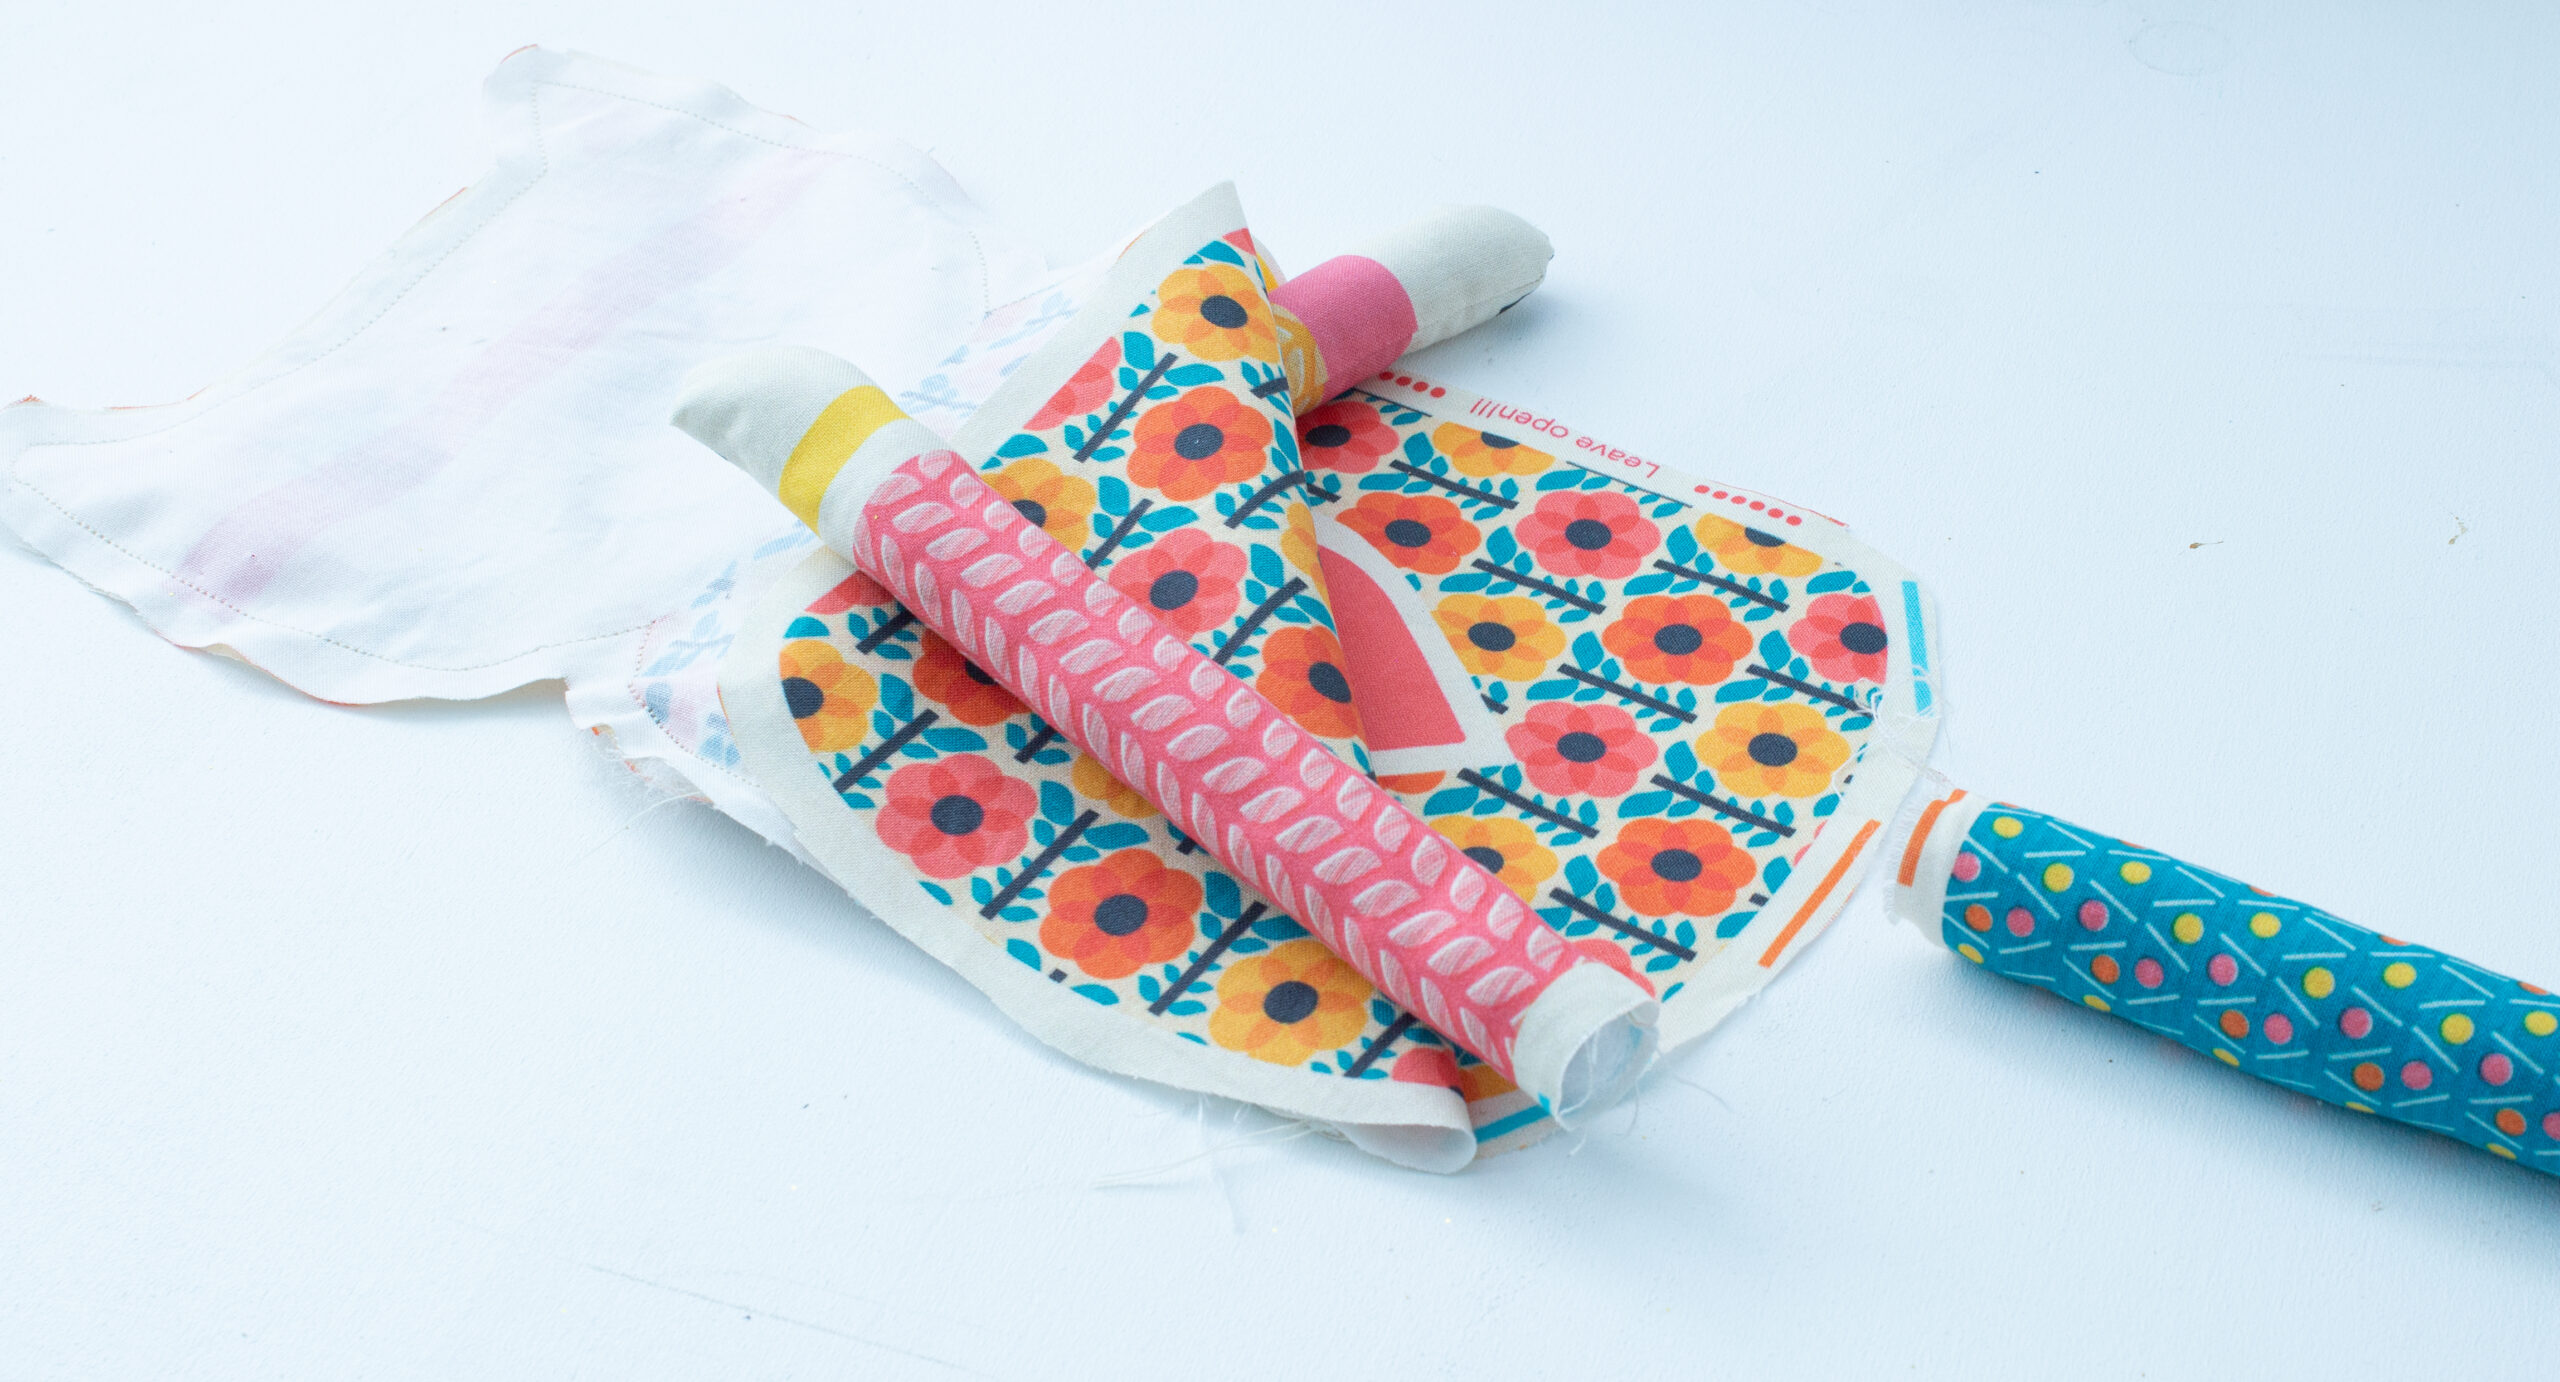
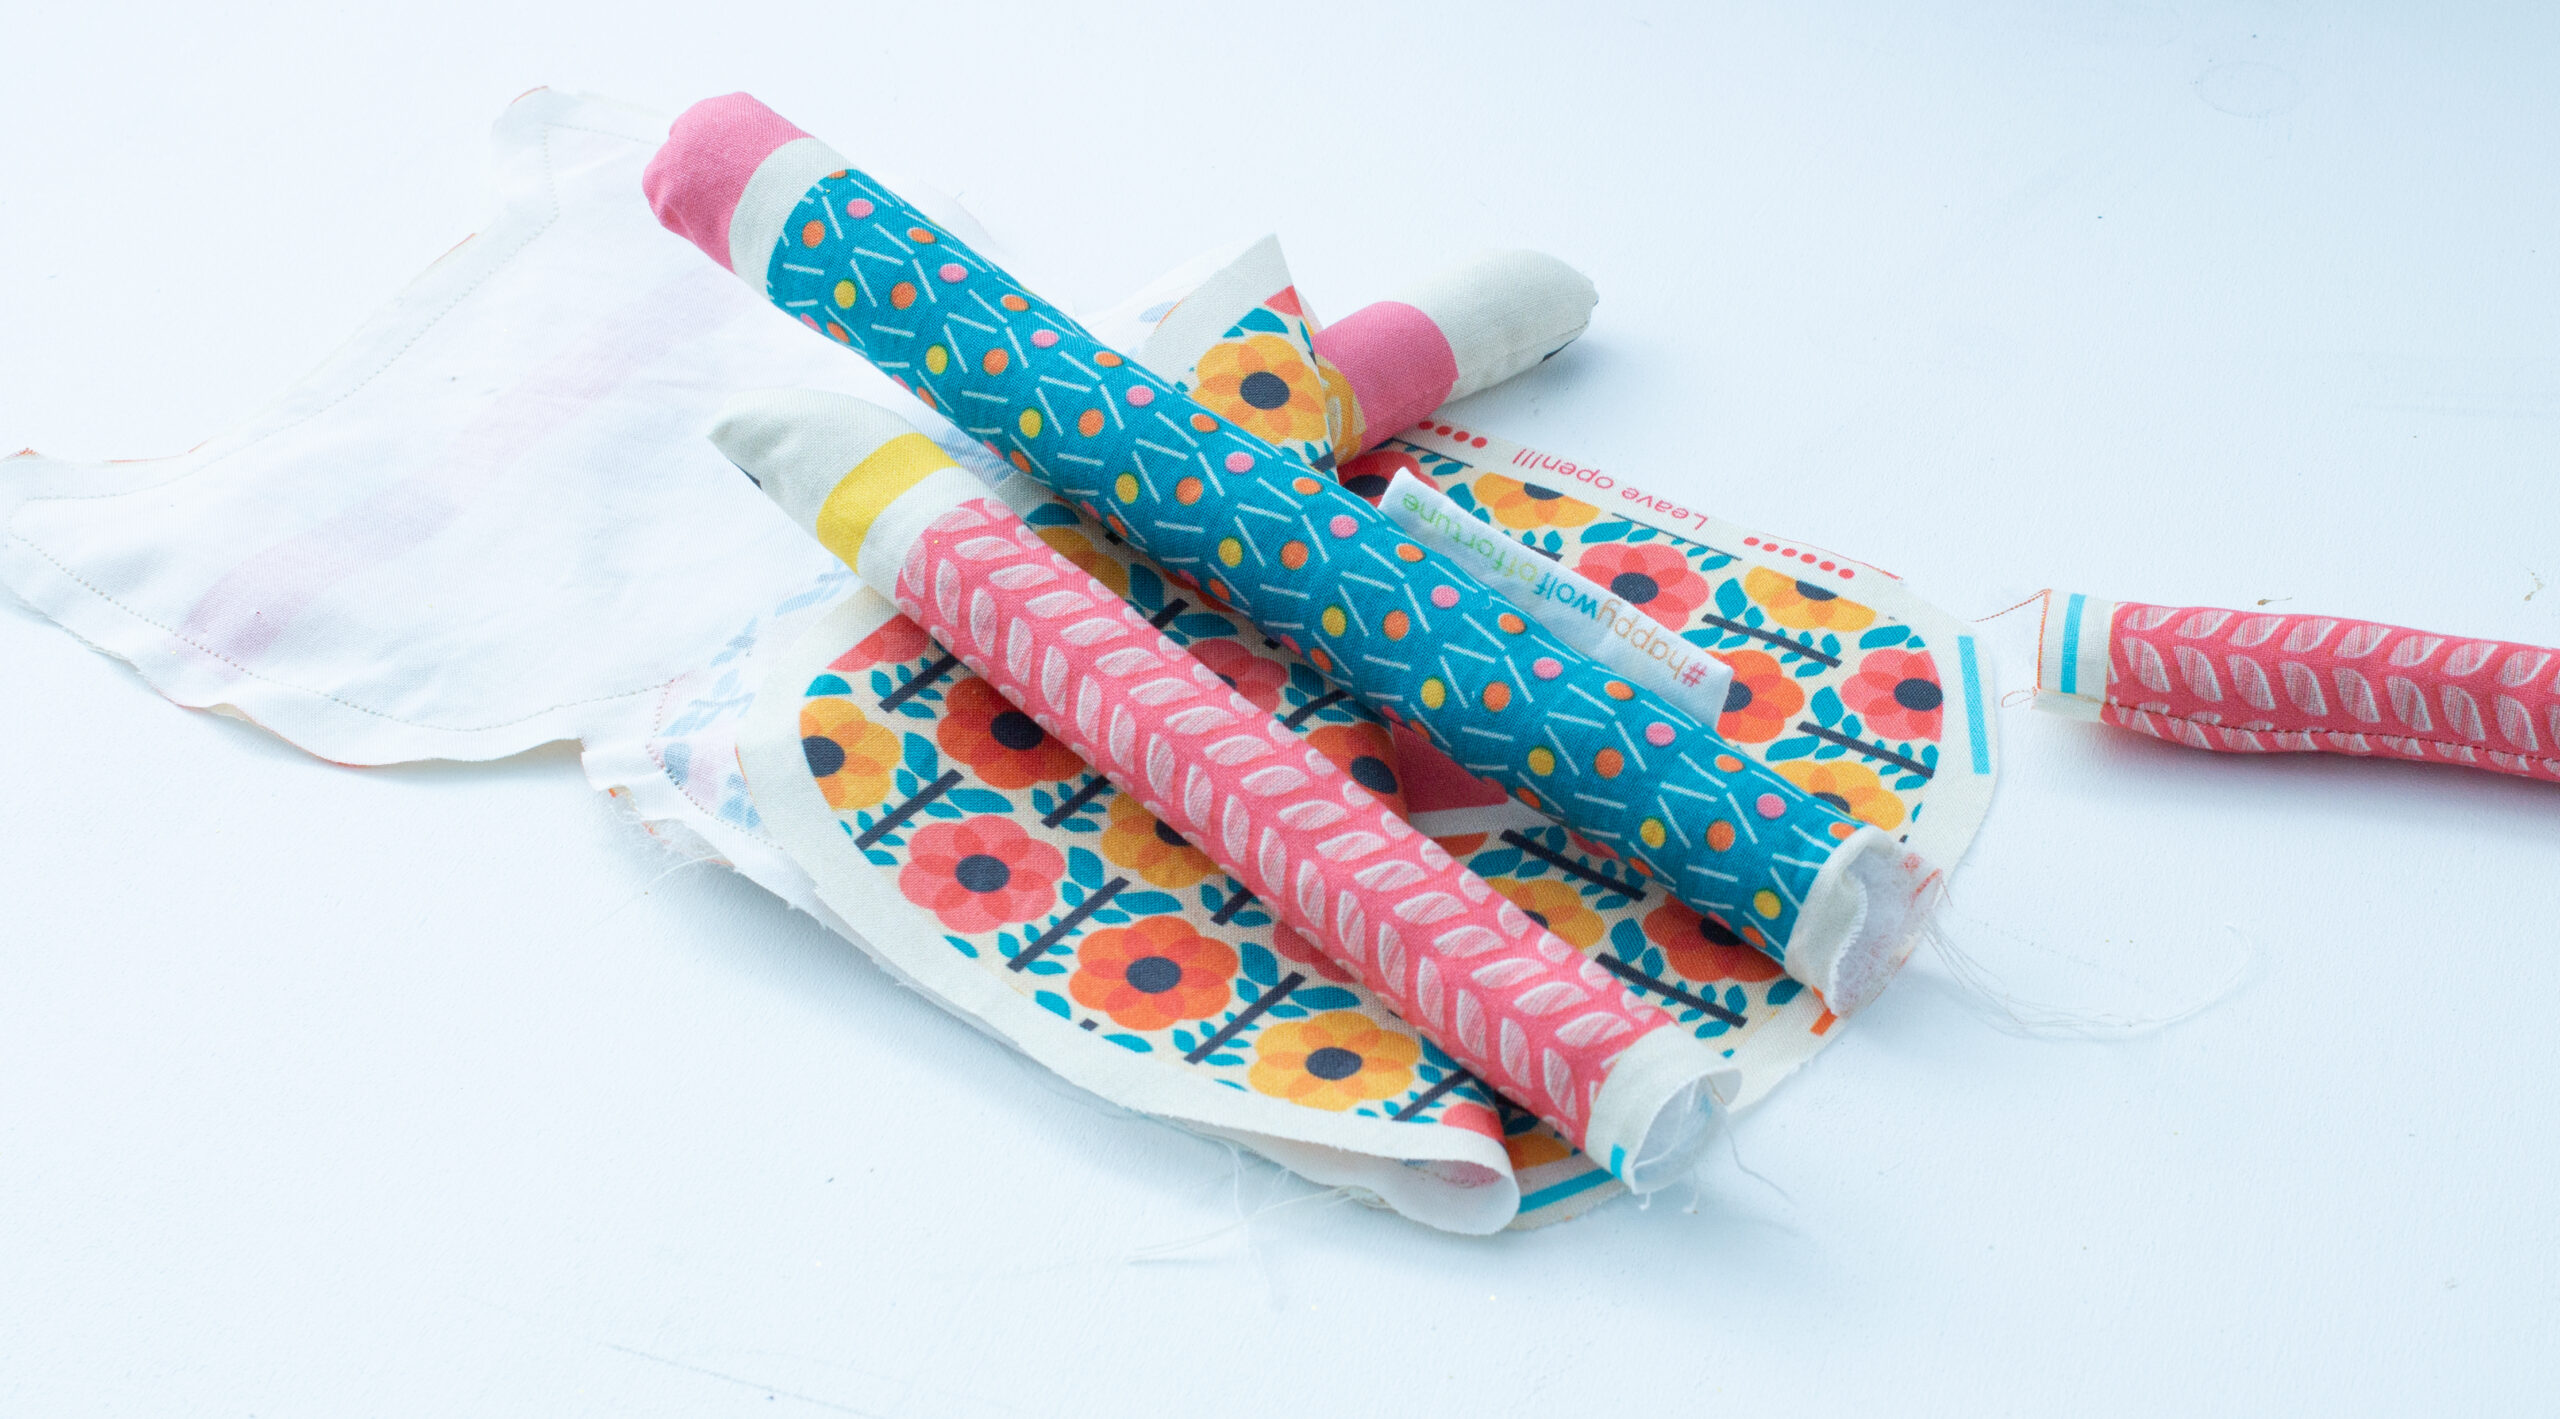
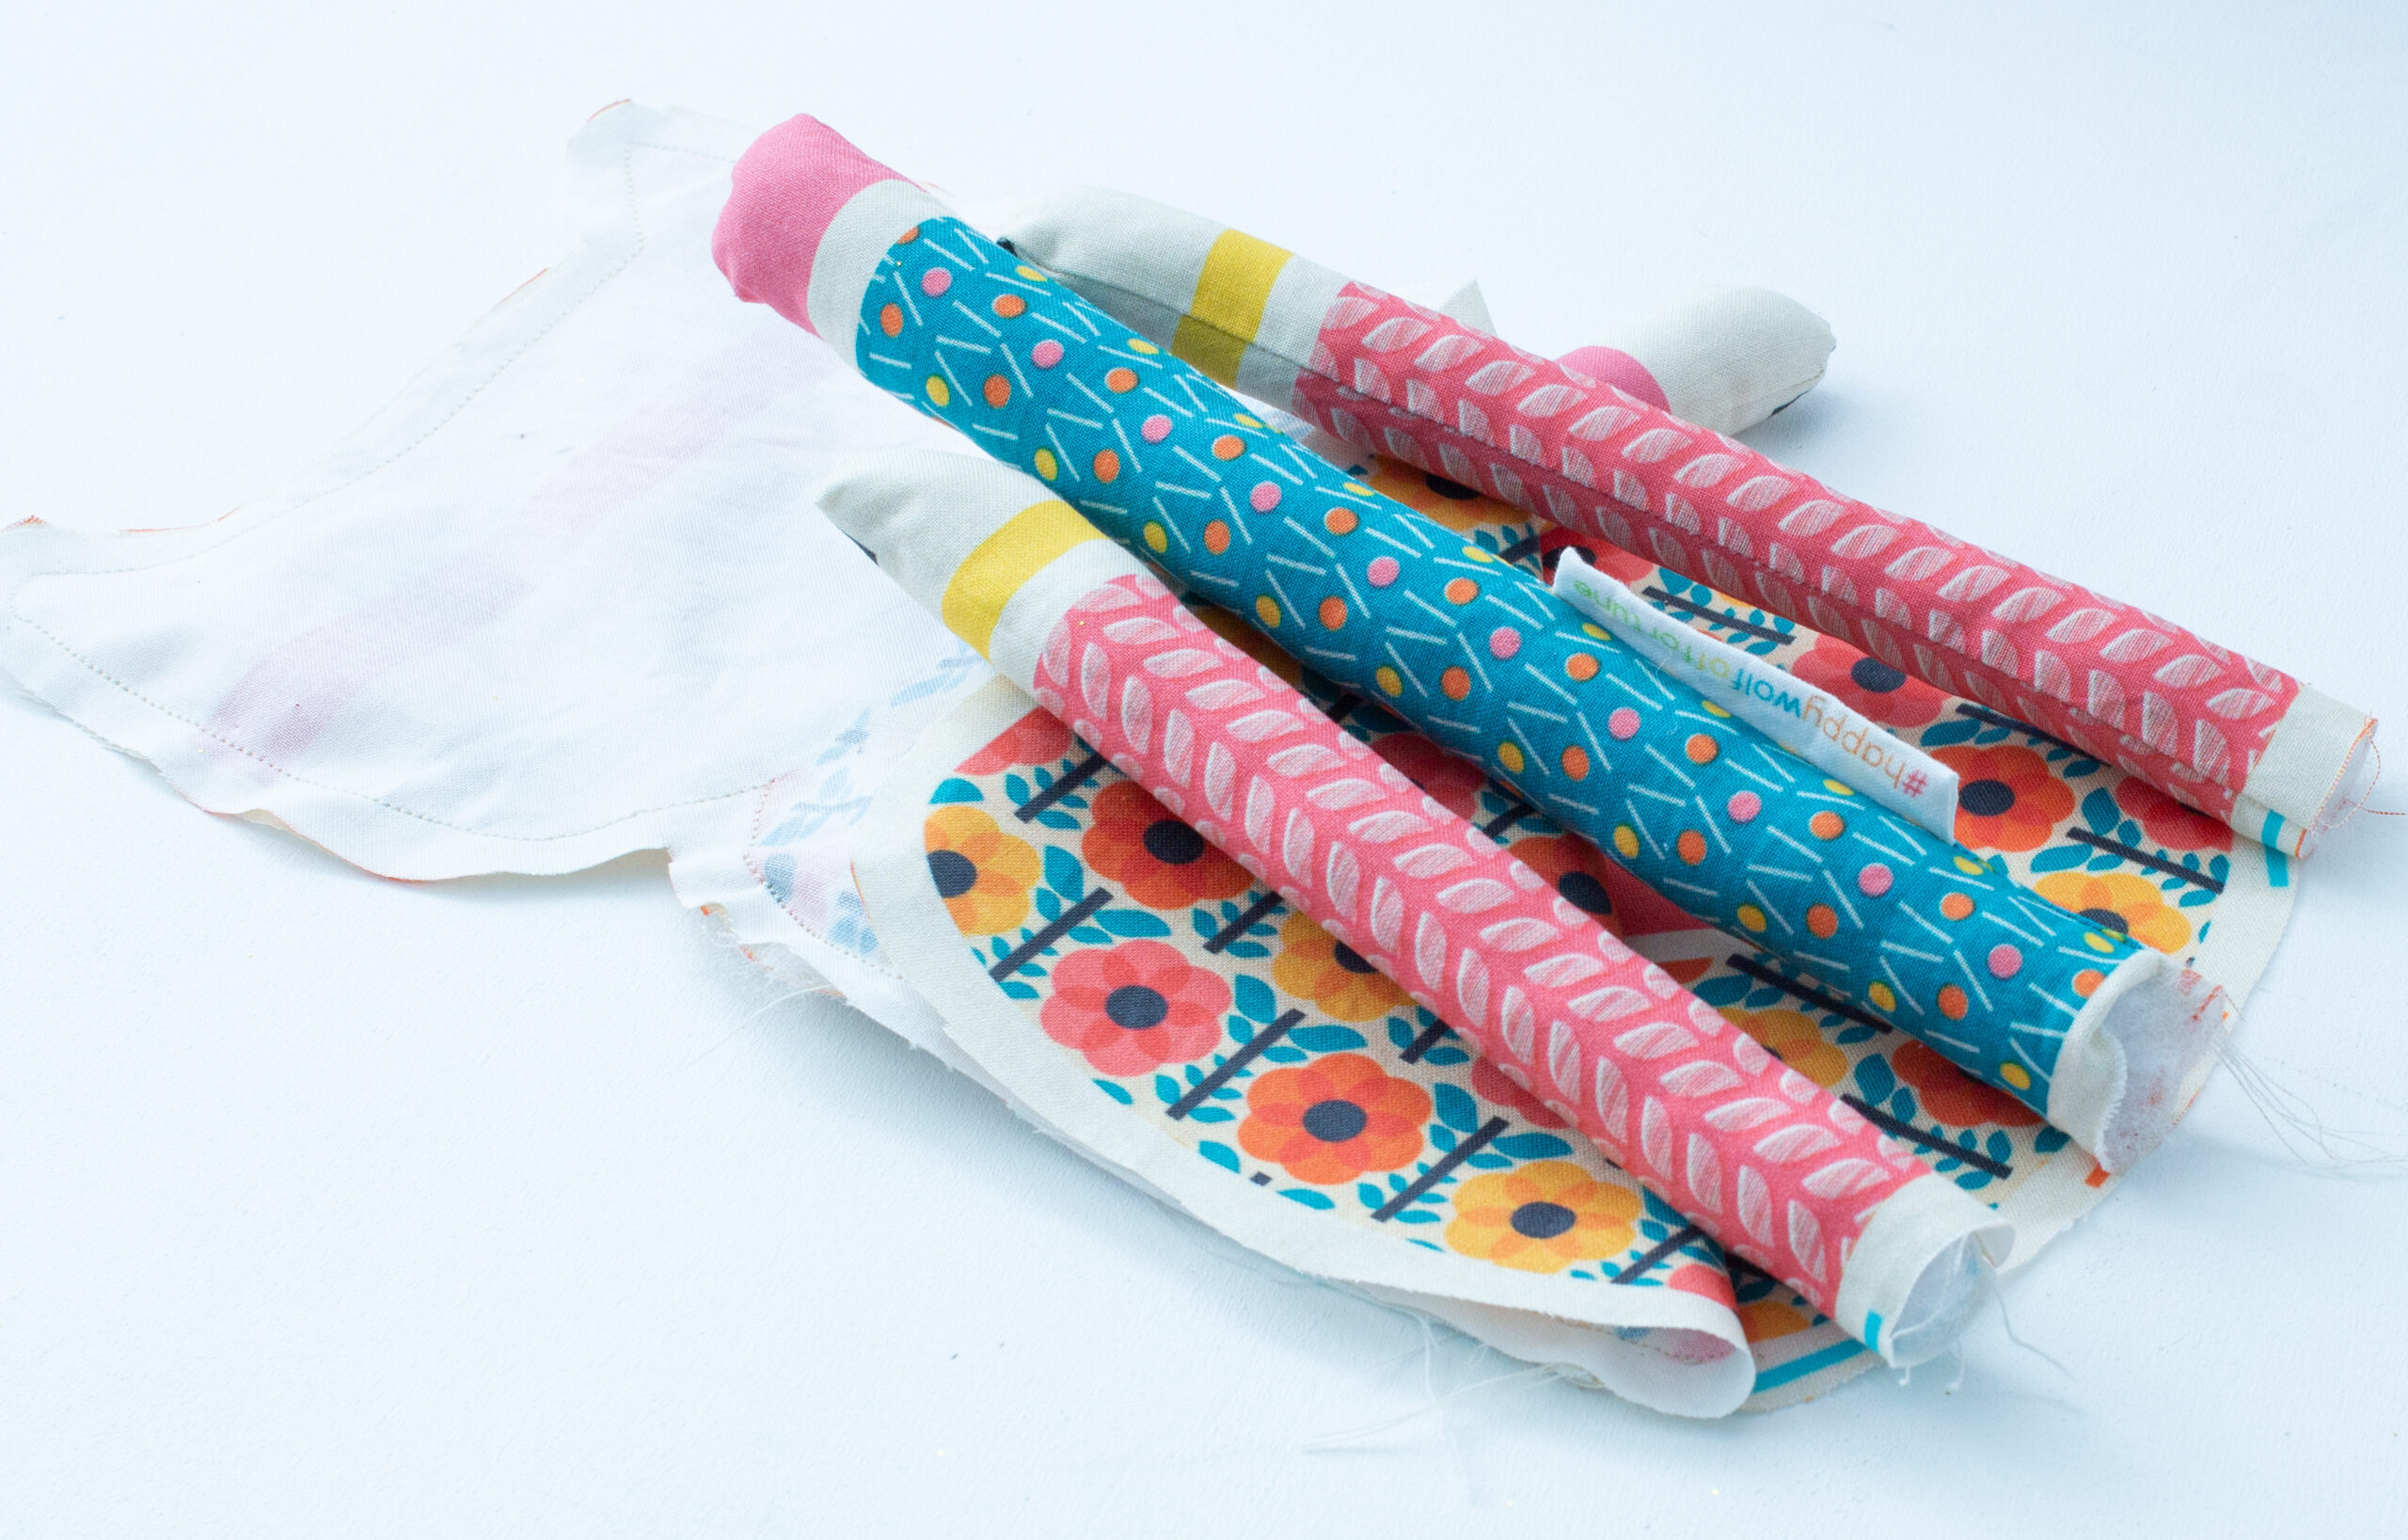
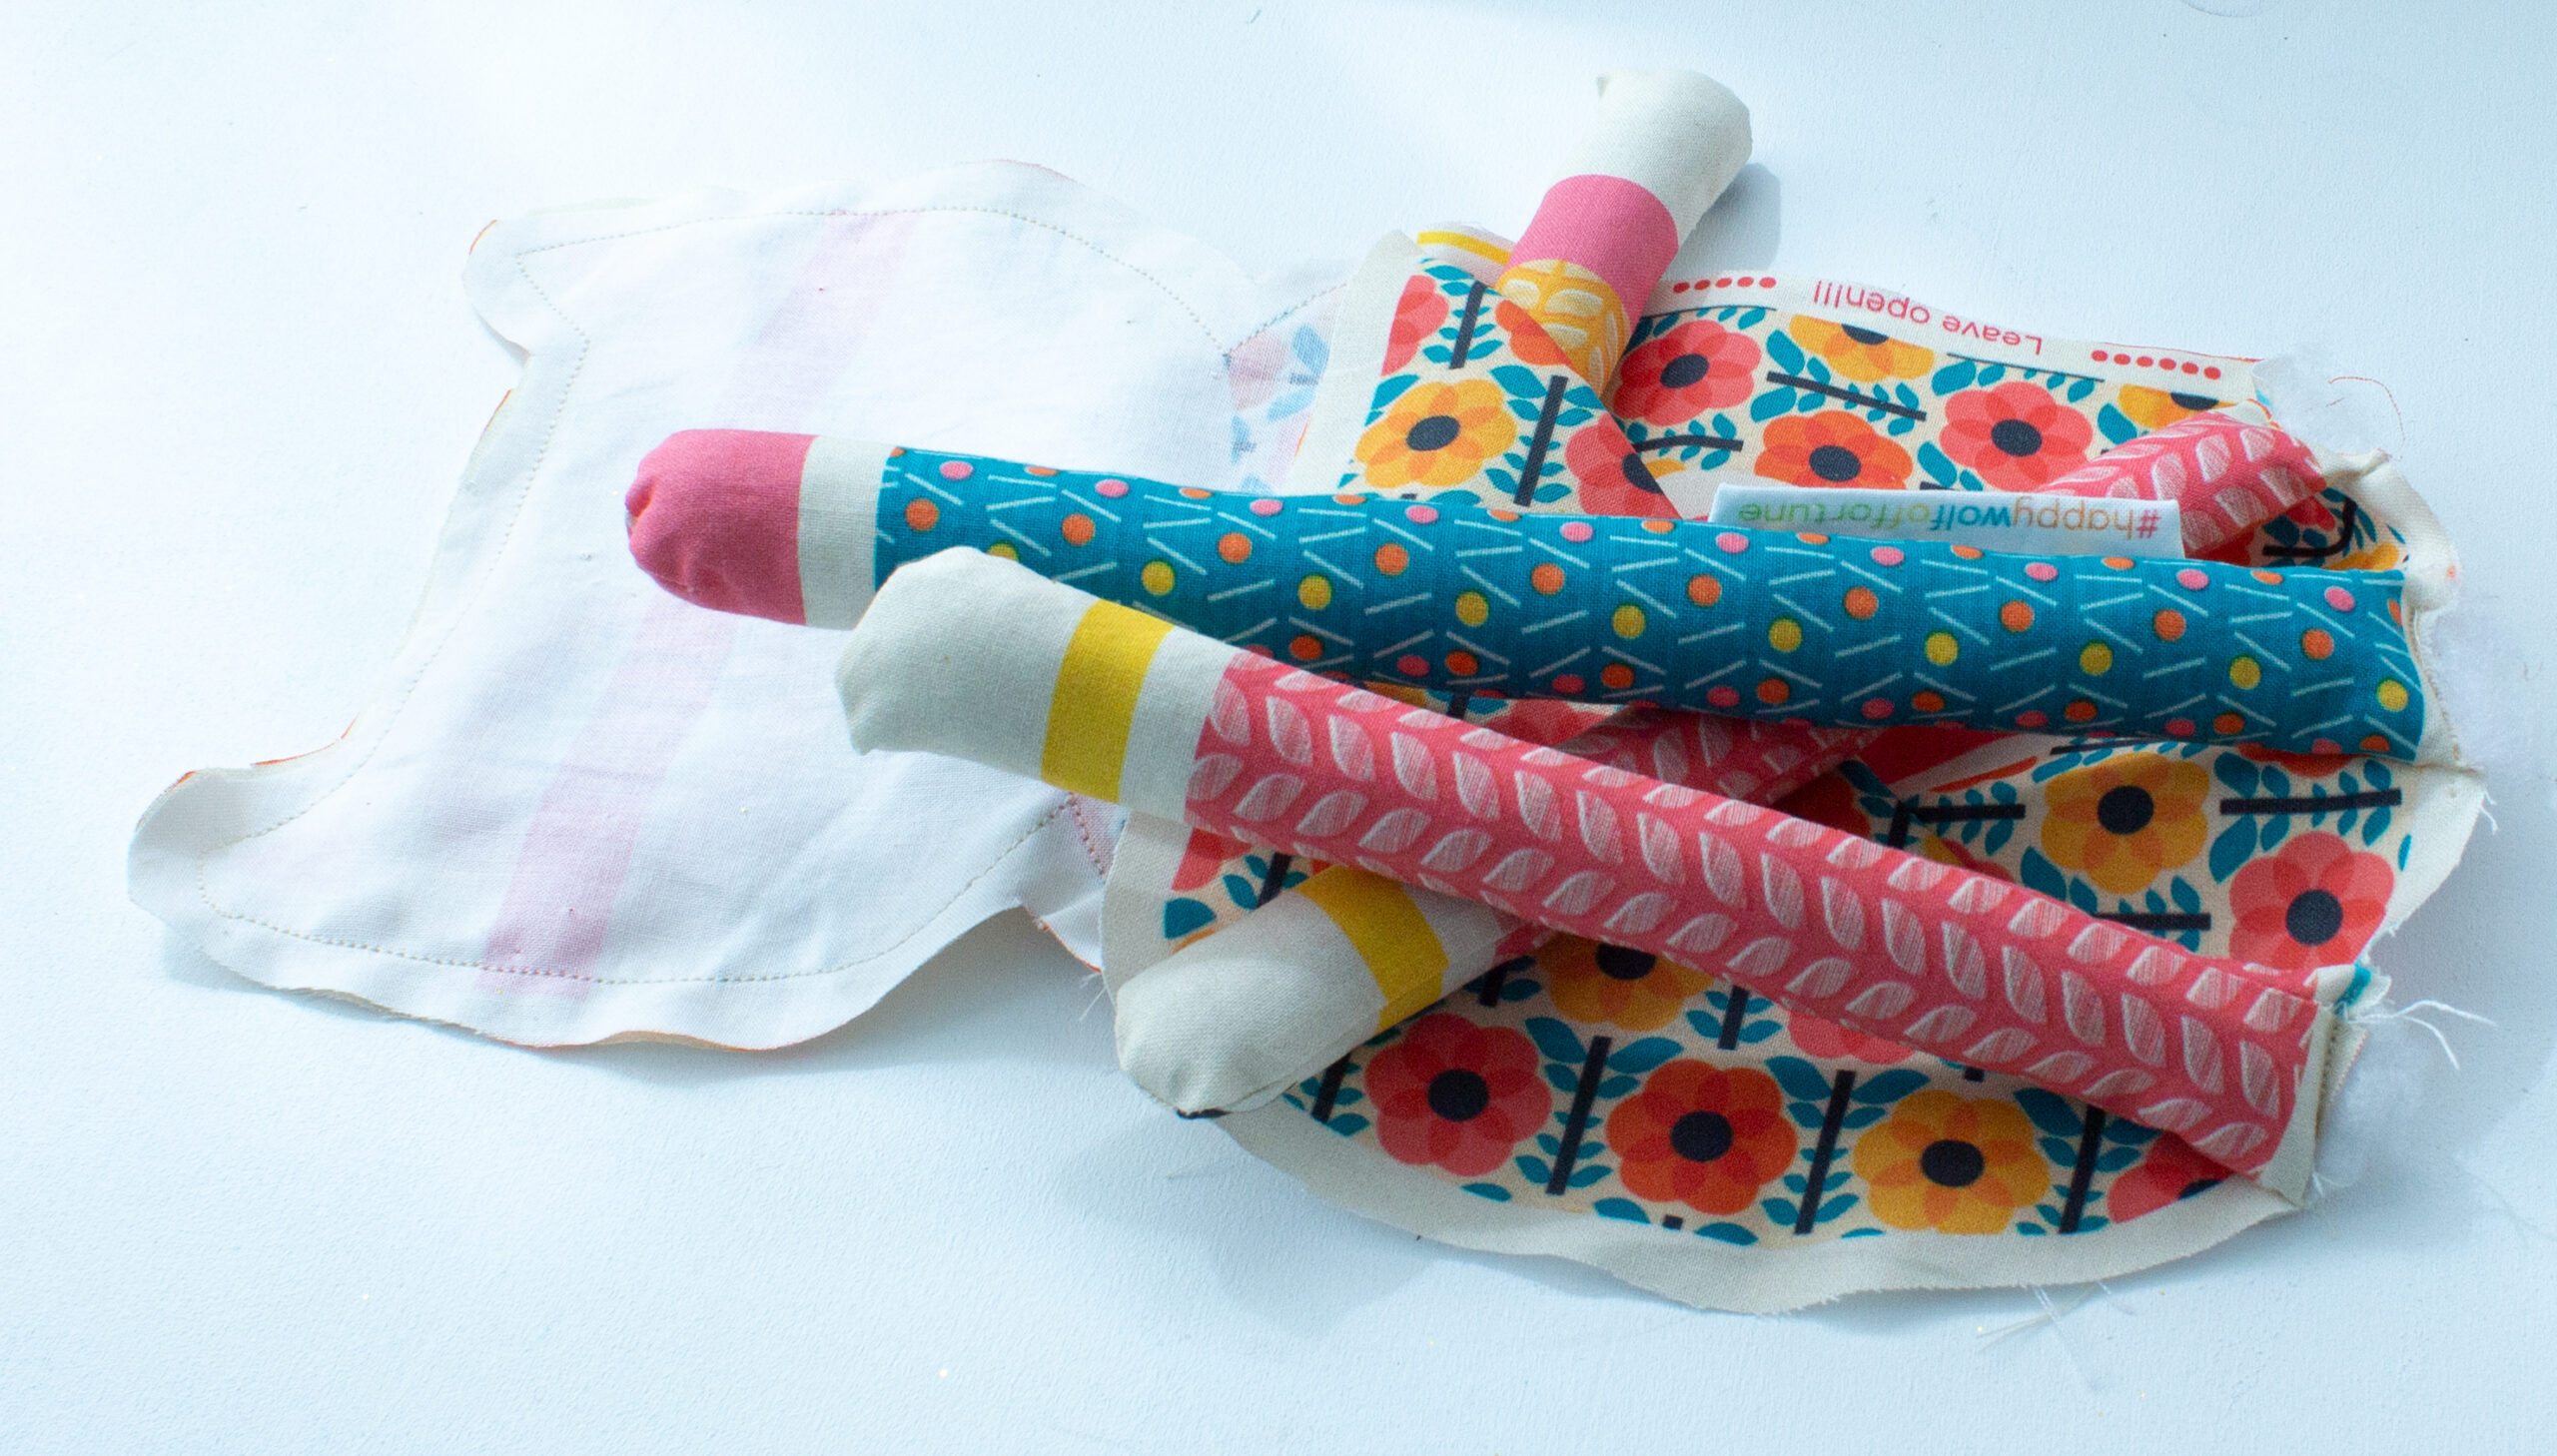
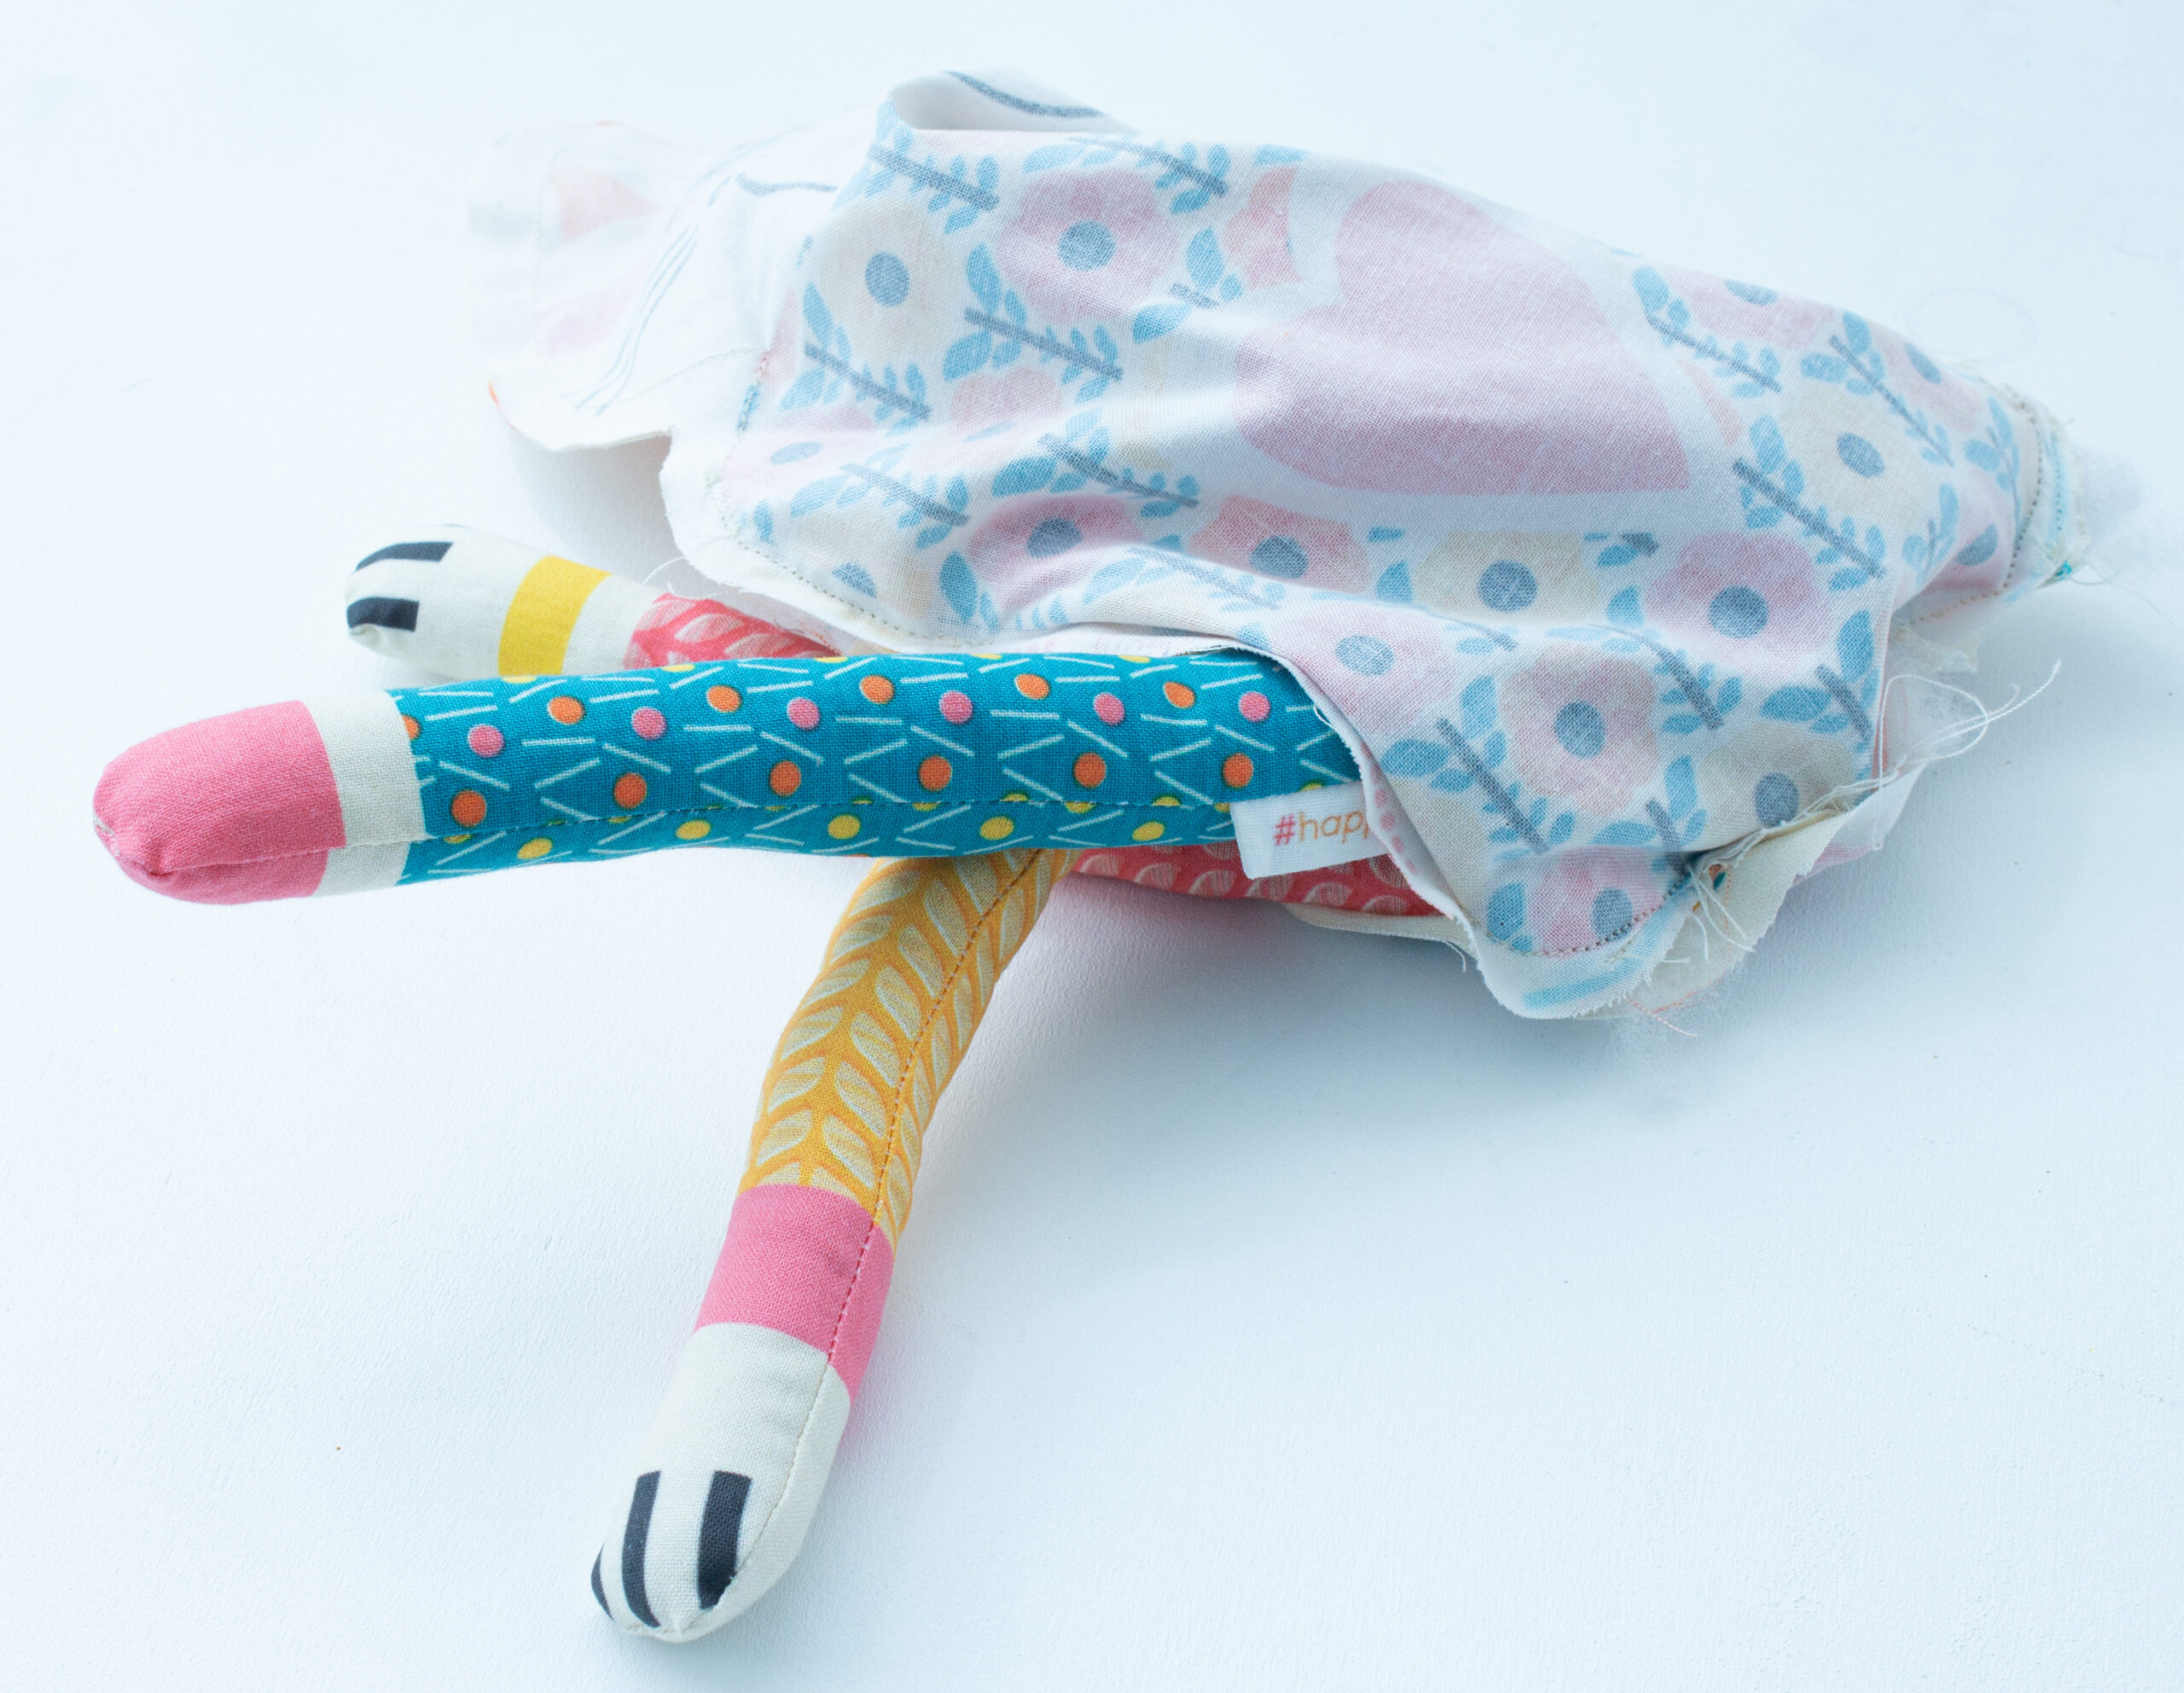
Fold the back of the cat over the legs, the tail, and the first arm.
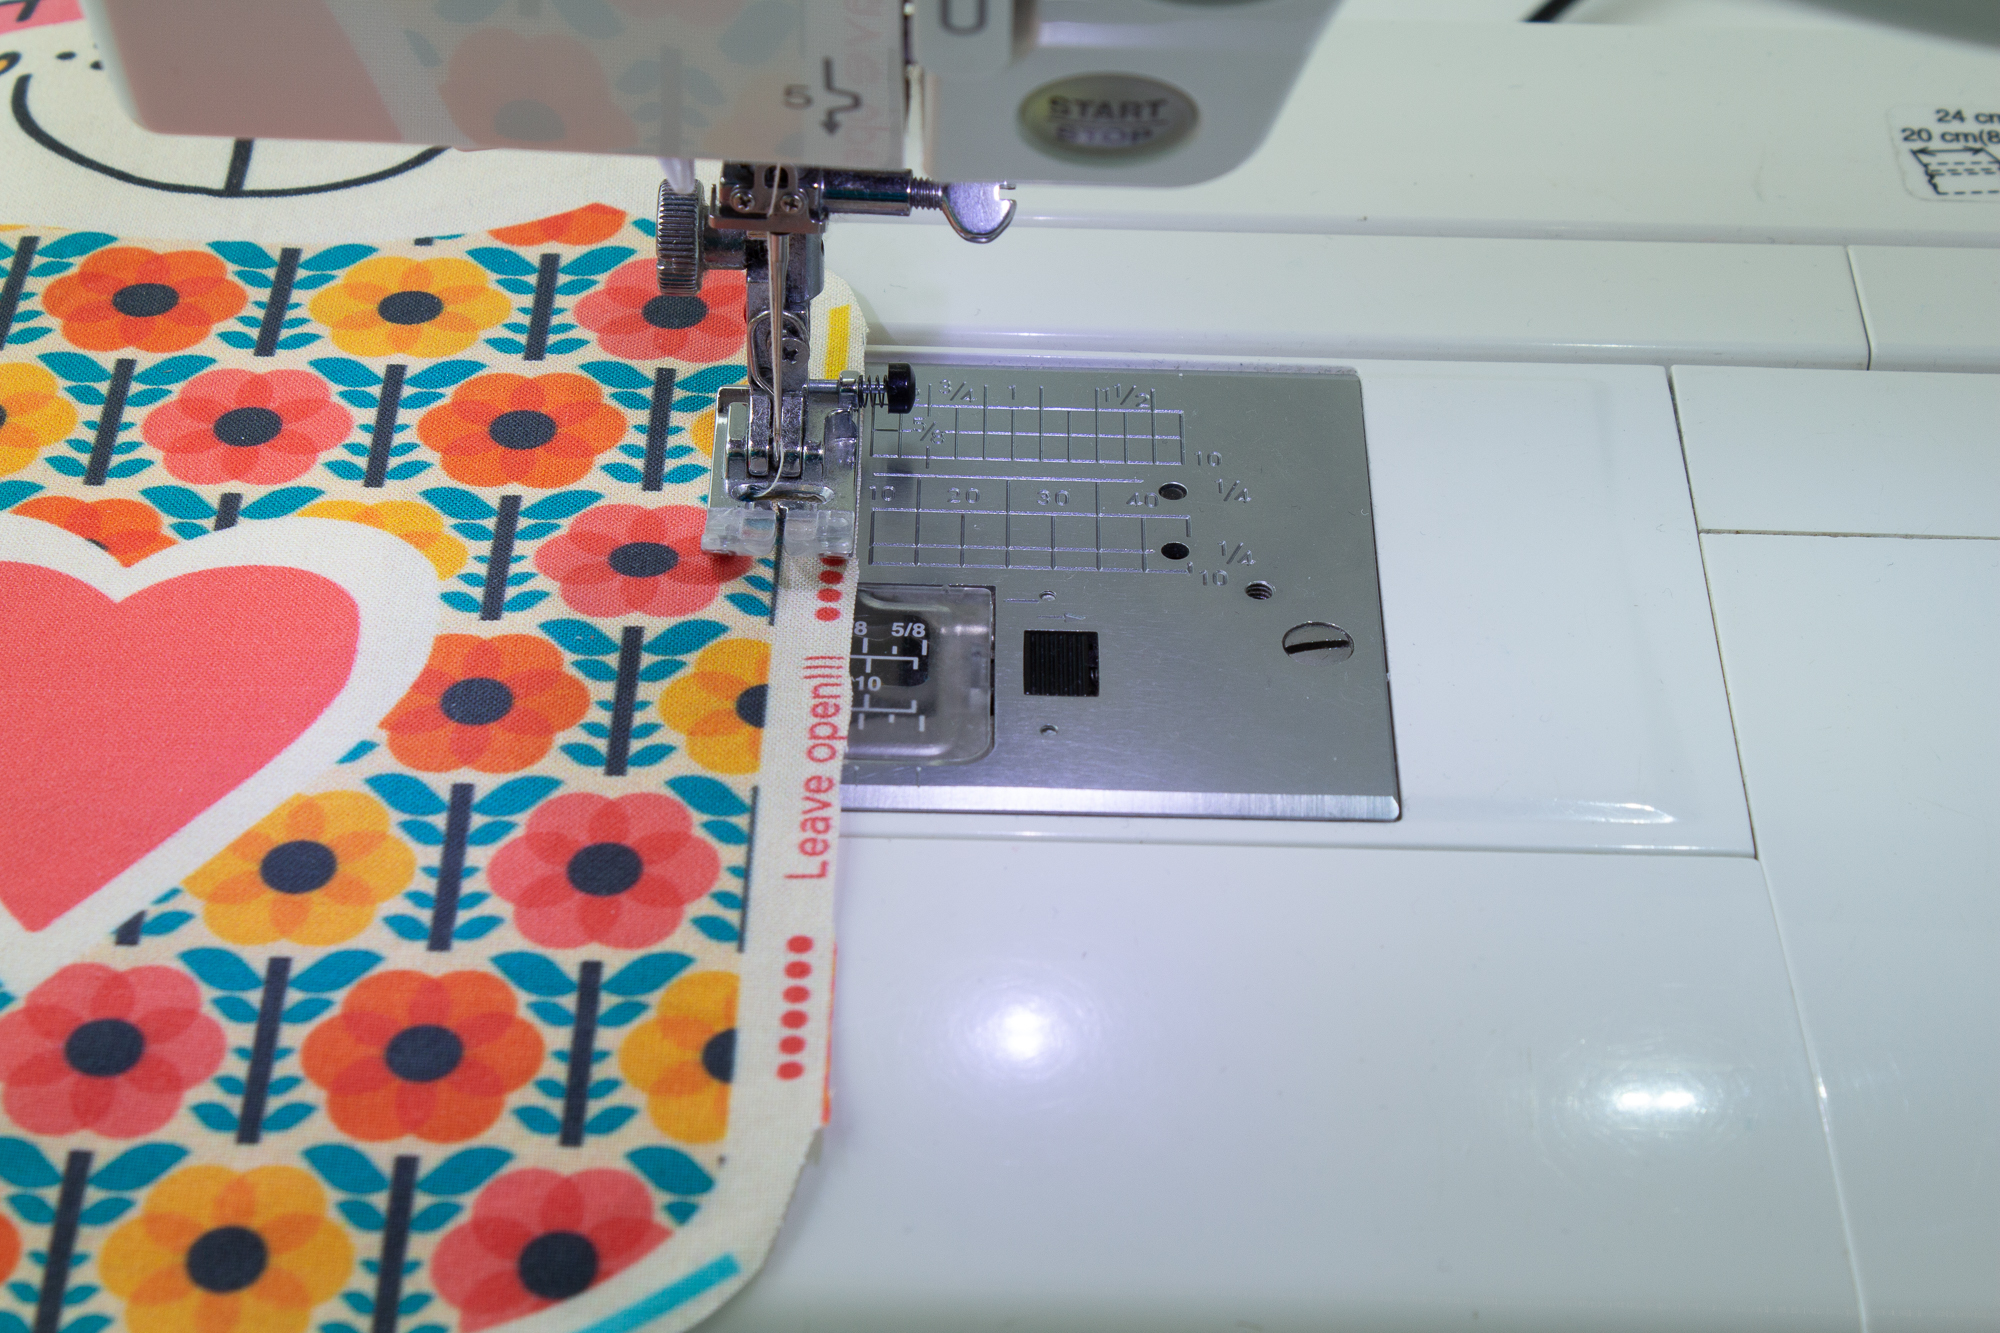
Now, pin the edges of the label together until you reach the point marked with “leave open”.
Sew the front and back of the cat together along this line.
But be sure to stop in time so that the turning opening is not sewn shut!
Stop before the marking for the second arm!
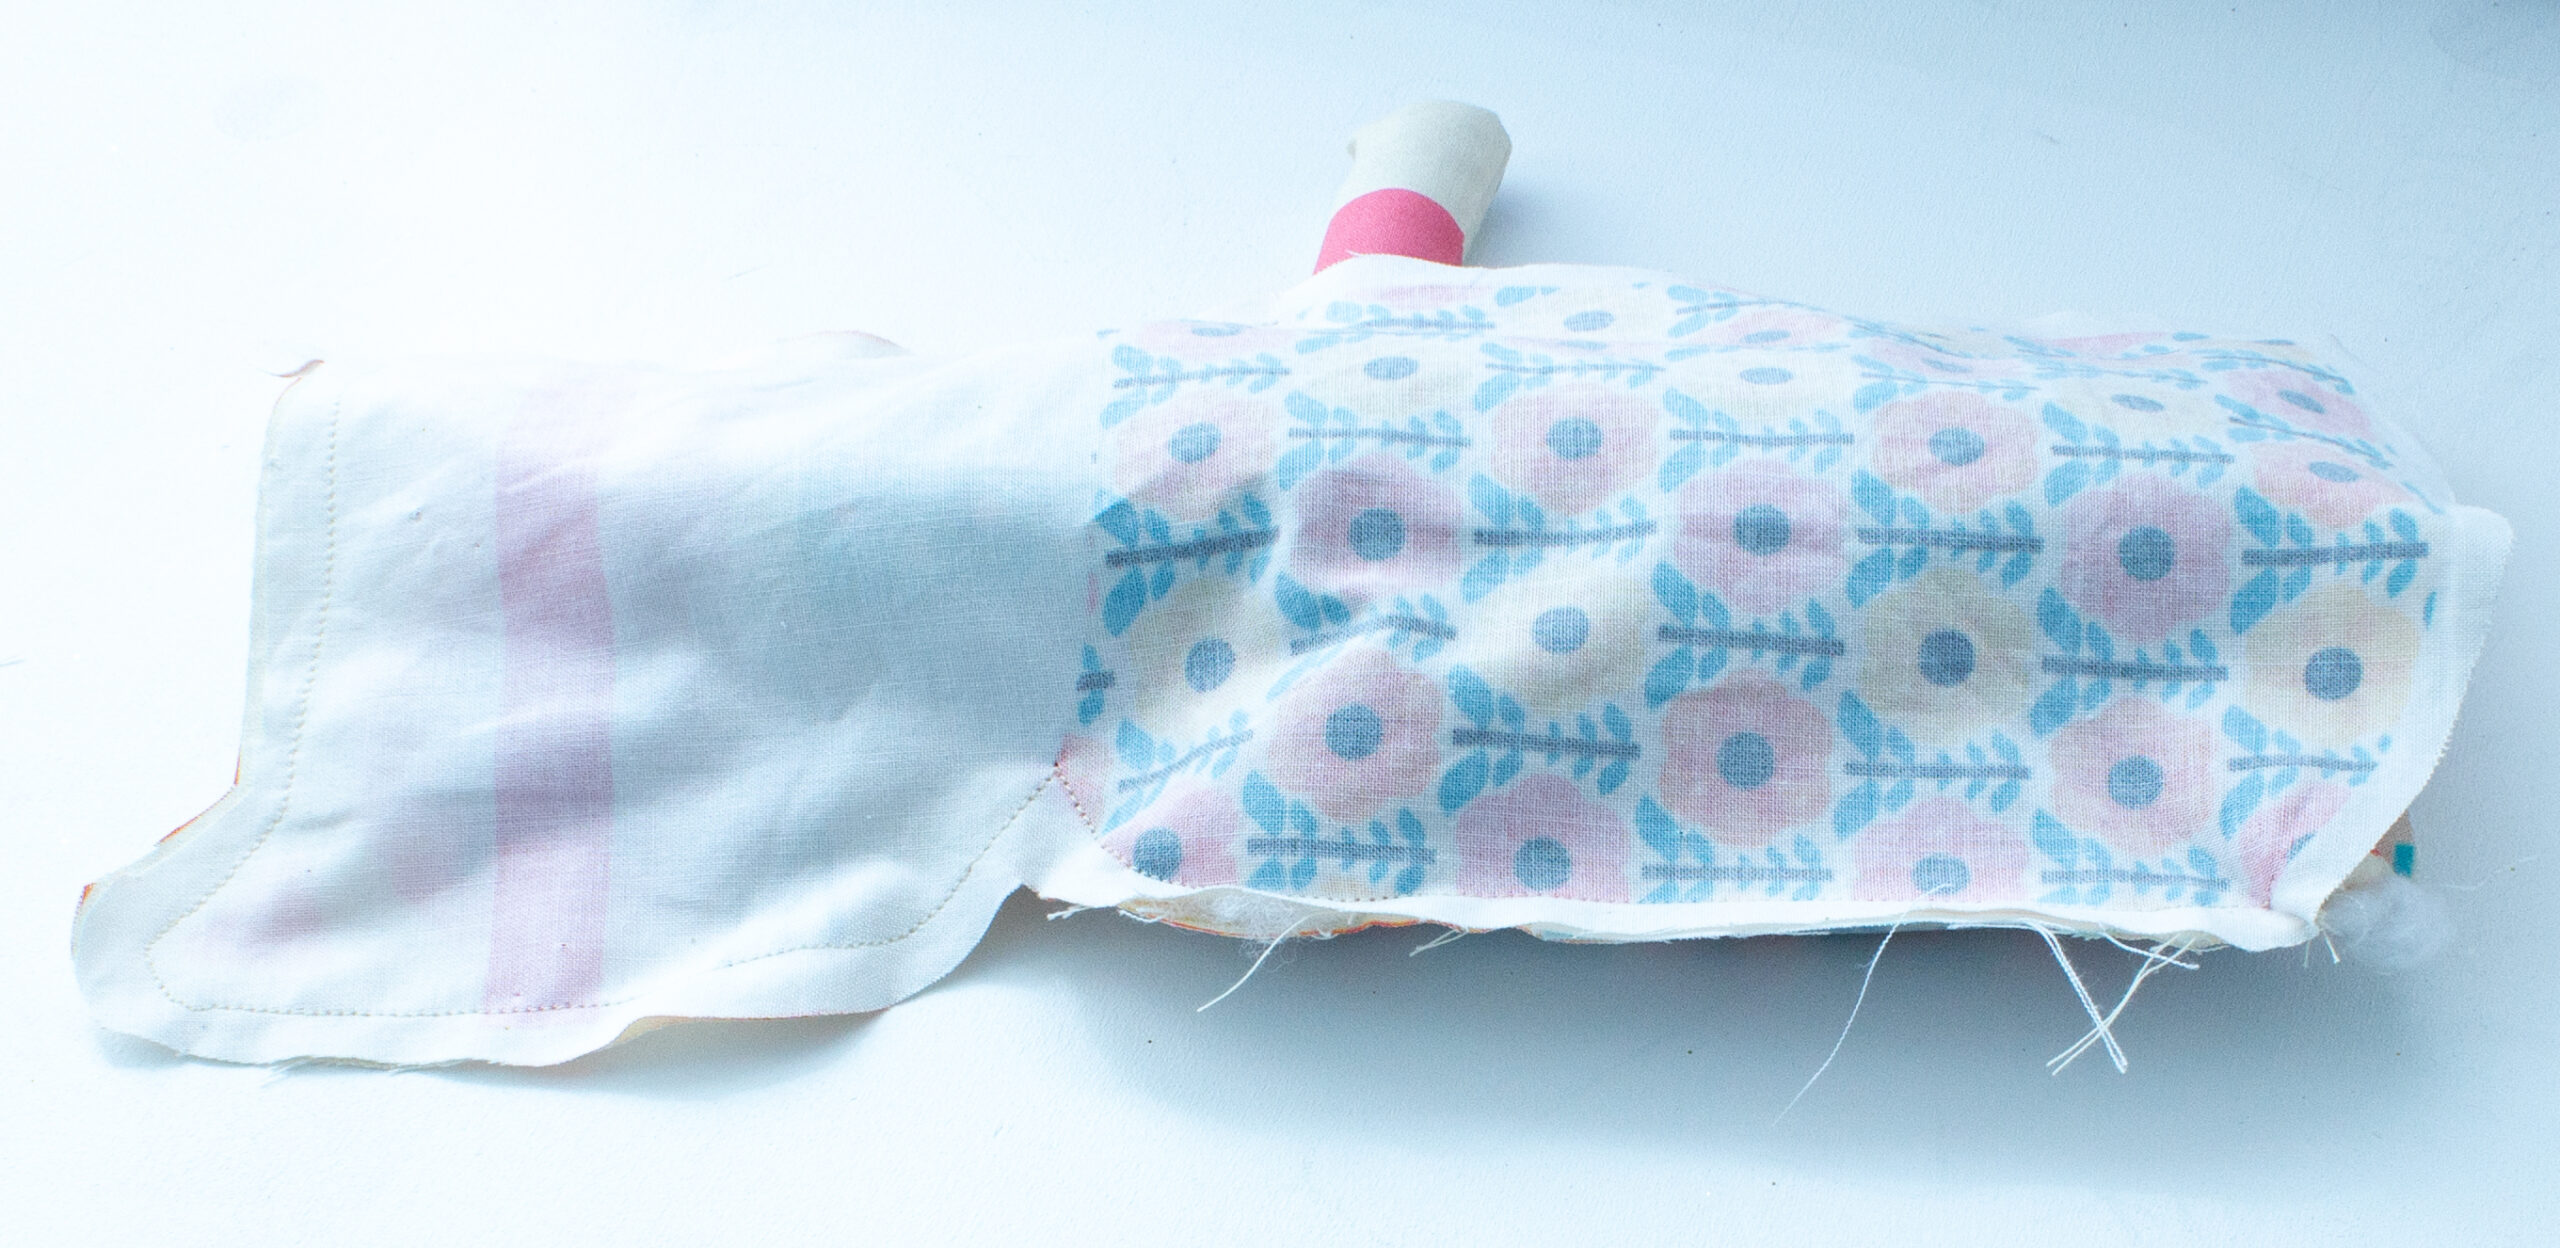
Now, insert the second arm into the cat and secure it at the marked spot with a seam.
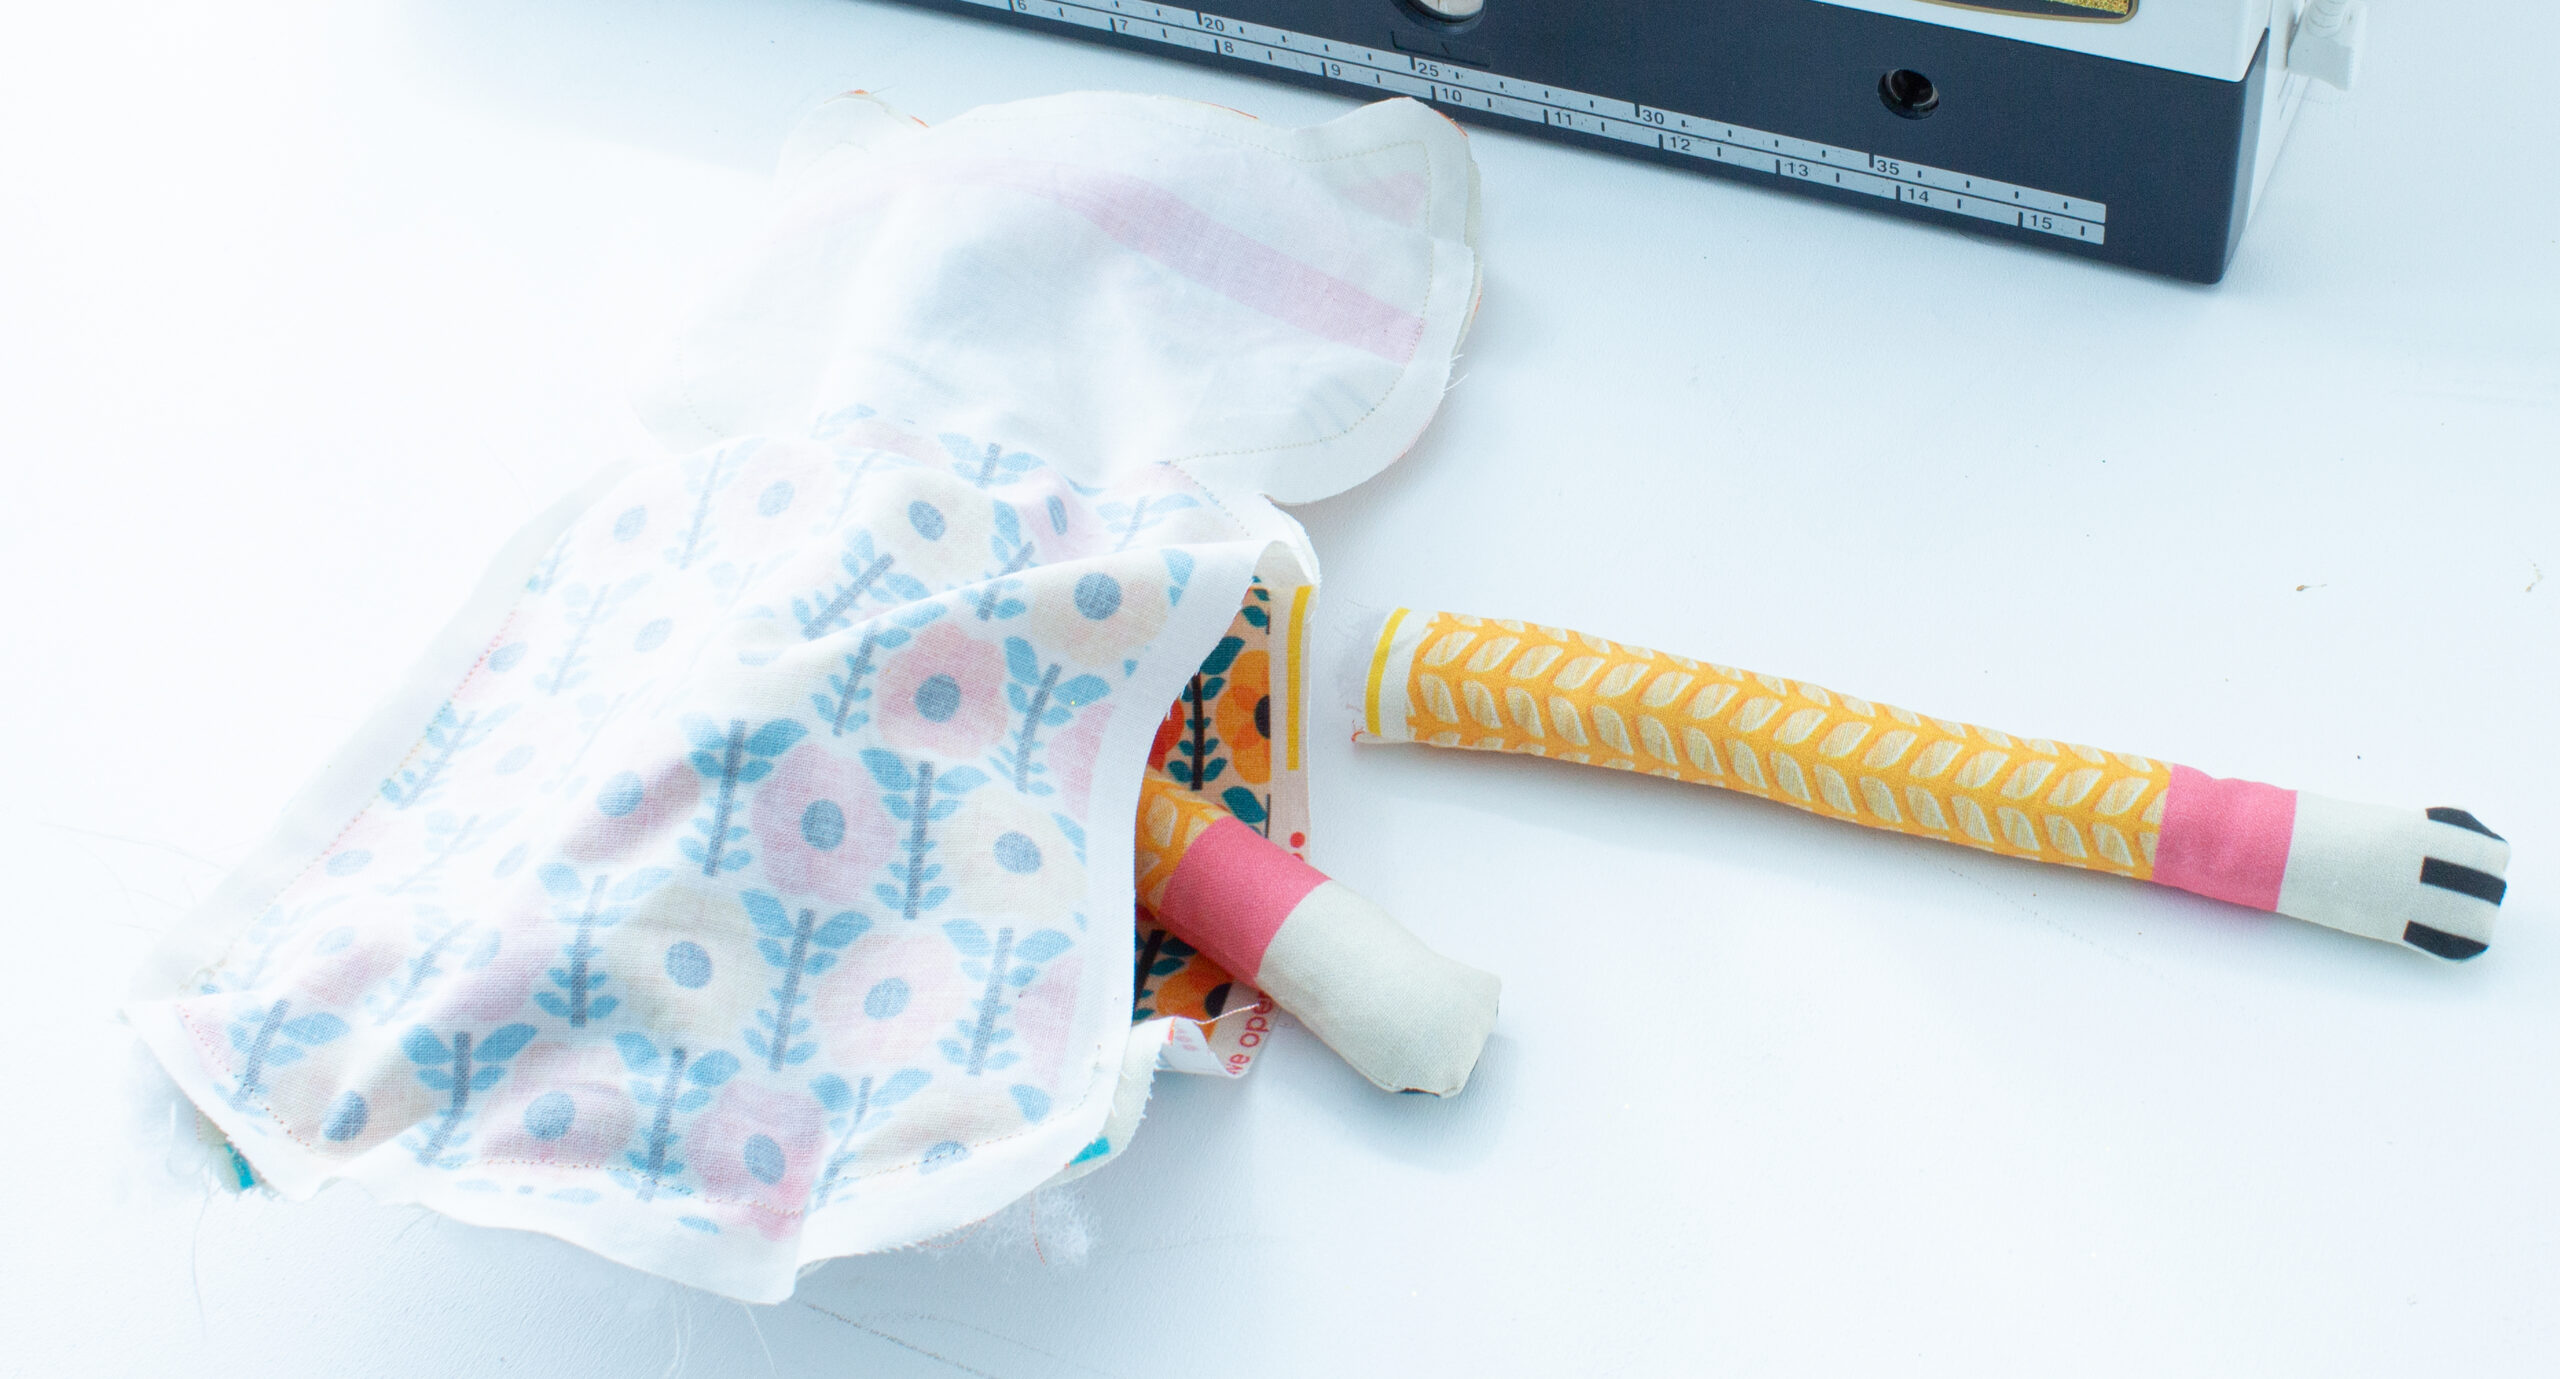
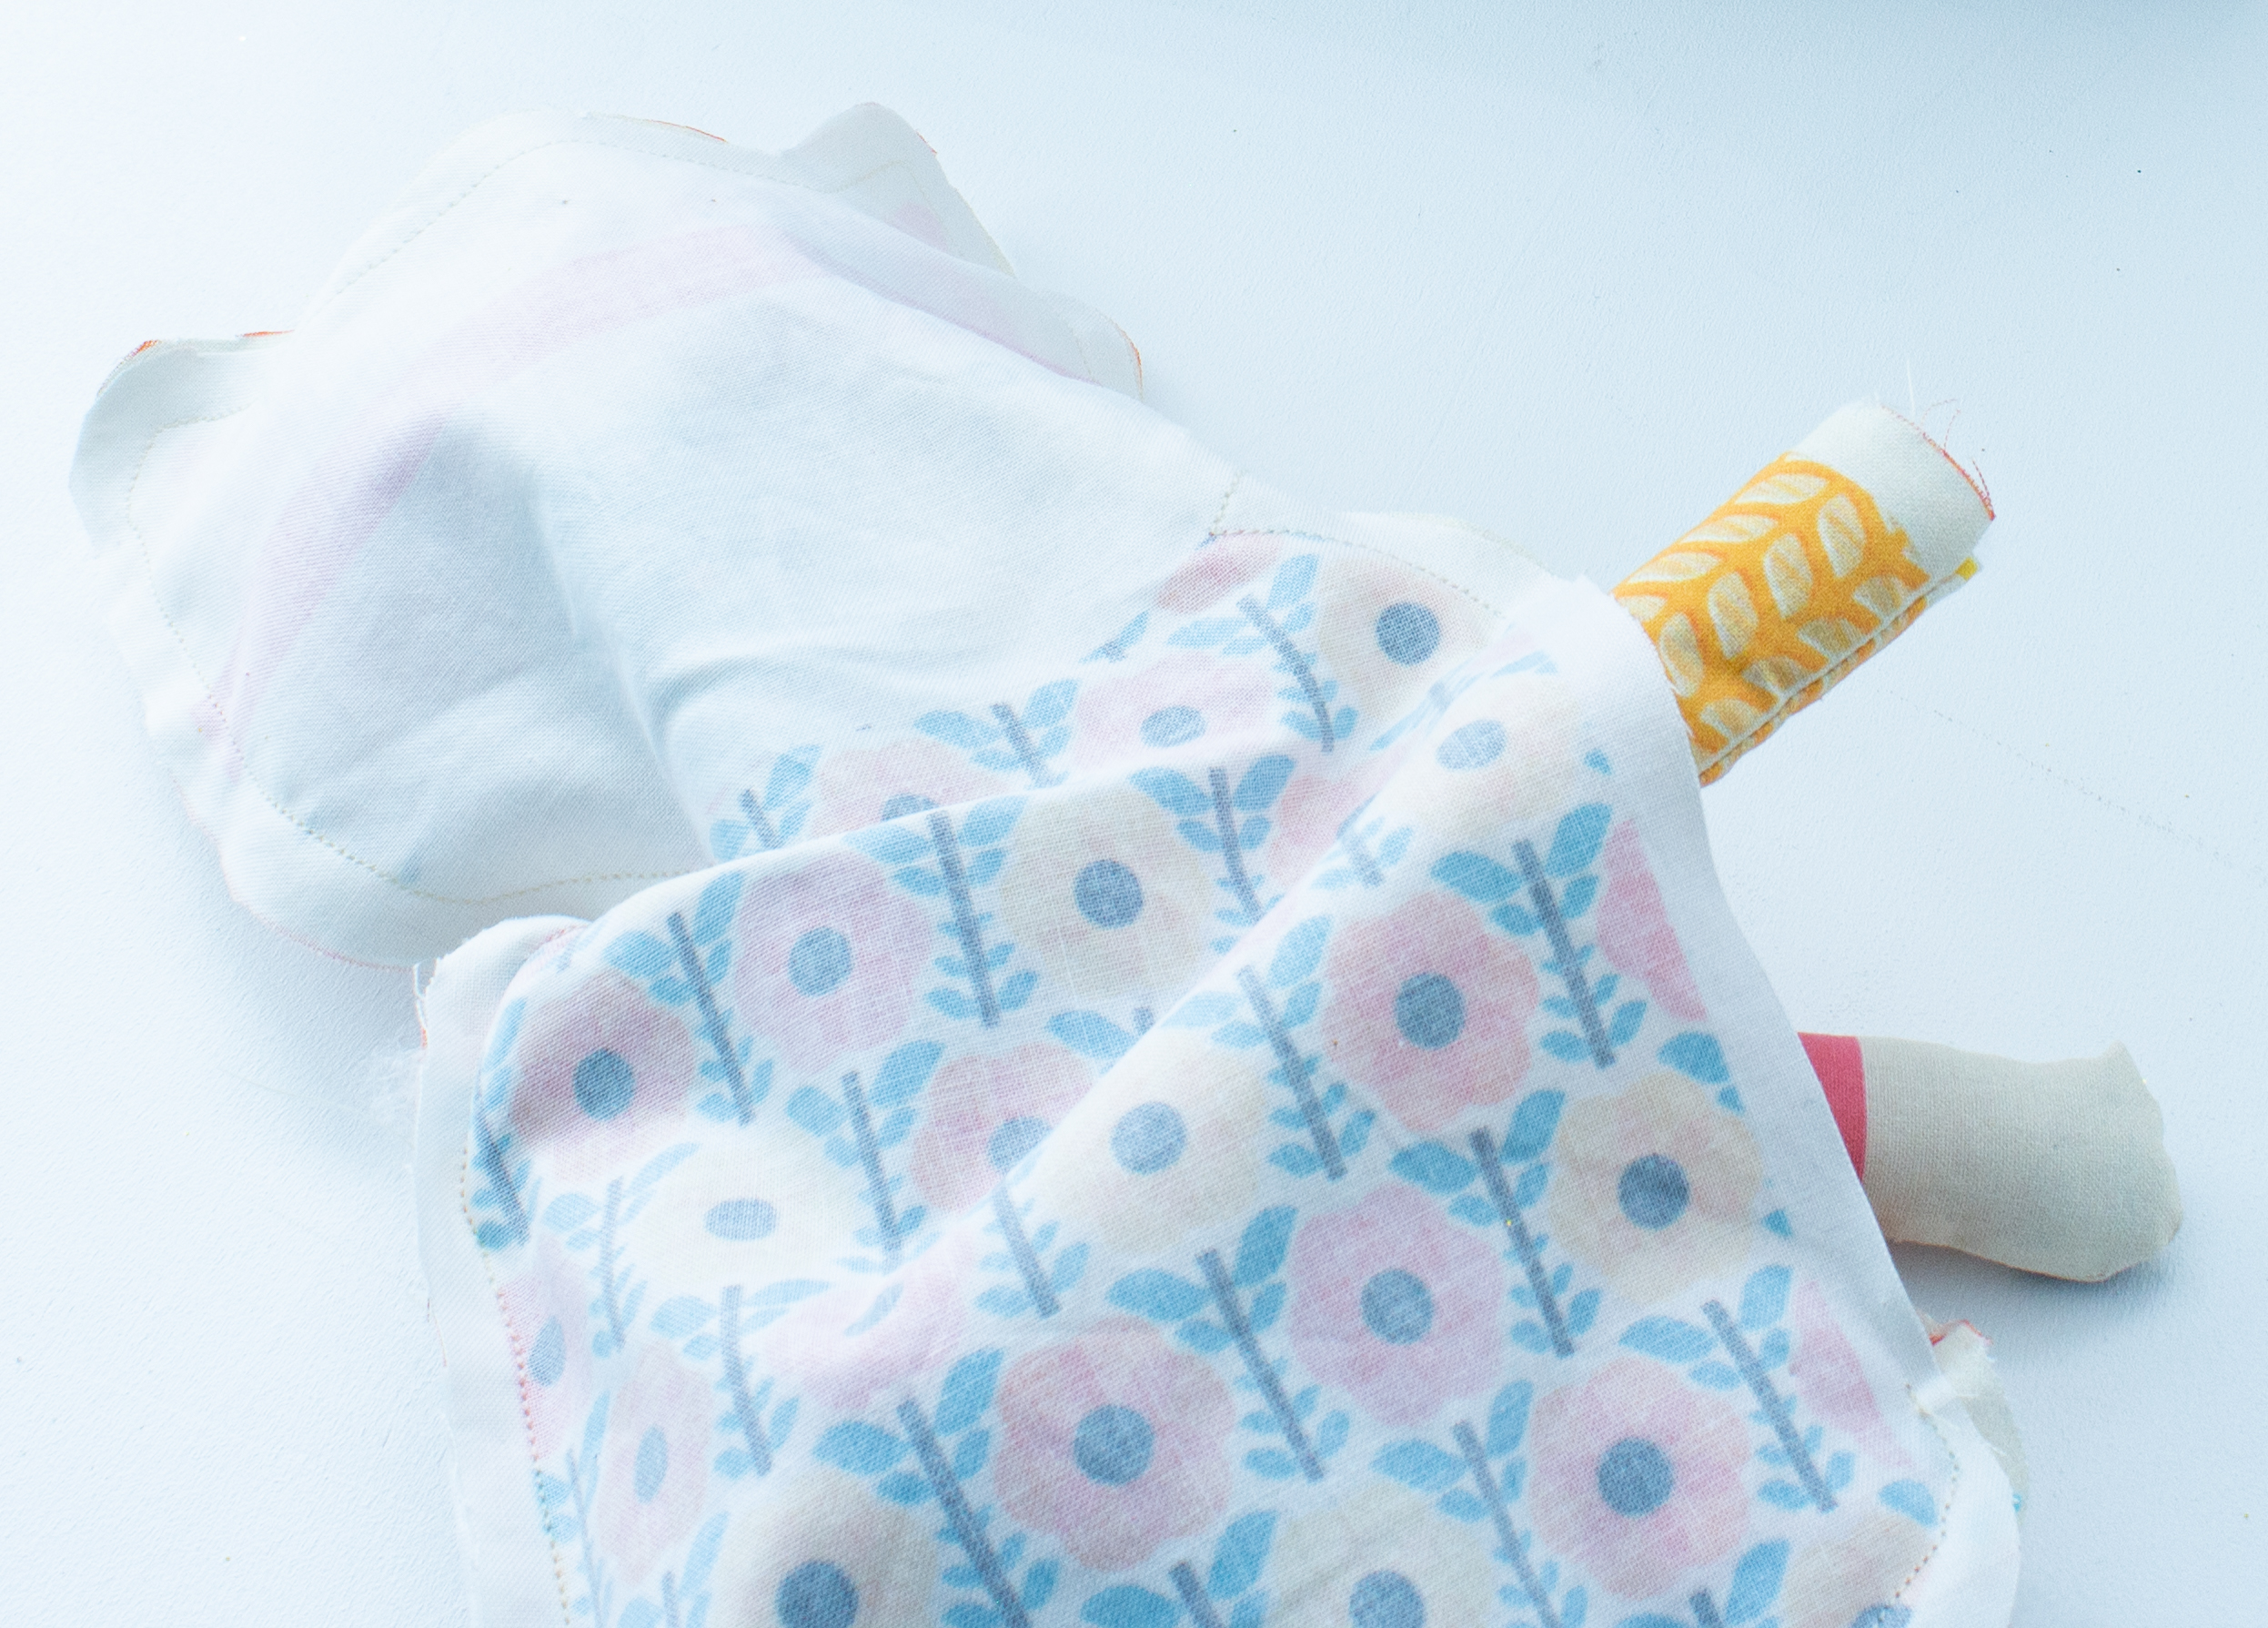
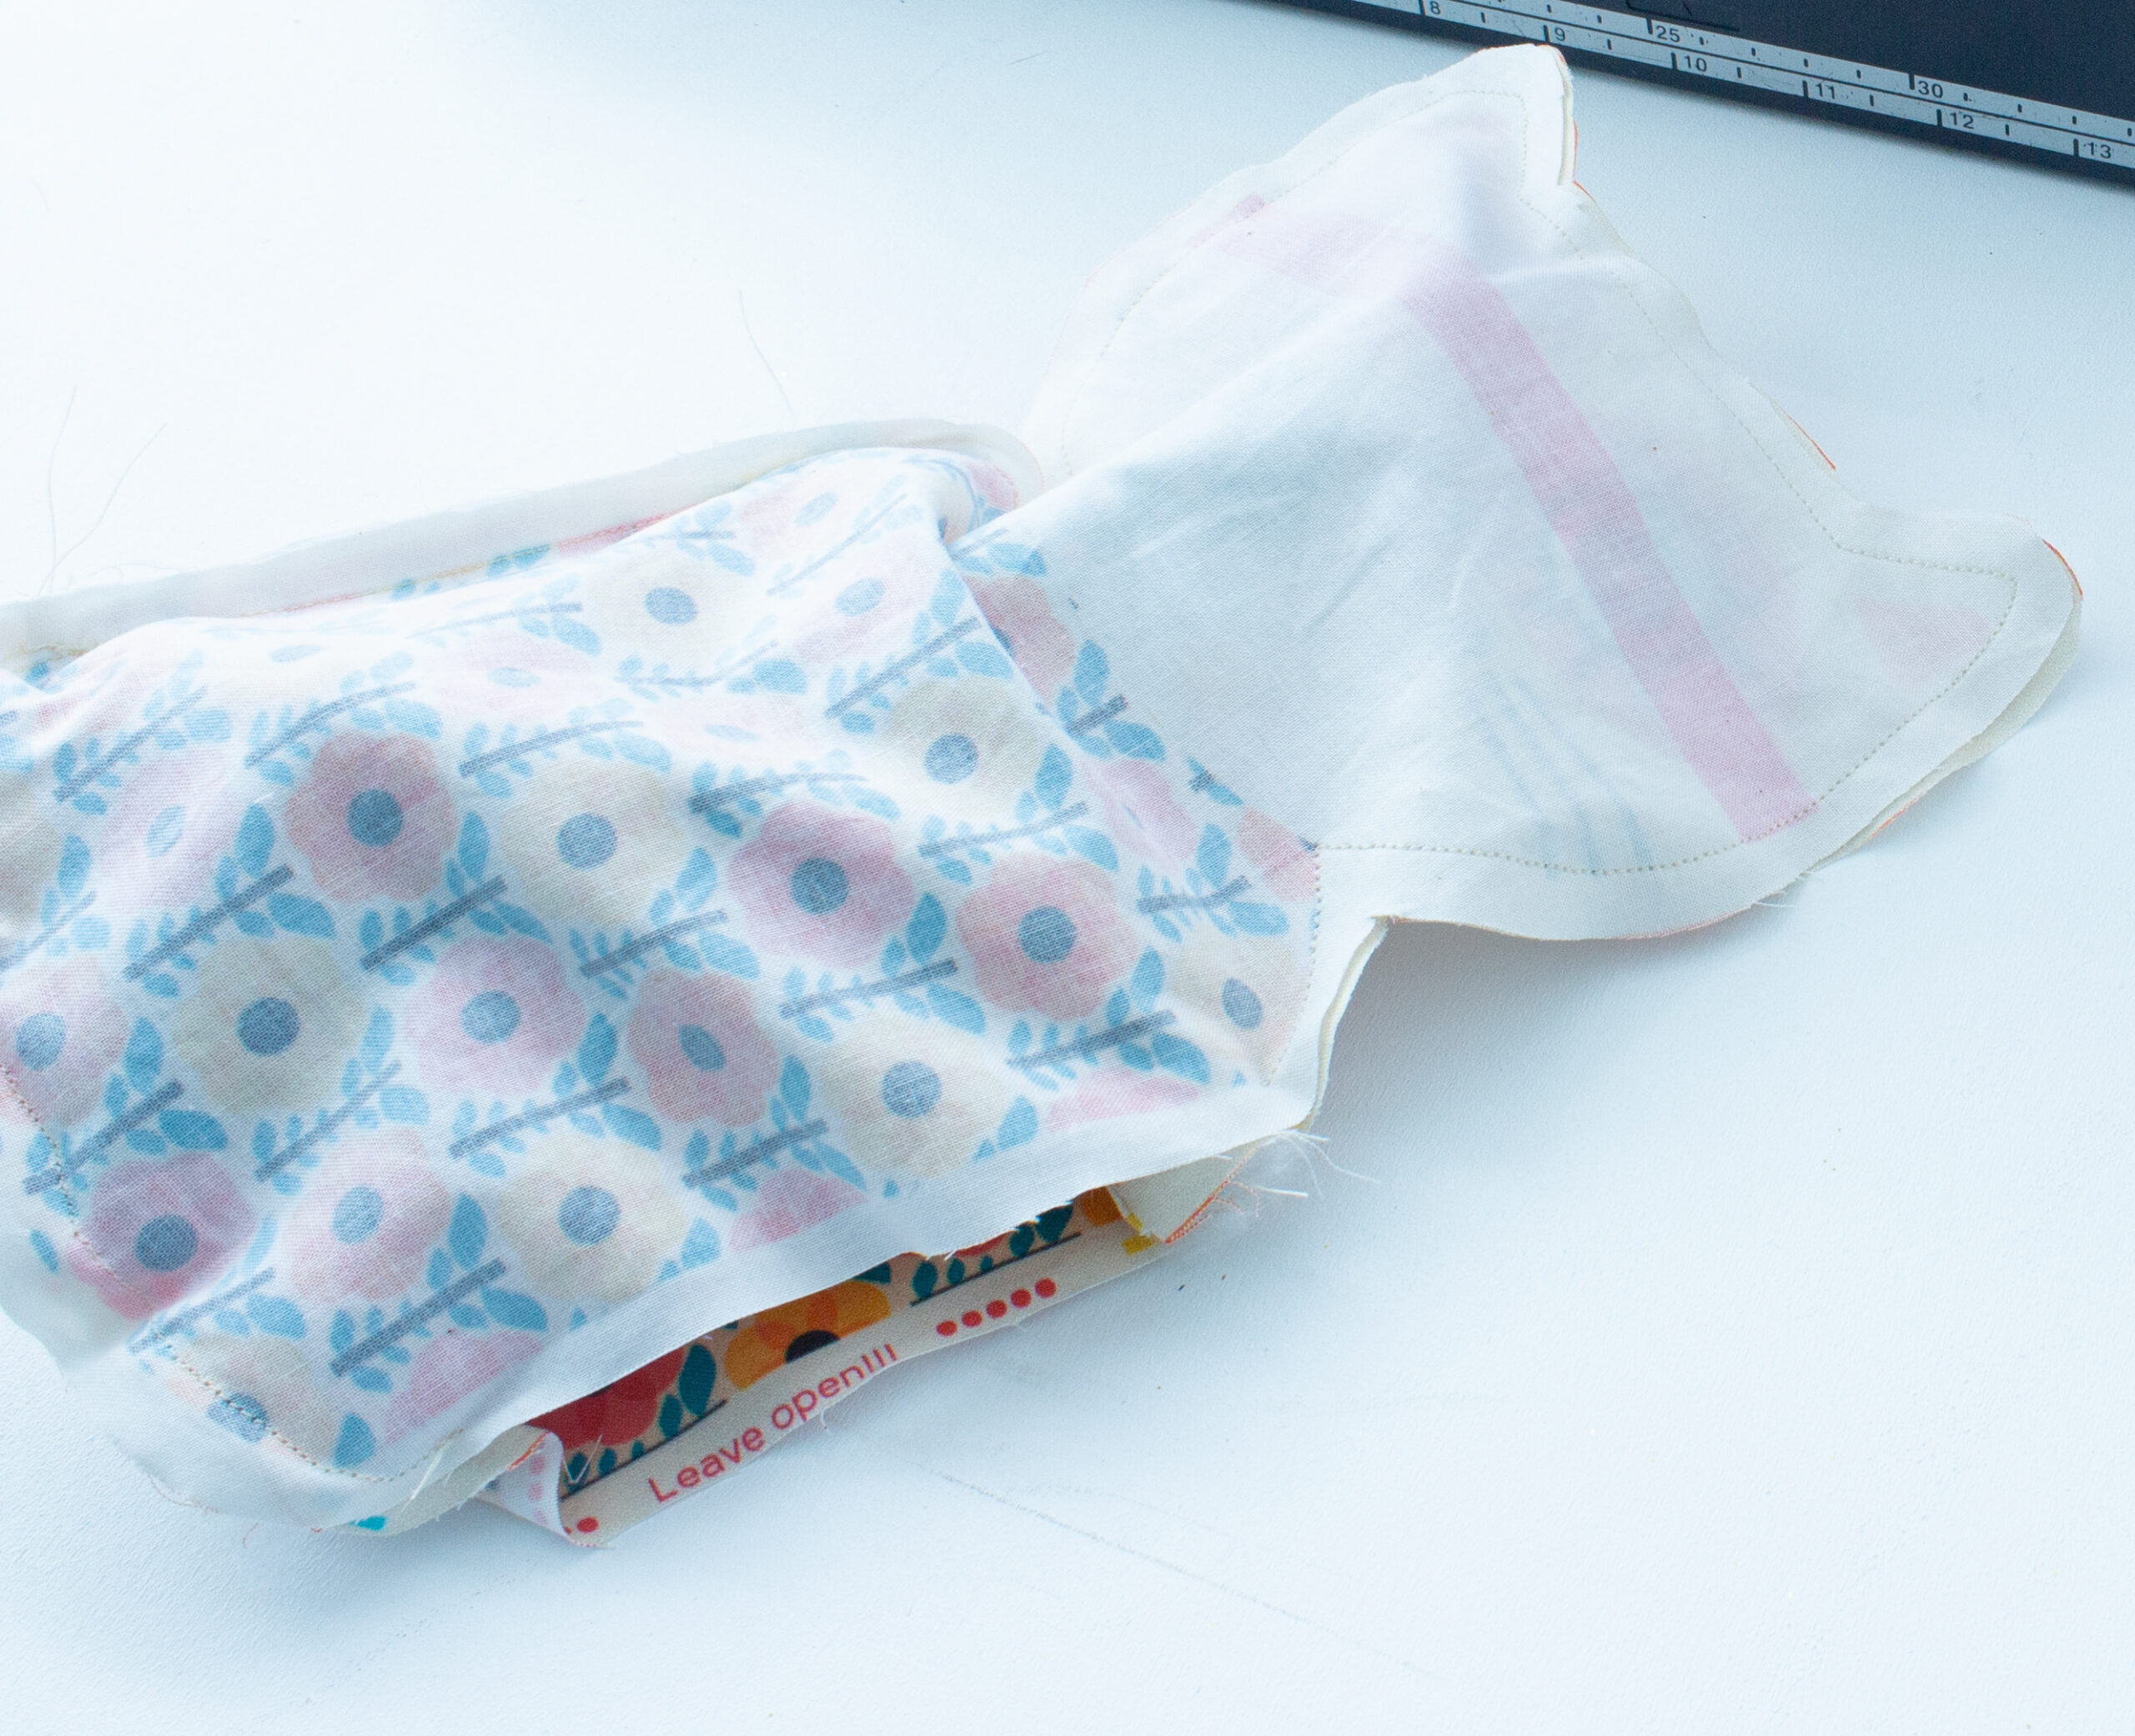
Now, reattach the front and back parts of the cat and sew the final section of the cat up to the beginning of the turnaround opening.
Trim seam allowance
Now, take a small pair of scissors, such as nail scissors, and CAREFULLY trim the seam allowances.
Leave the seam allowance at the turning opening as it is and do not trim anything!
Make sure not to cut too close to the seam!!!
Carefully snip the remaining seam allowance at the corners diagonally across the seam – but not too close to the seam.
Turn around
Hurray, now the time has come!
You will soon see your cat for the first time!
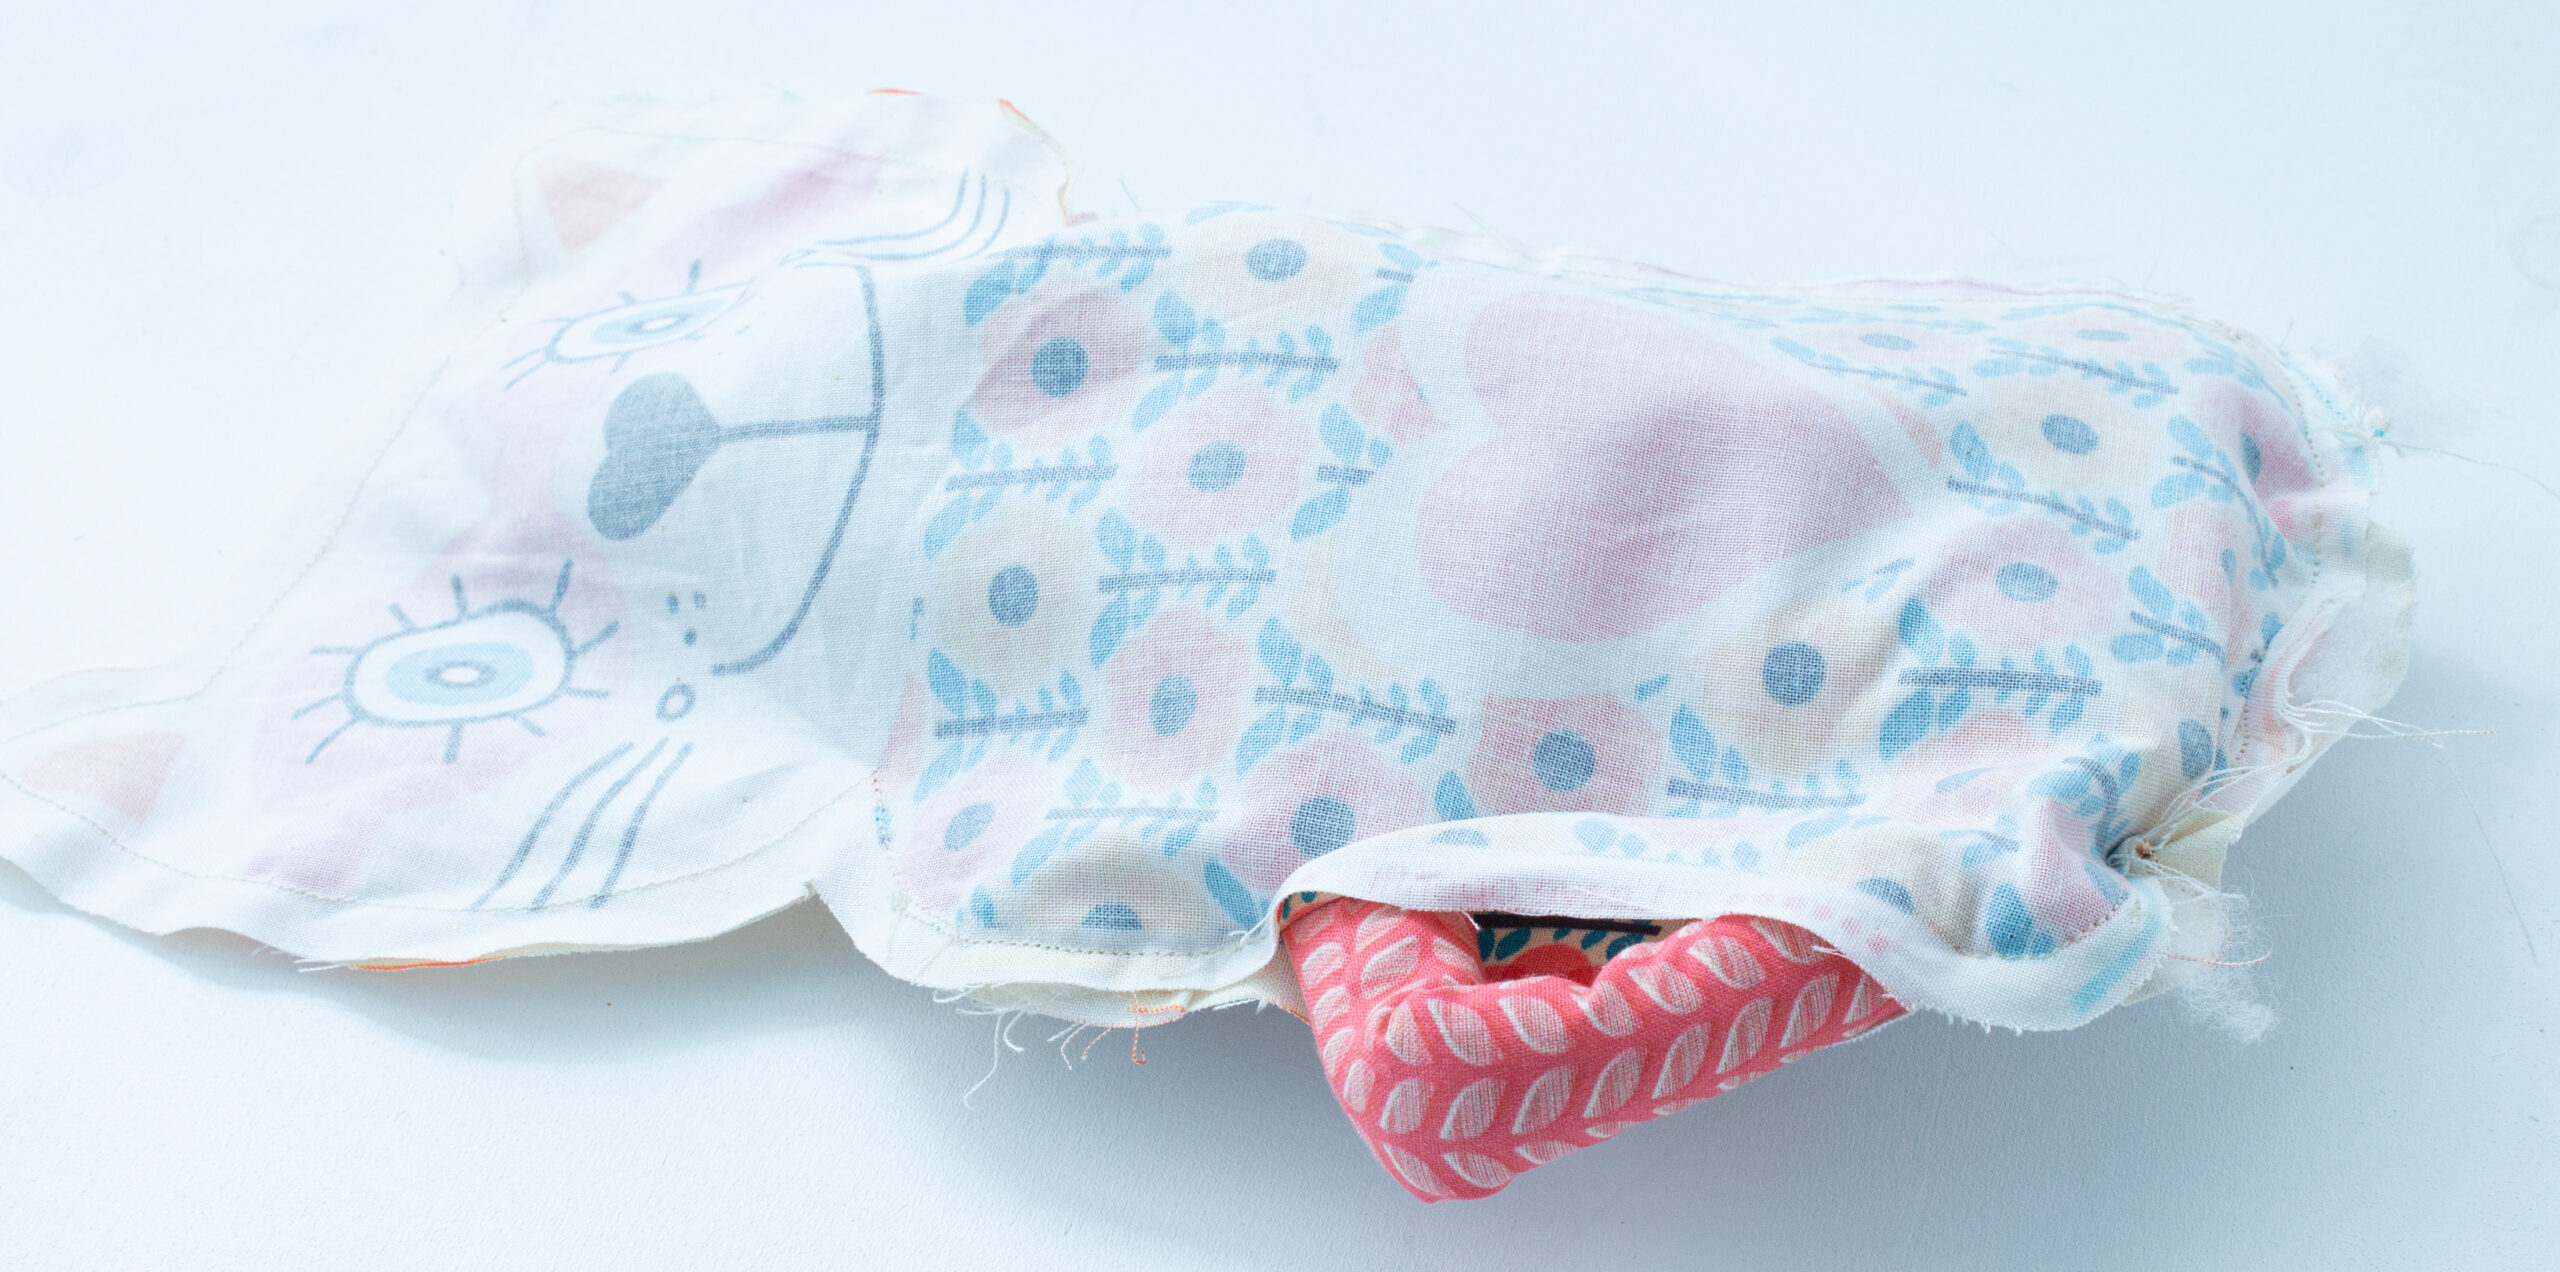
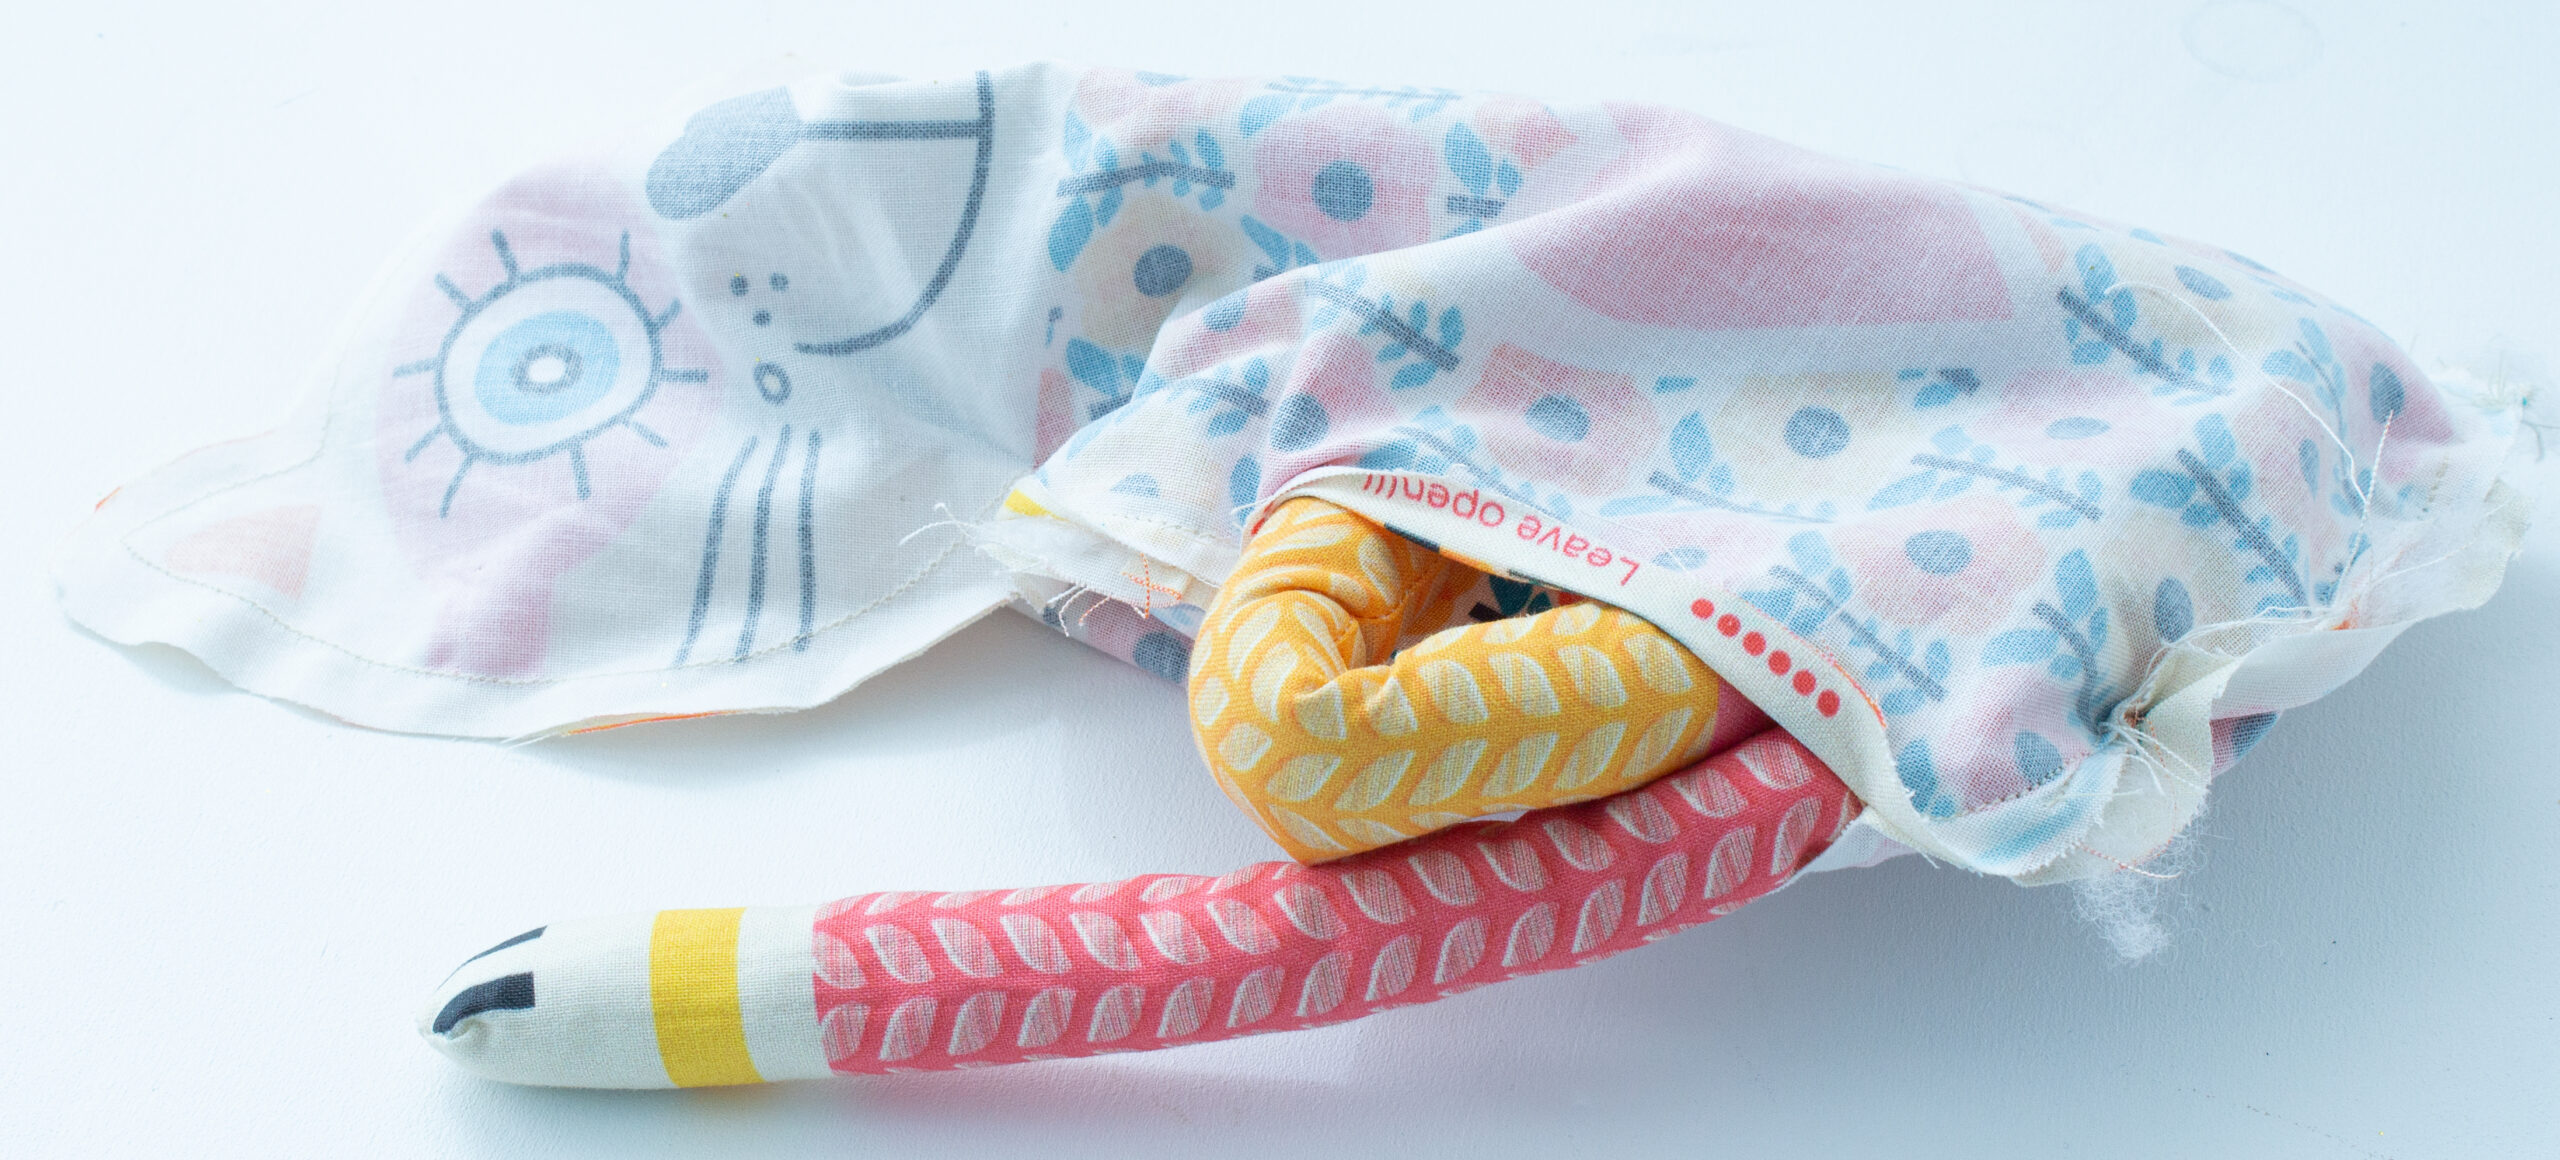
Carefully reach into the turnaround opening and start pulling out the arms, legs, and tail through the turnaround opening, flipping the cat completely.
Close the turning opening of the stuffed animal by hand
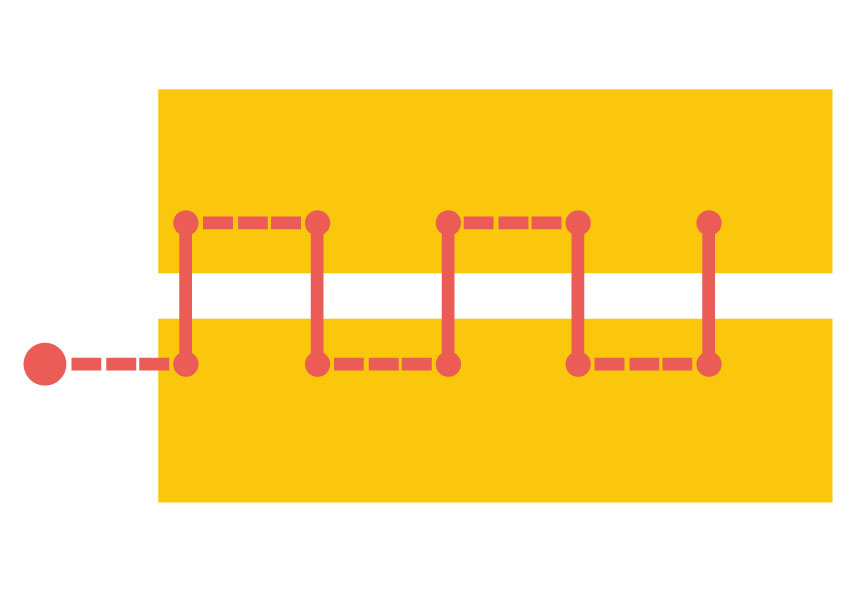
Now close the turning opening by hand using an invisible mattress stitch.
DONE!
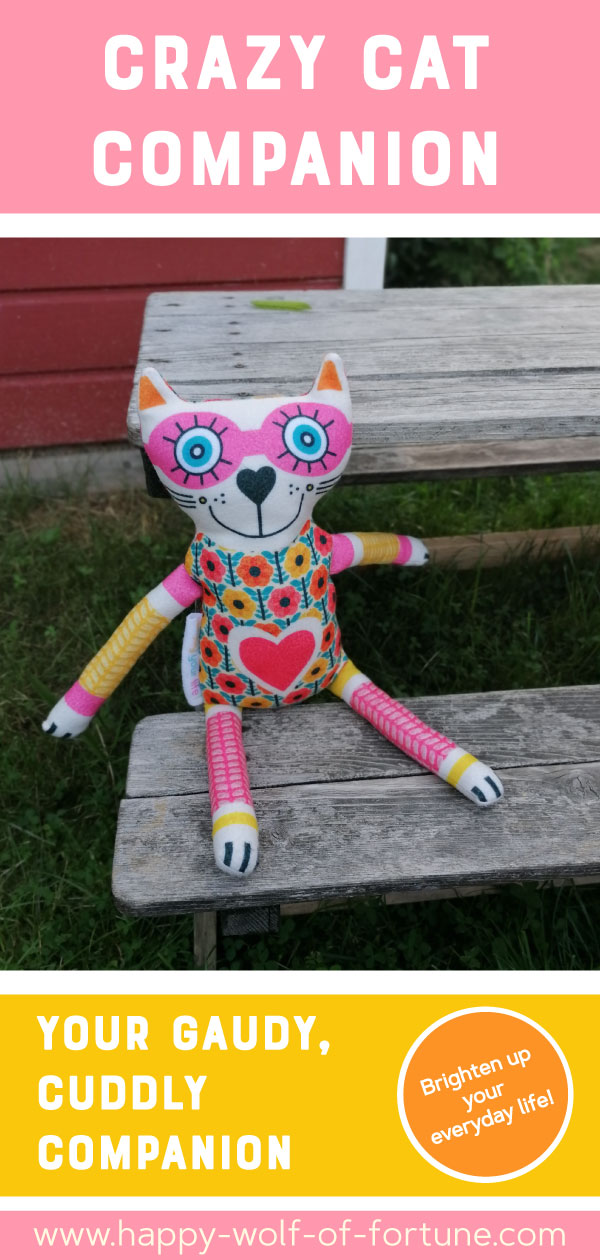
Your animal companion is now finished, and hopefully, you will spend many cuddly hours together!
I would be so happy to see you together.
Please send me a photo of you and your cat in her new home!
Or post it on Instagram and tag me with @happywolfoffortune.
I’m looking forward to seeing you!
Well, now I’m curious:
Which one of the cats is your favorite? Have you already sewn a cat?
Tell us in the comments!
Got any questions?
Feel free to reach out to me at stefanie@happy-wolf-of-fortune.com .
Looking forward to hearing from you!

Recent Comments